The old girl comes home

The old girl comes home

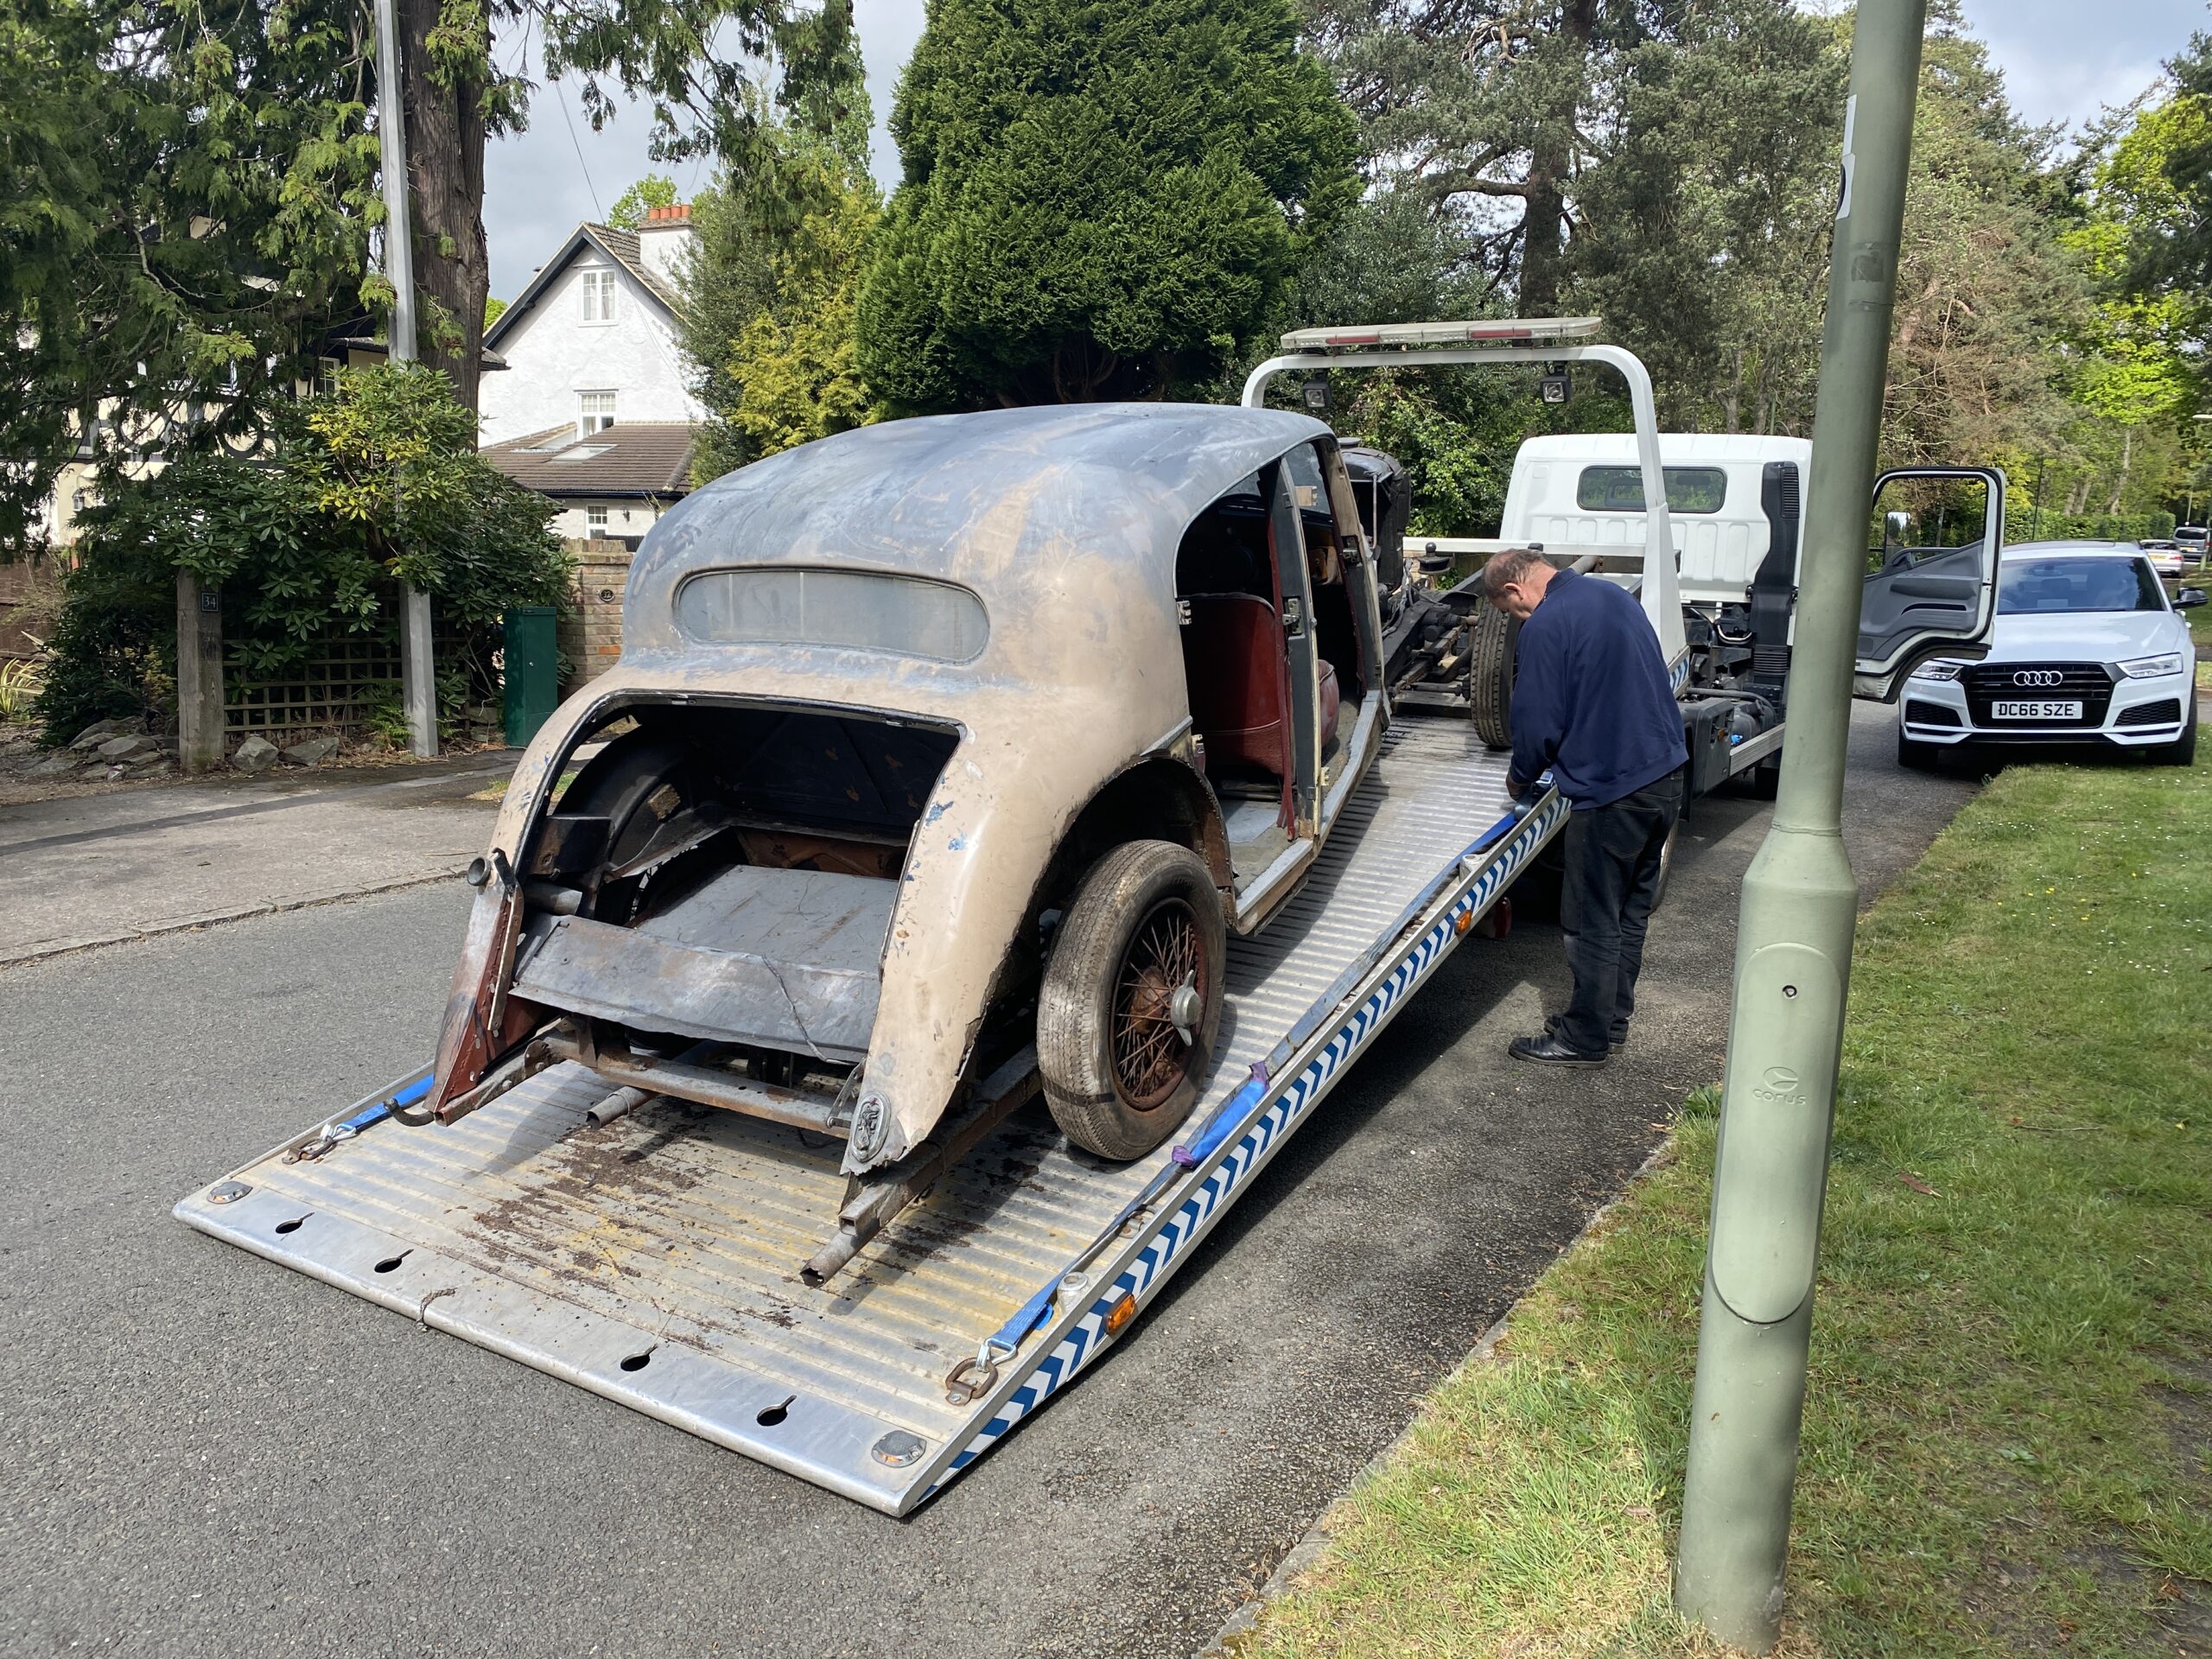
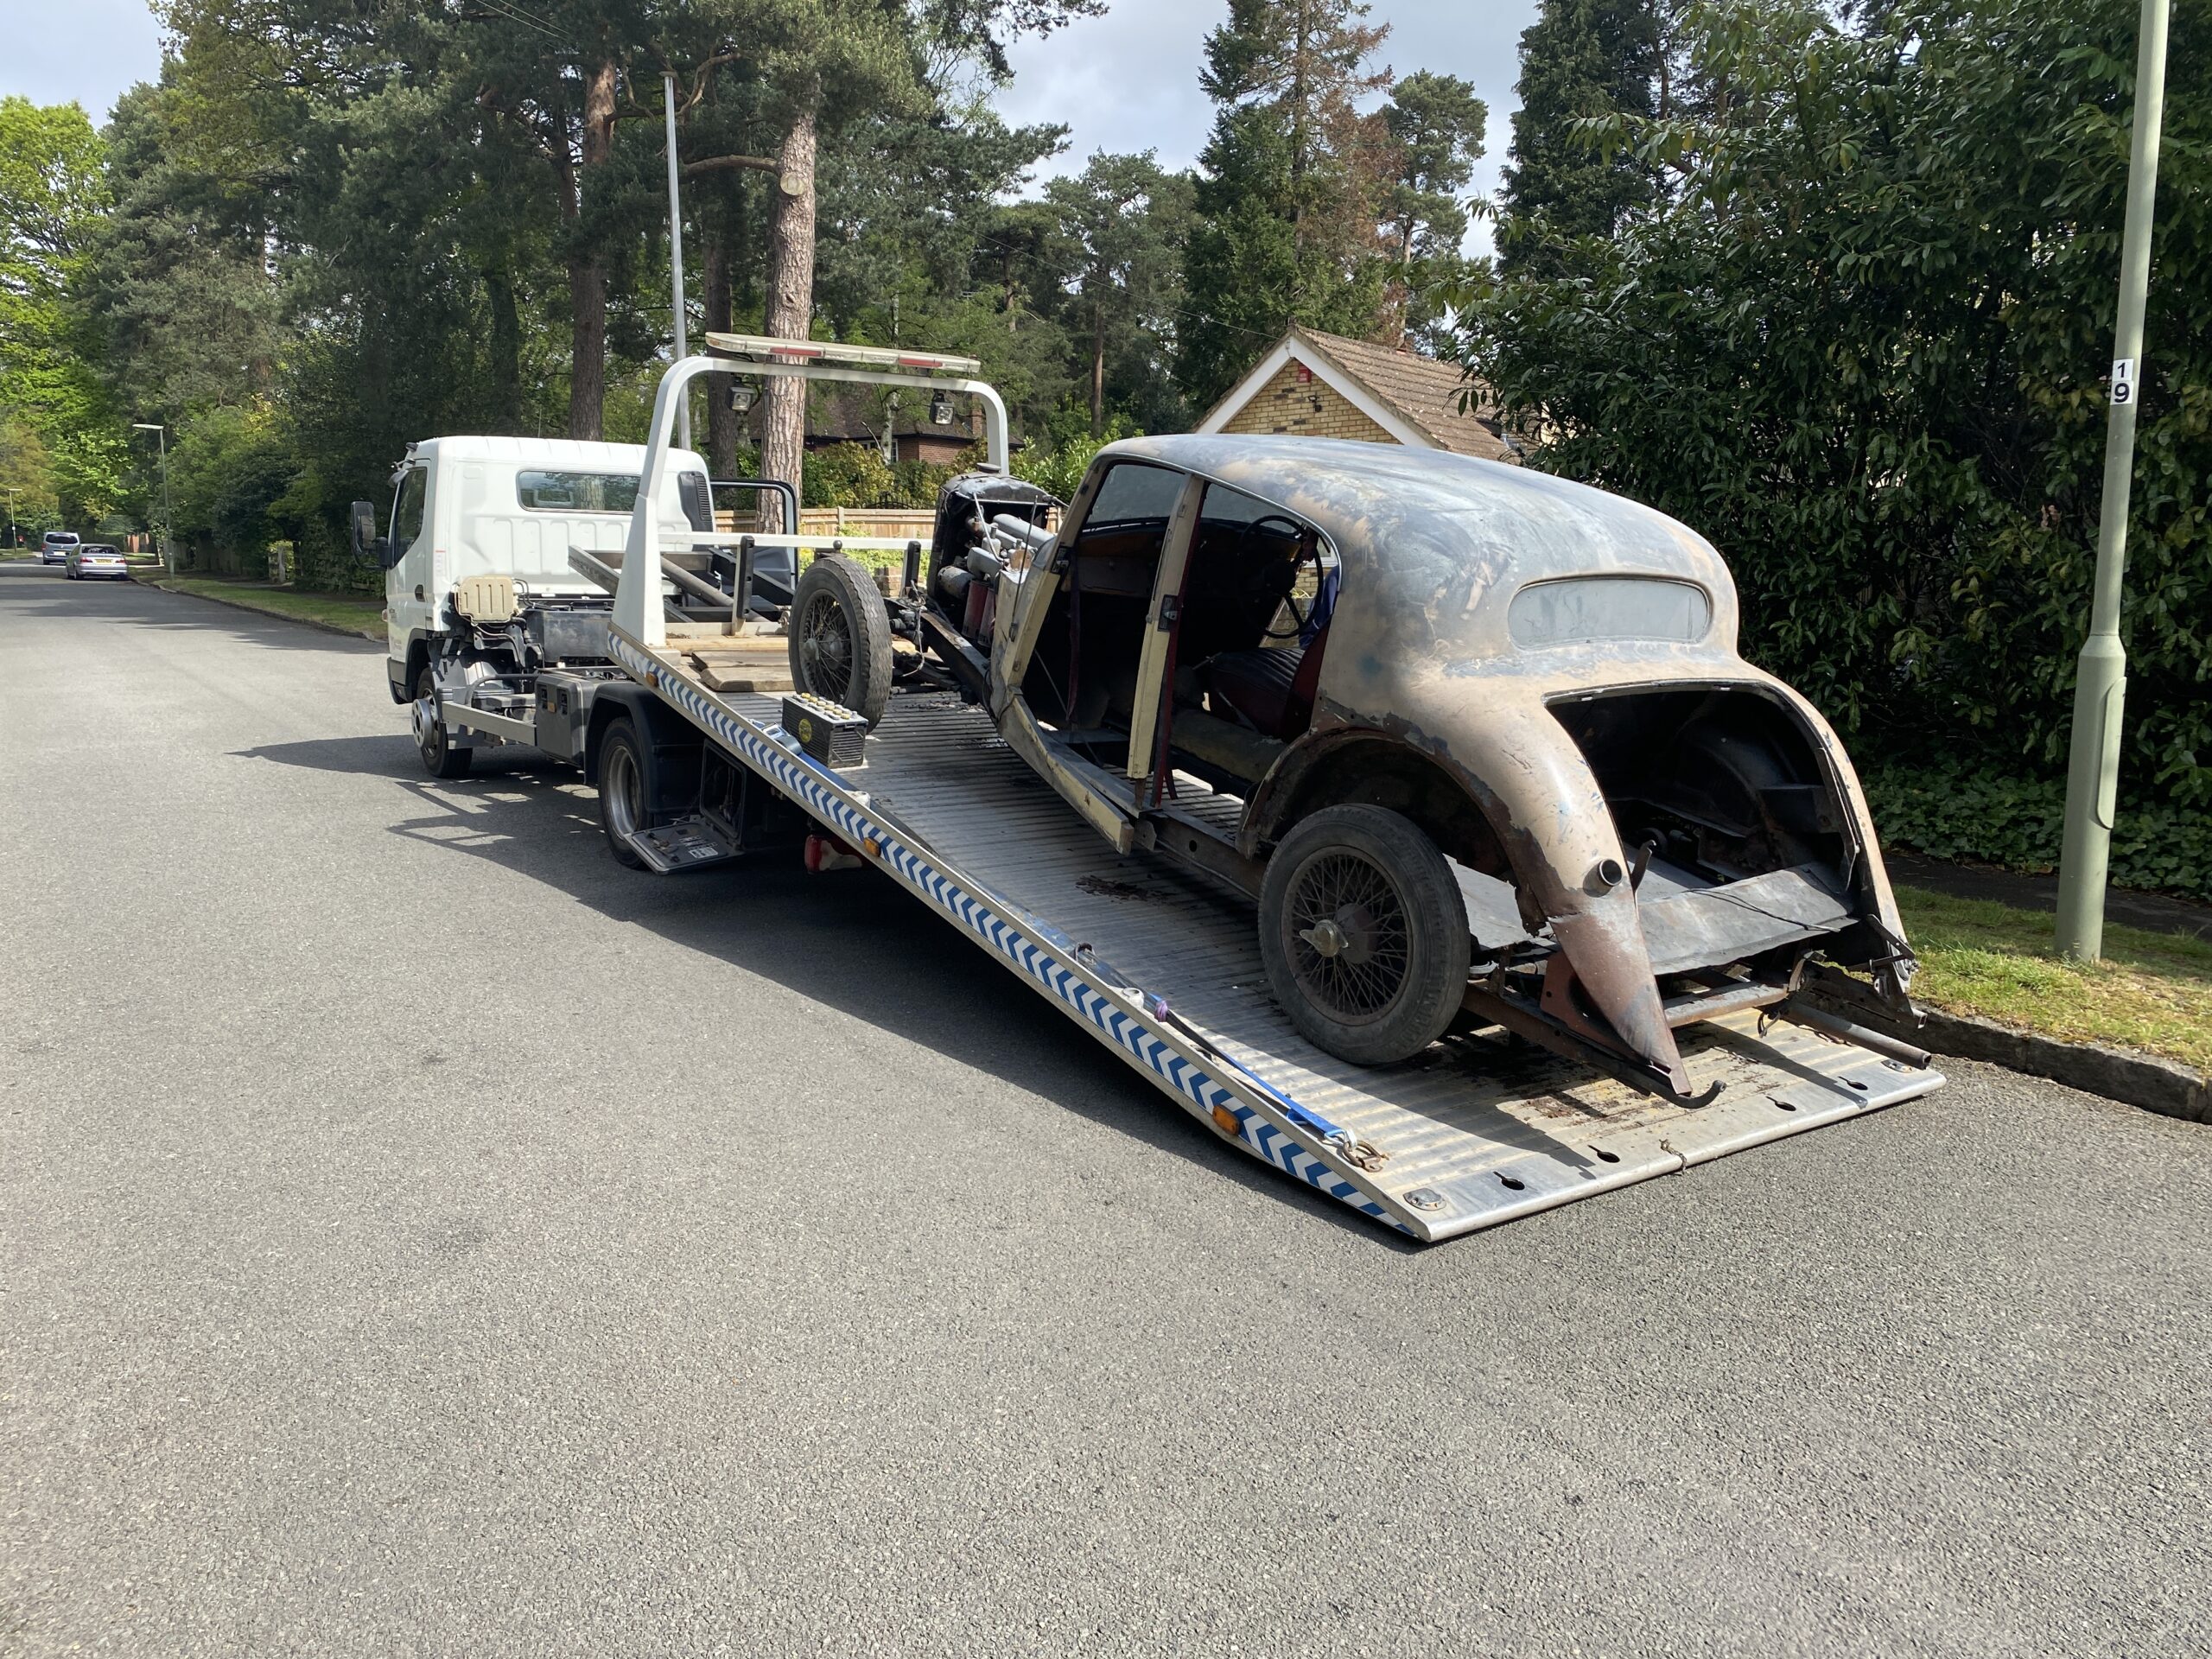
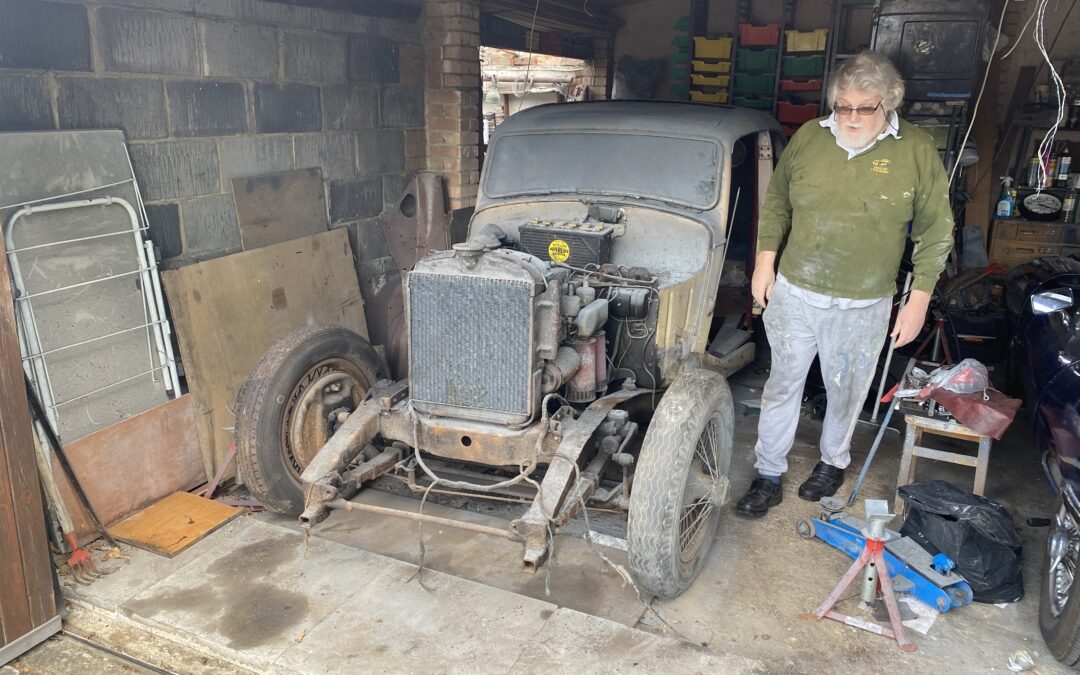
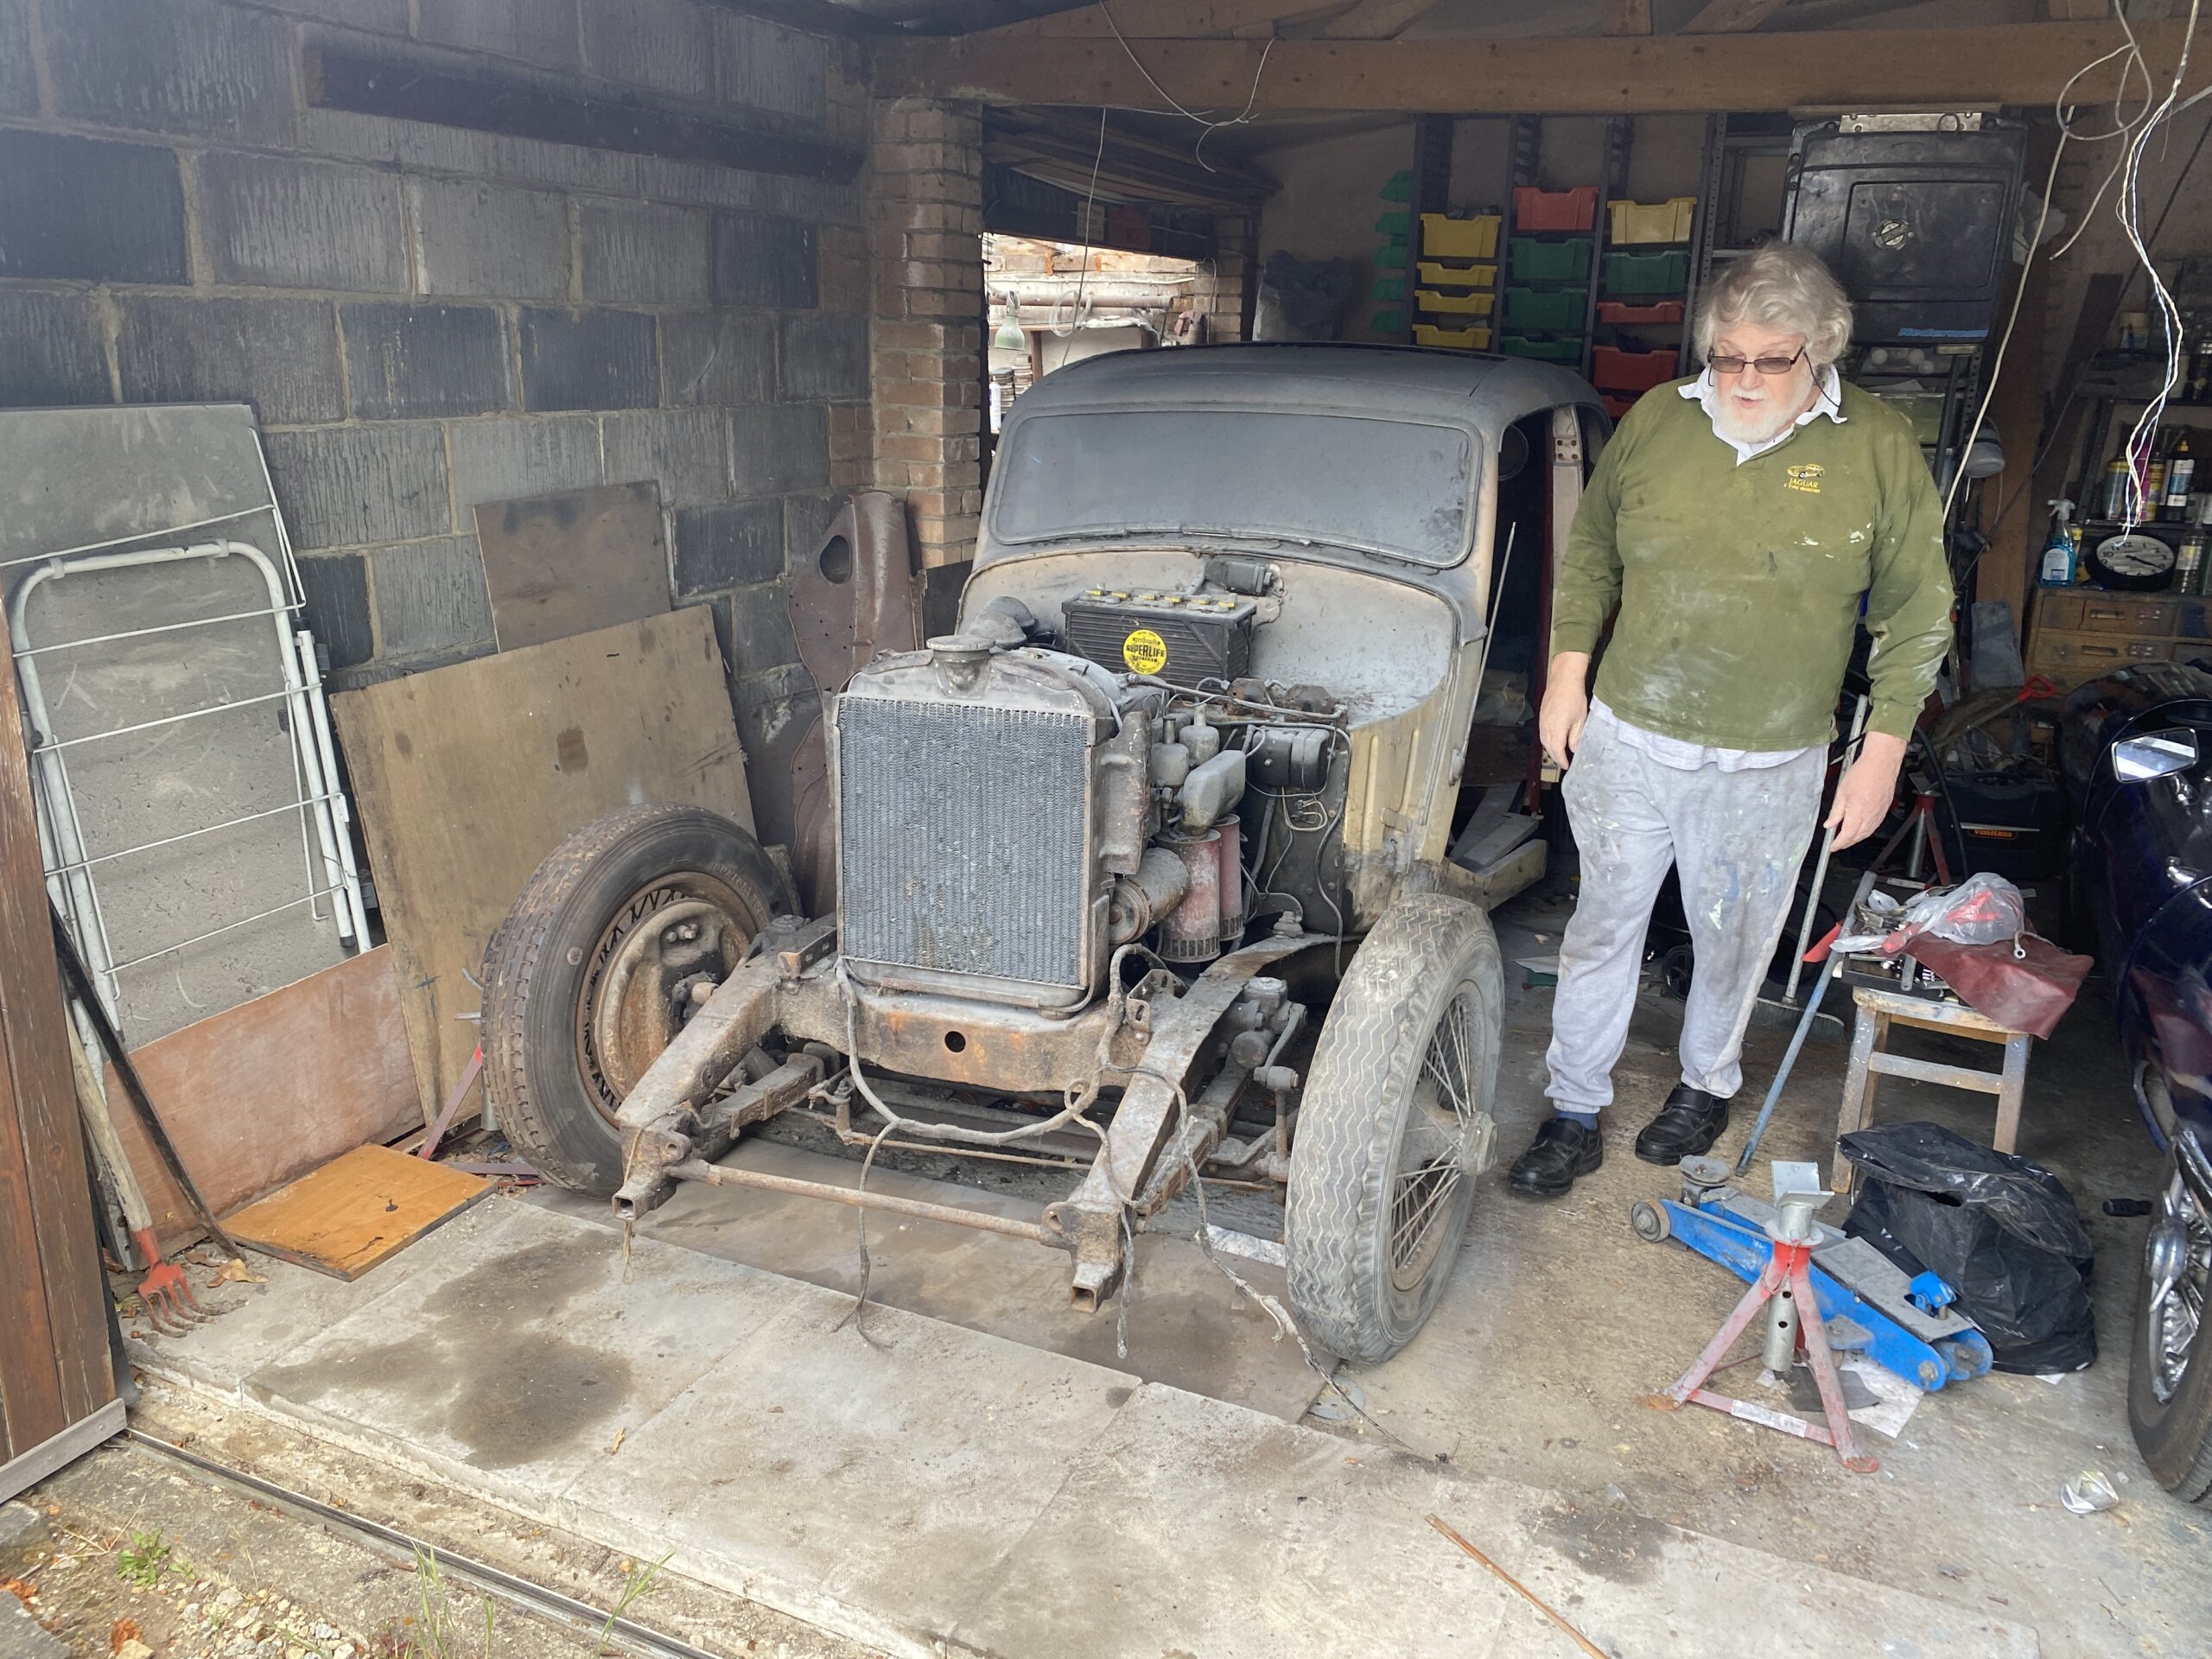
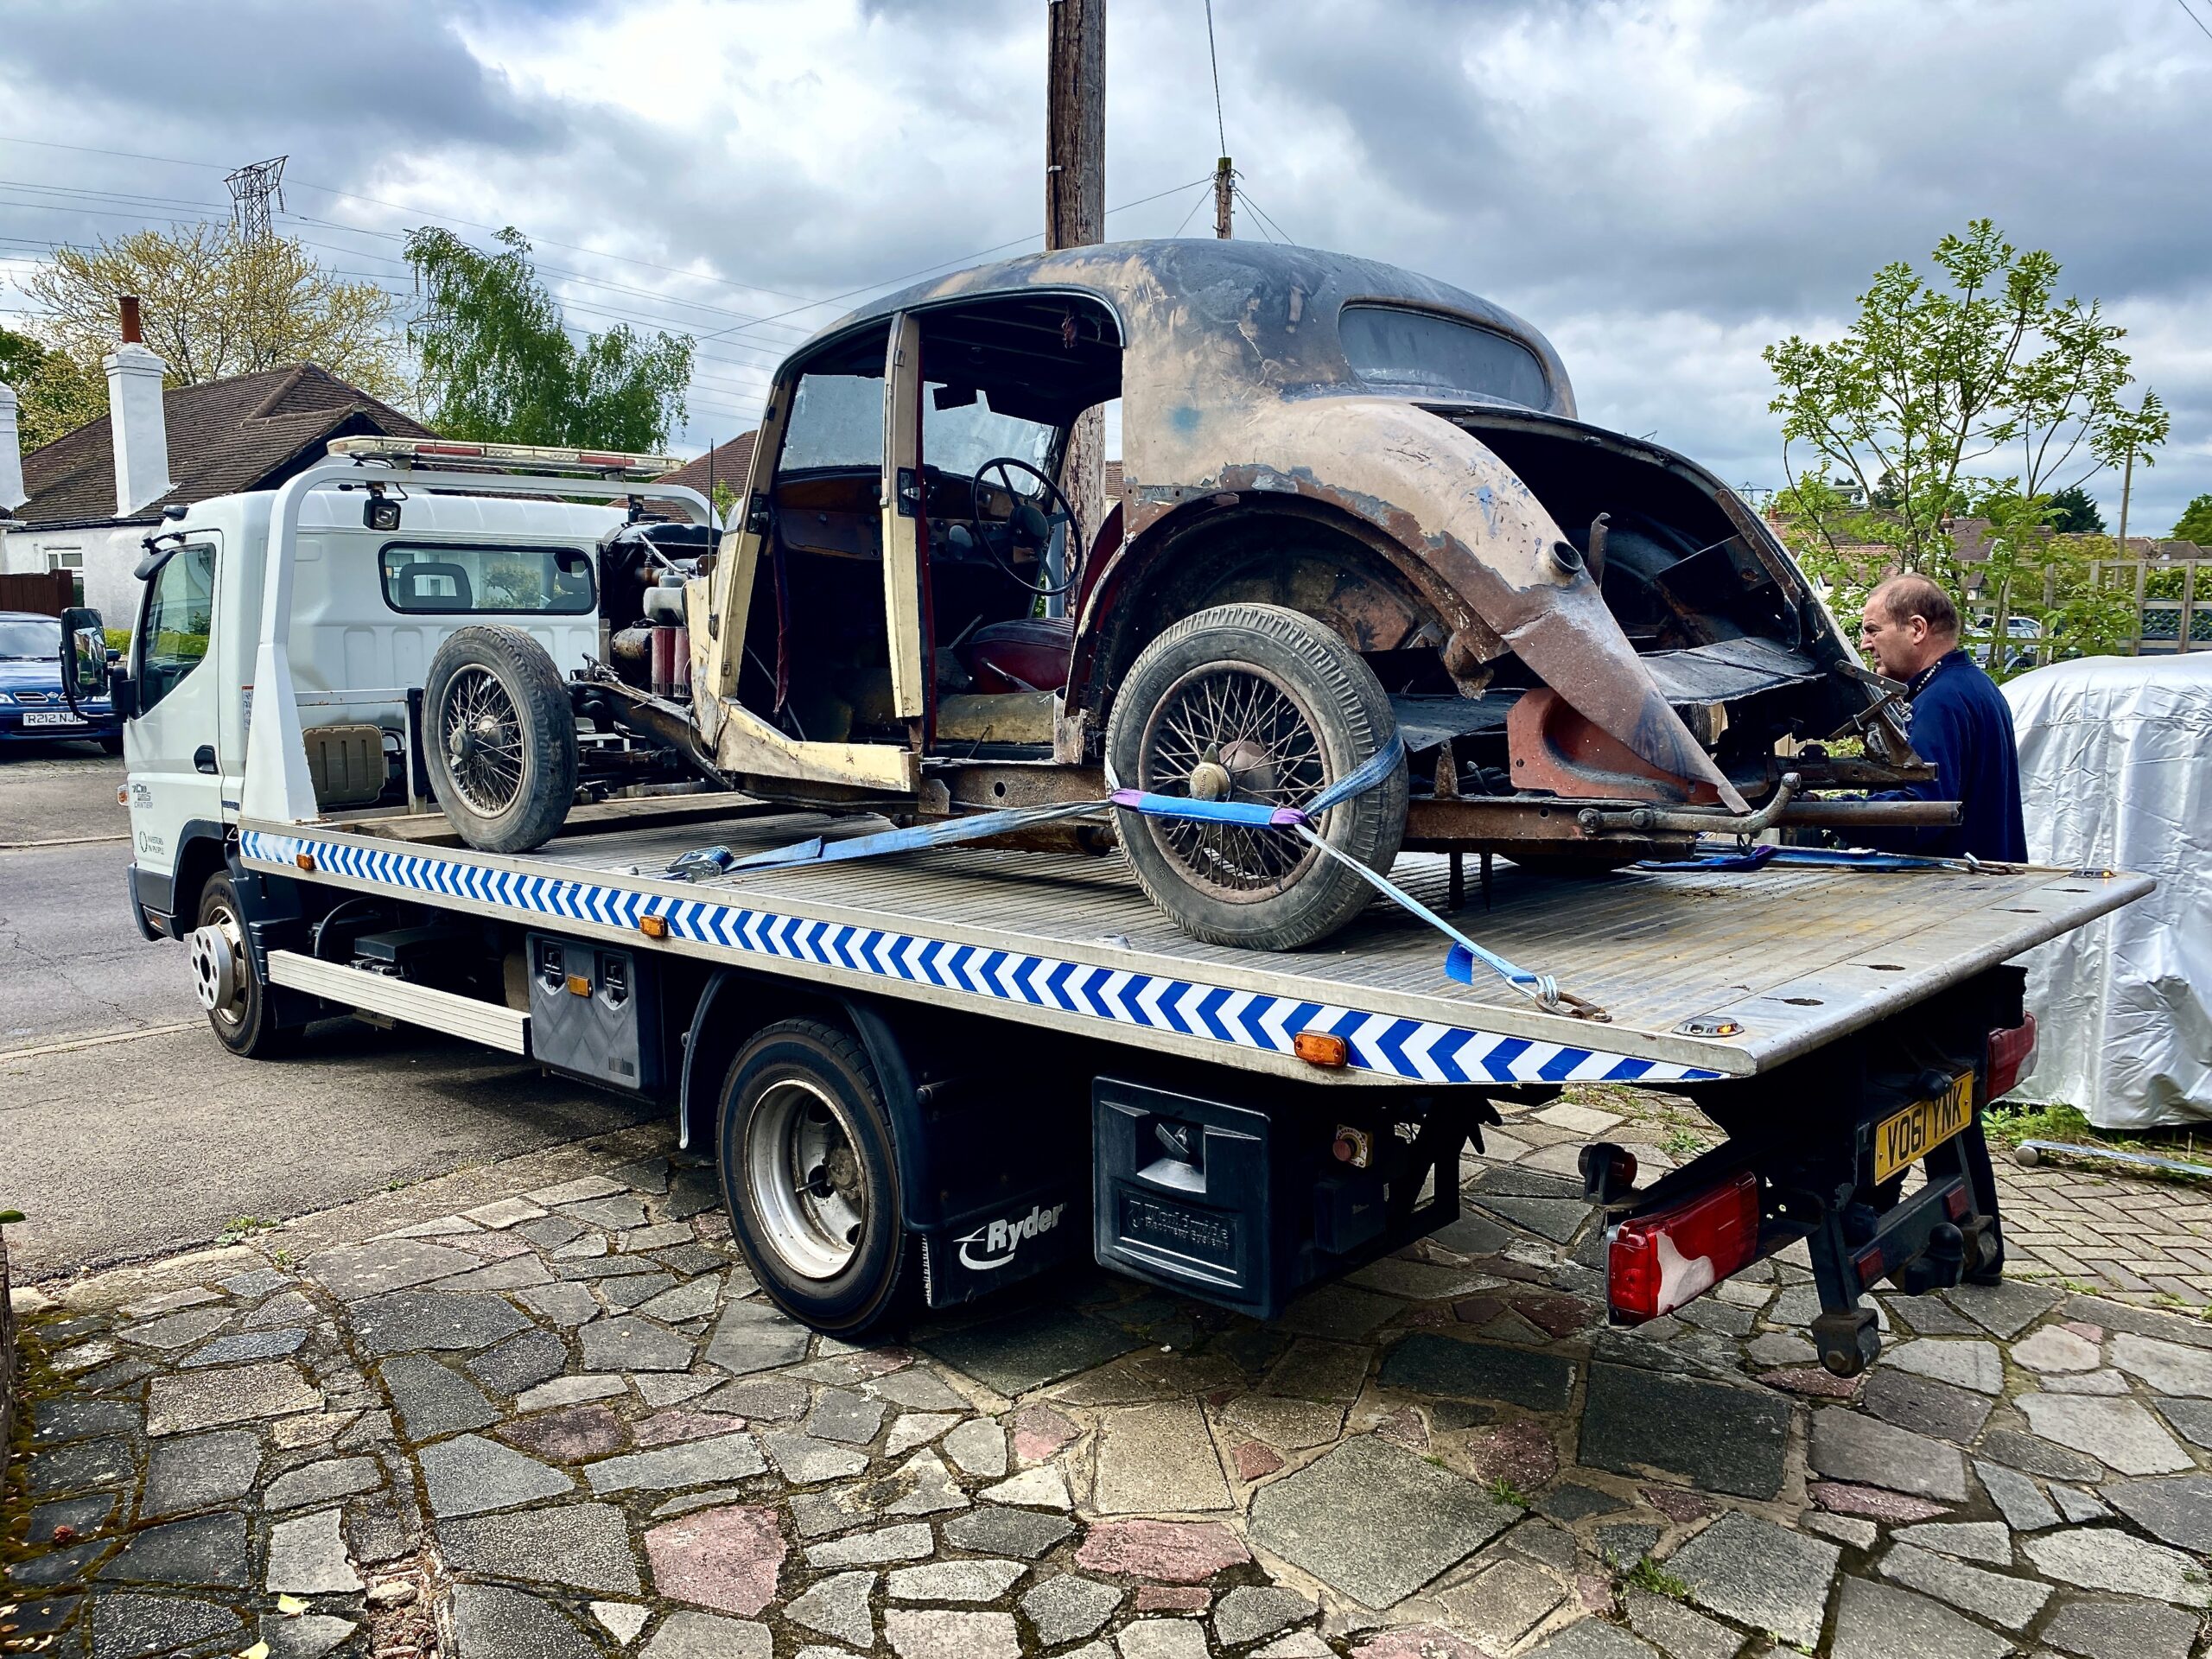
I cant tell you how much I was looking forward to the day when we transported the car from Steve's garage to mine so that the restoration of this super elegant car could start. The tyres were pumped up and would hopefully hold air long enough for the half hour journey and the physical push into the garage. Clive backed his transporter up to the garage, connected the winch to a chassis cross member and simply pulled the car onto the transporter requiring next to no involvement from us. Whilst Clive was securing the car, we took advantage of the time to look around the garage for other large parts that we had not moved previously and surprisingly we found quite a lot; the rear bumper was leaning up against the wall (hurrah - found it!) plus the tool tray lid that fits into the boot and a few other parts that all of a sudden filled up my car again.

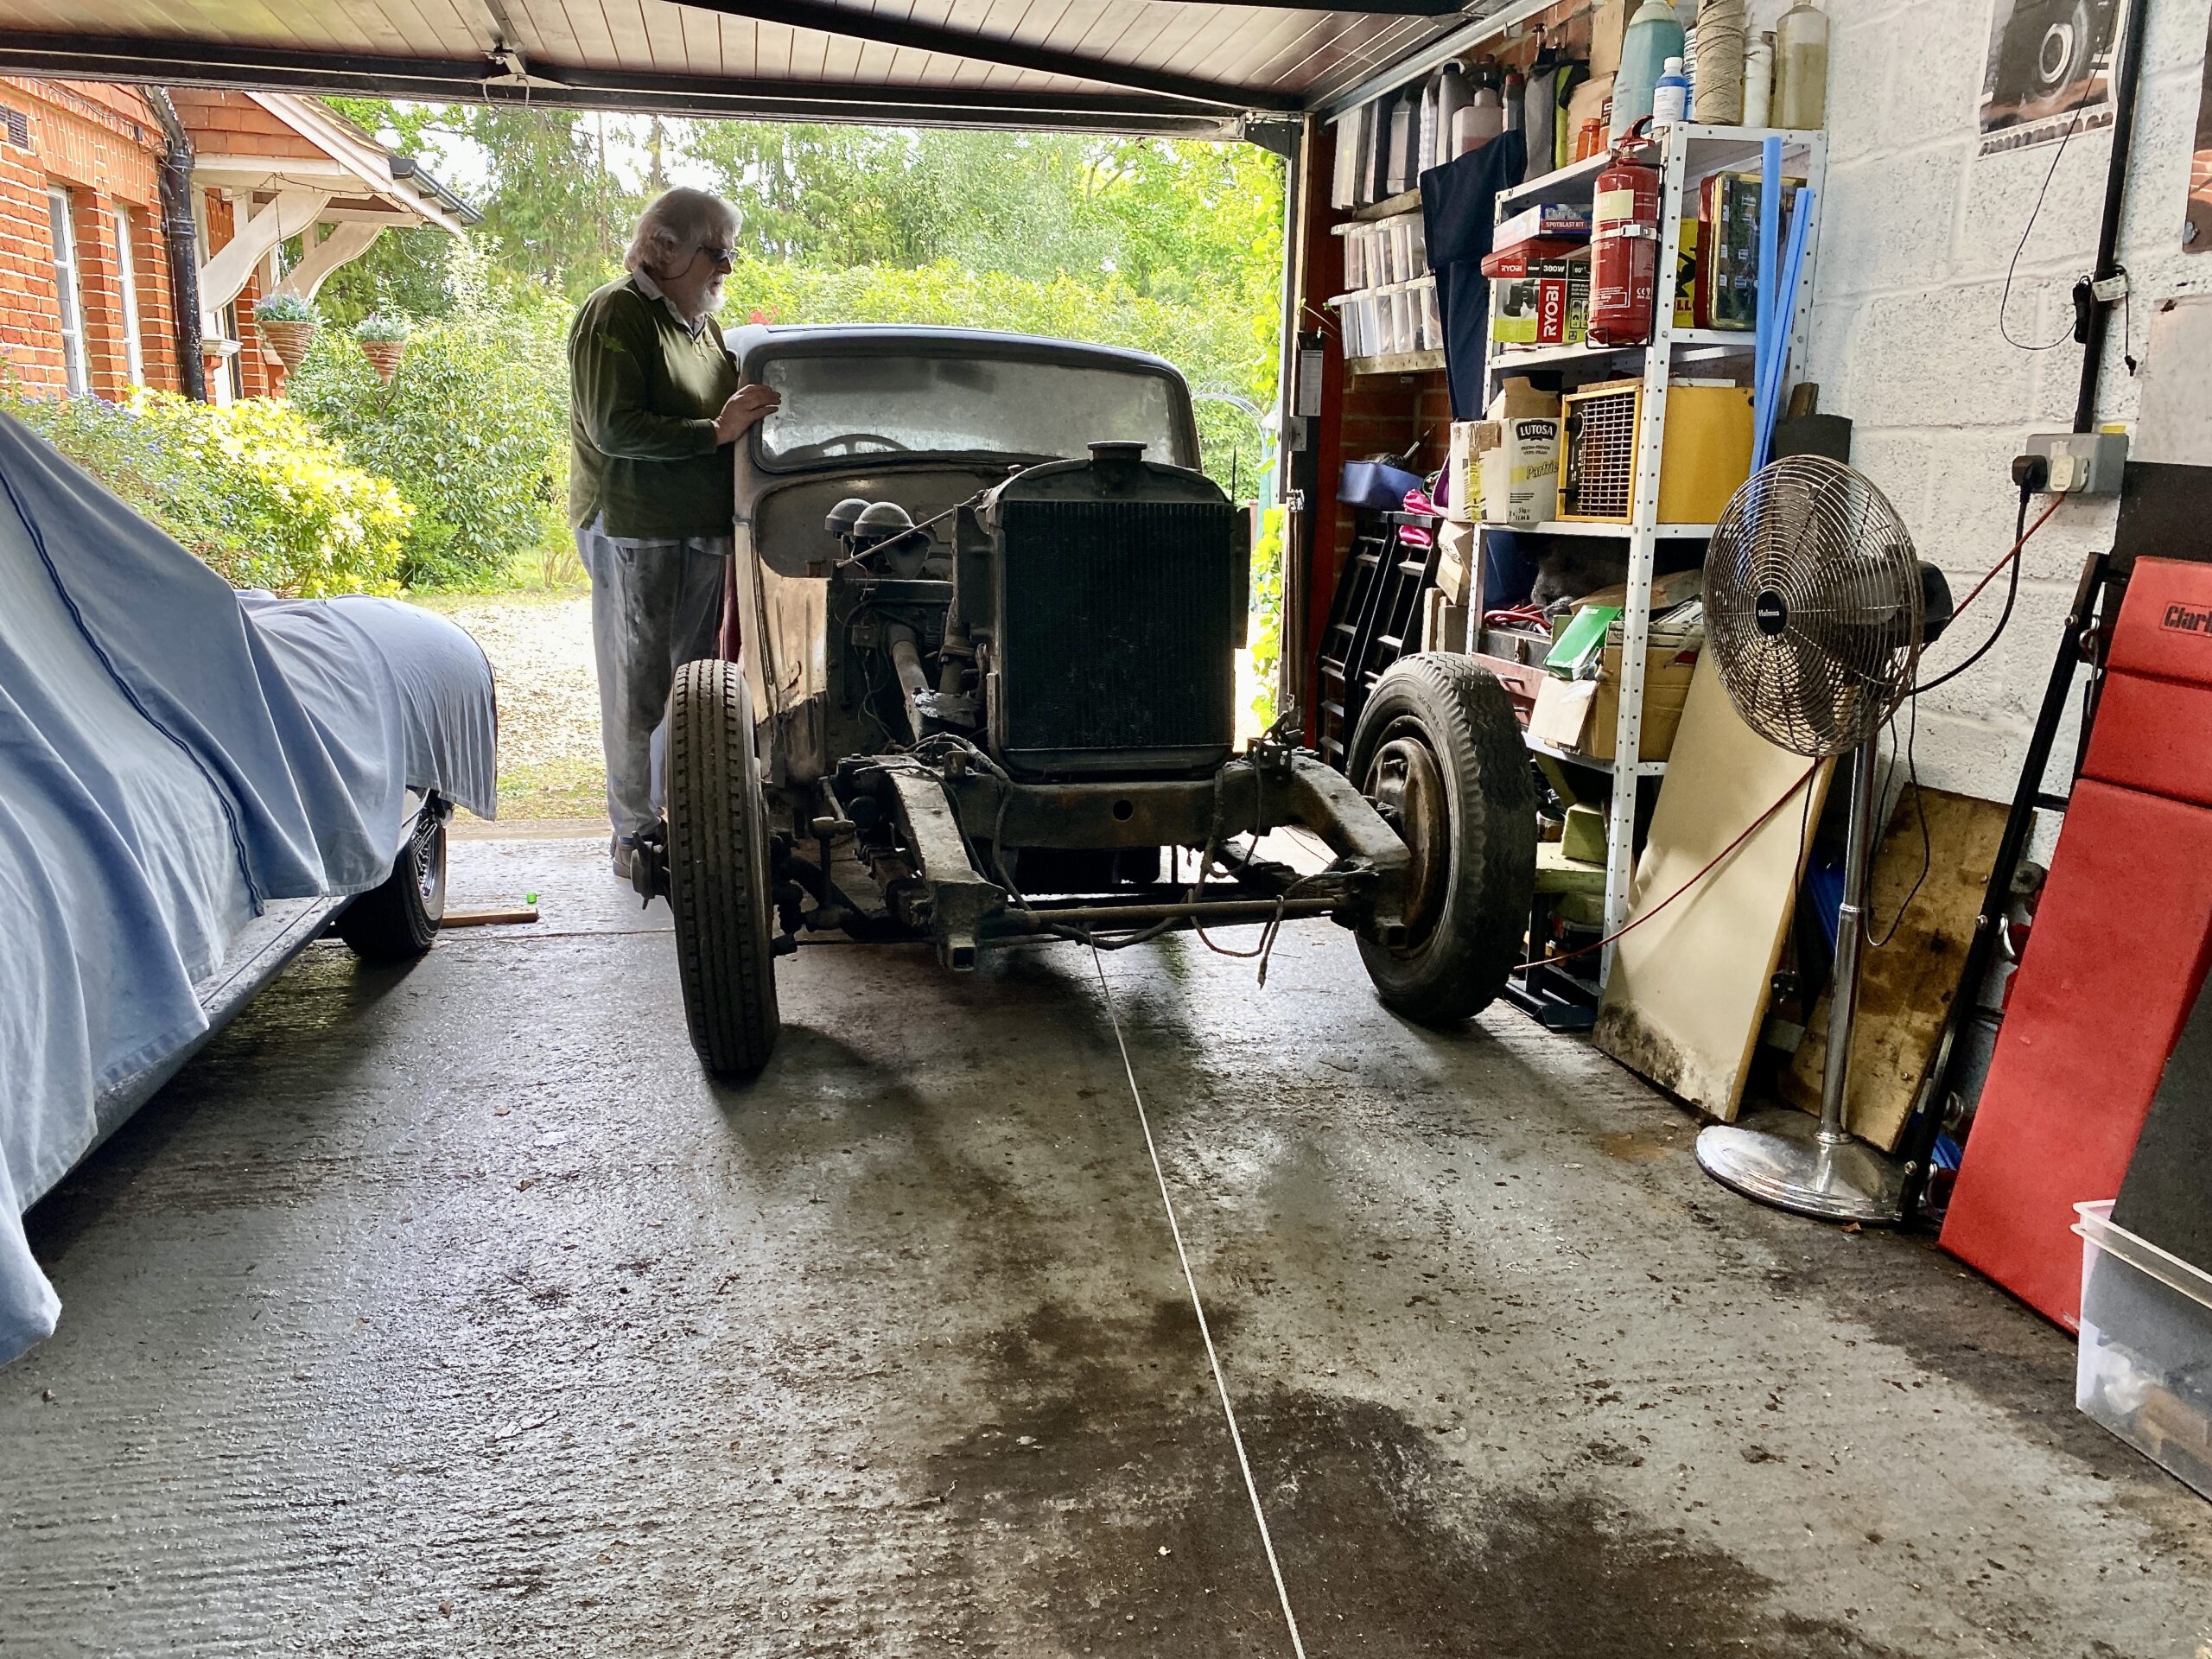
Transporting of the car was no real problem, nor was unloading it. The harder part was manoeuvring the heavy car into my drive way - the steering is very stiff after so many years in storage and it has the turning circle of a battleship so it took some effort to turn it the 90 degrees into the drive at which point one of the wheels fell off (literally). Steve had managed to find the original brass wheel spinners but had neglected to fit one of them so the wheel worked its way off the splines. That set Steve to scratching his head because he was sure he had fitted them all and I was slightly worried because I thought I now had to find another spinner. Whilst I went to get a jack from the garage to refit the wheel, there was a hurrah from Steve - the errant spinner was sitting on the remains of a shelf in the (very open) boot area. It had sat there throughout the whole journey and we were very lucky that it had not slid off the car and got lost during the journey.

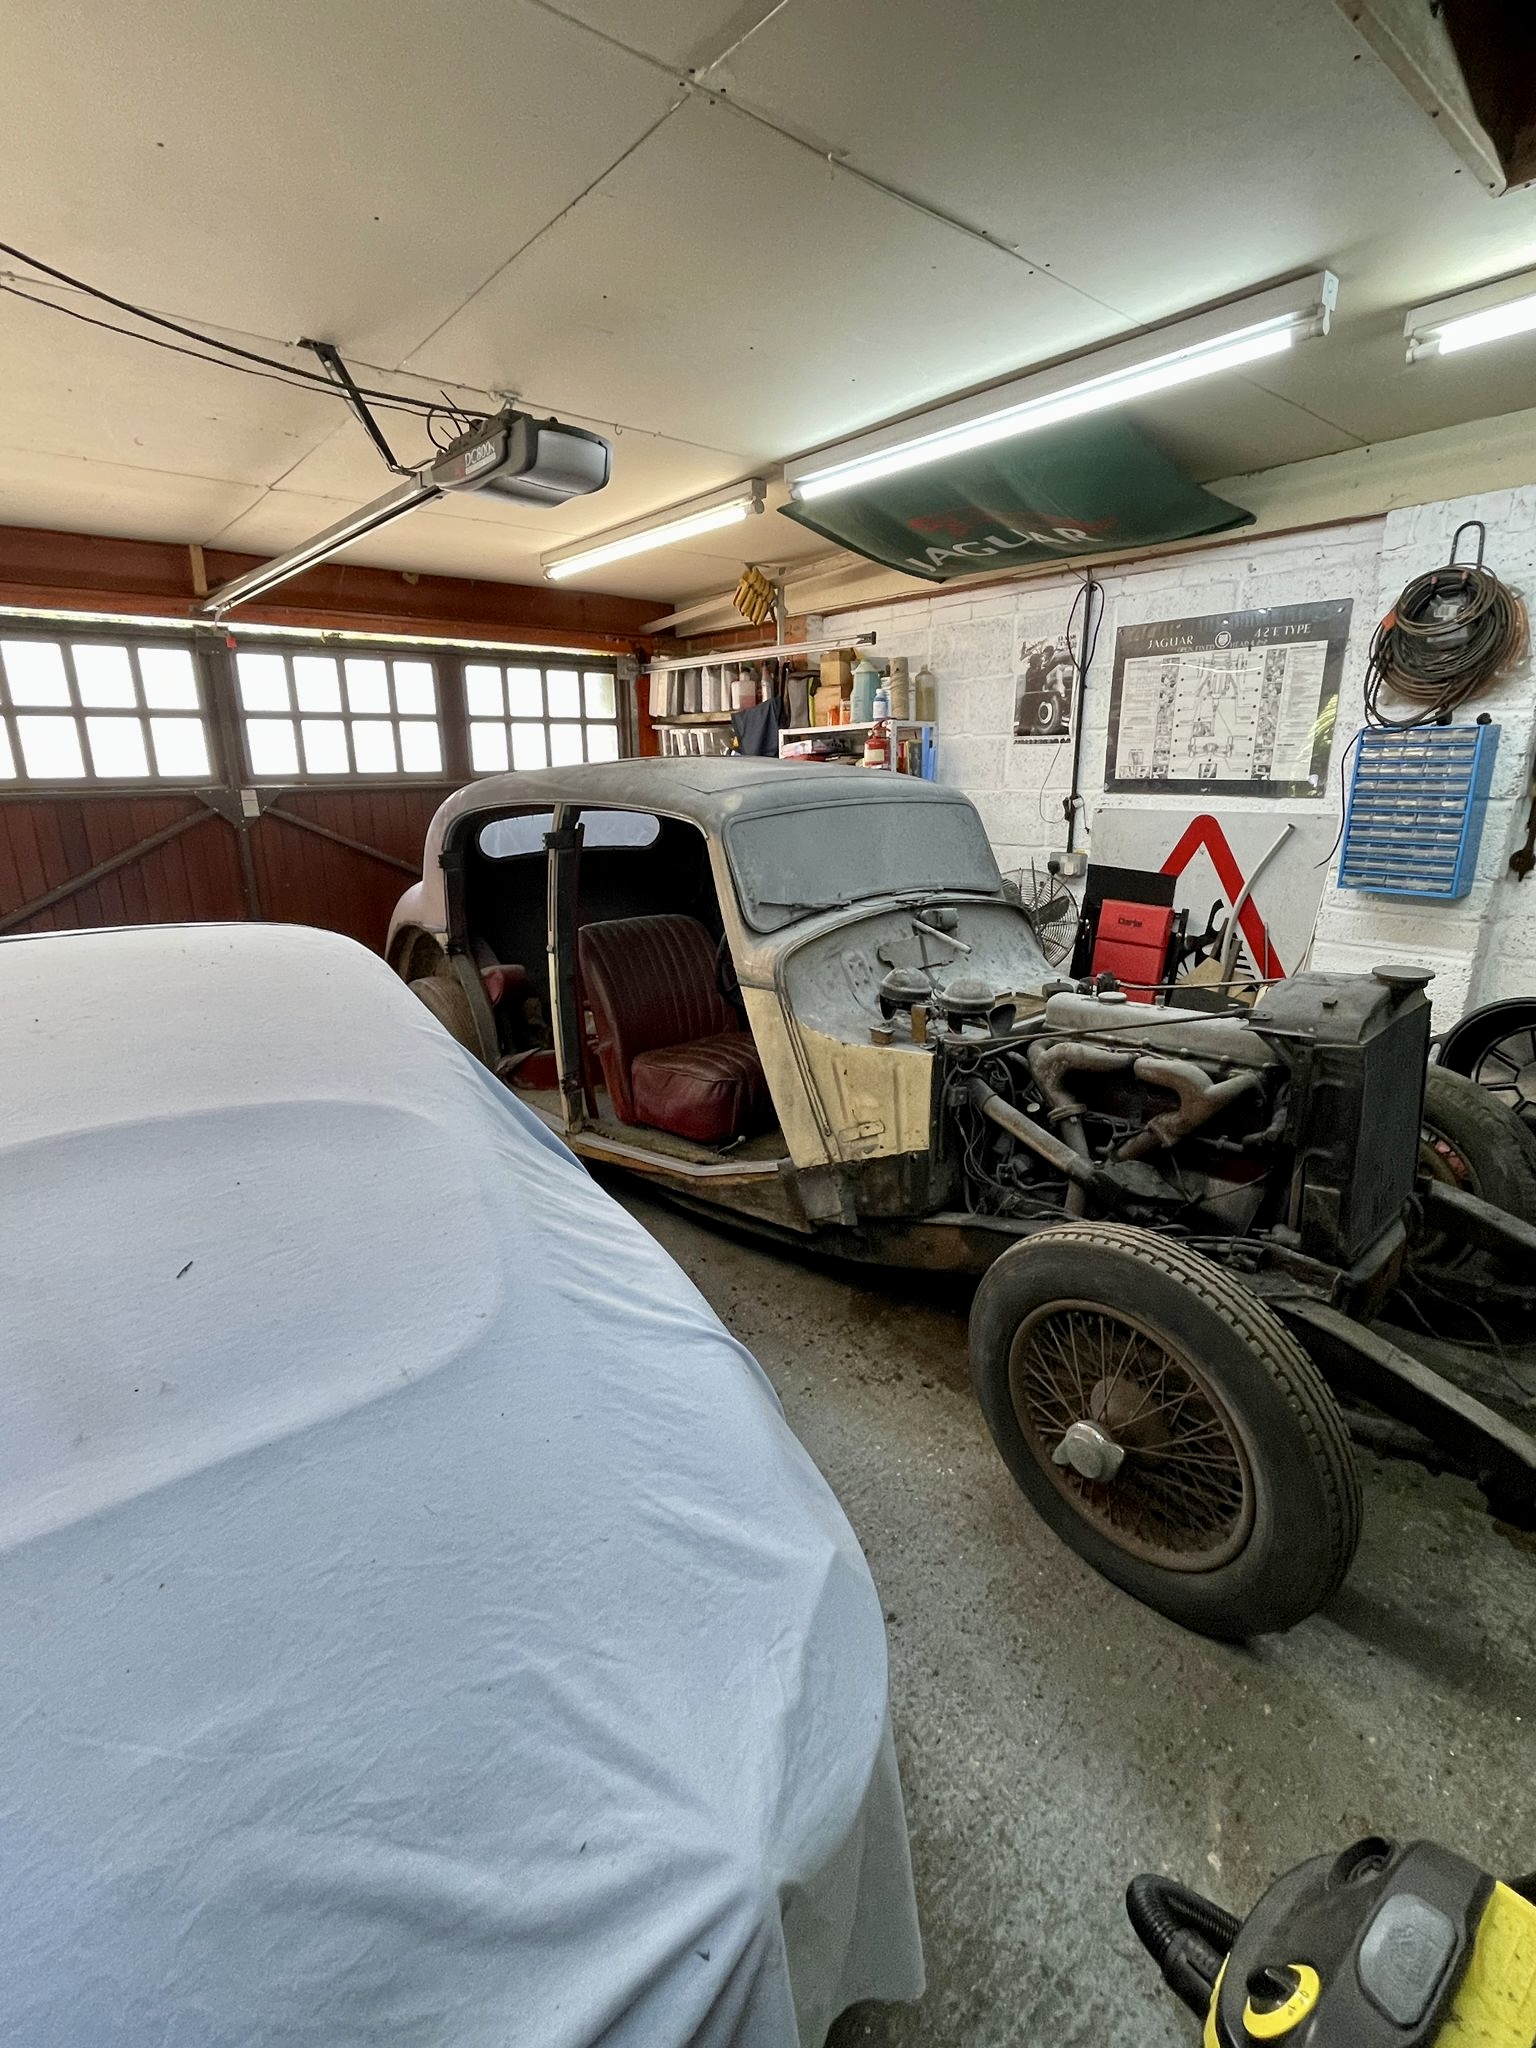
The hard part now commenced - pushing it into the garage. Clive very kindly lent us a hand so between the three of us we moved the car to face into the garage but the short ramp into the garage defeated us. Luckily I had planned for this event and fitted an electric winch into the back of the garage so we merely had to connect the cable and press a button and the car was wound inside. So that is it - I have a MKIV Jaguar sitting in my garage now and the fun can begin.
Seat Rebuild Part 2

Seat Rebuild Part 2

The passenger seat is sadly beyond being restored... but that doesn't mean I cant make another one. If there is someone out there who remakes the Jaguar seats - I have not found them and all the ordered metal has arrived so I can make a start on the rebuild now.

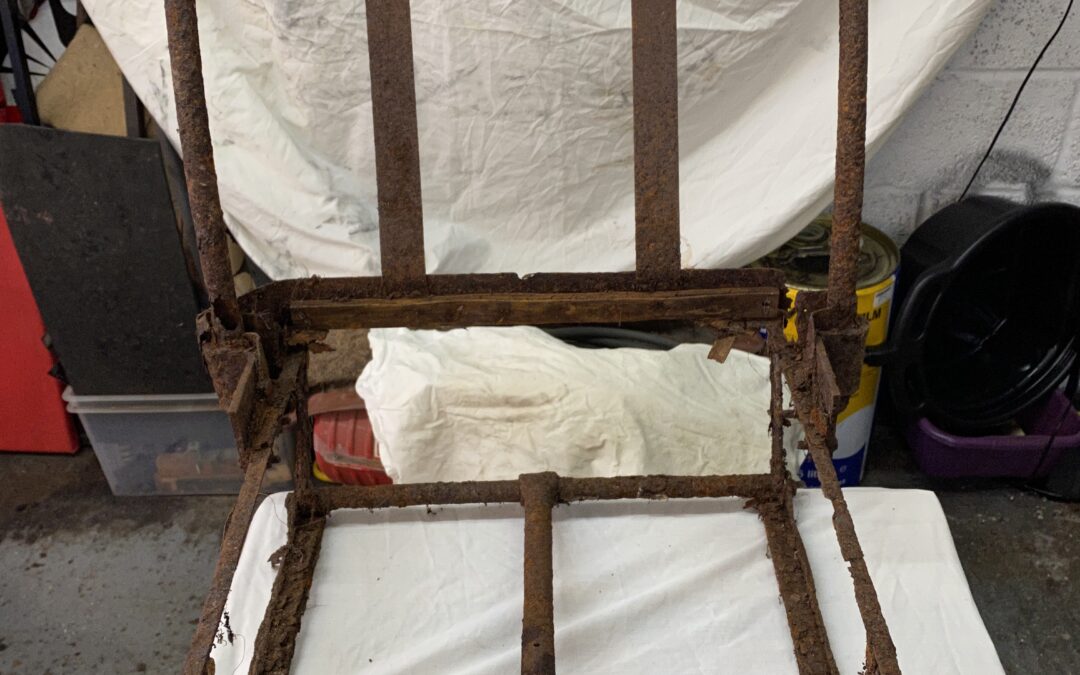
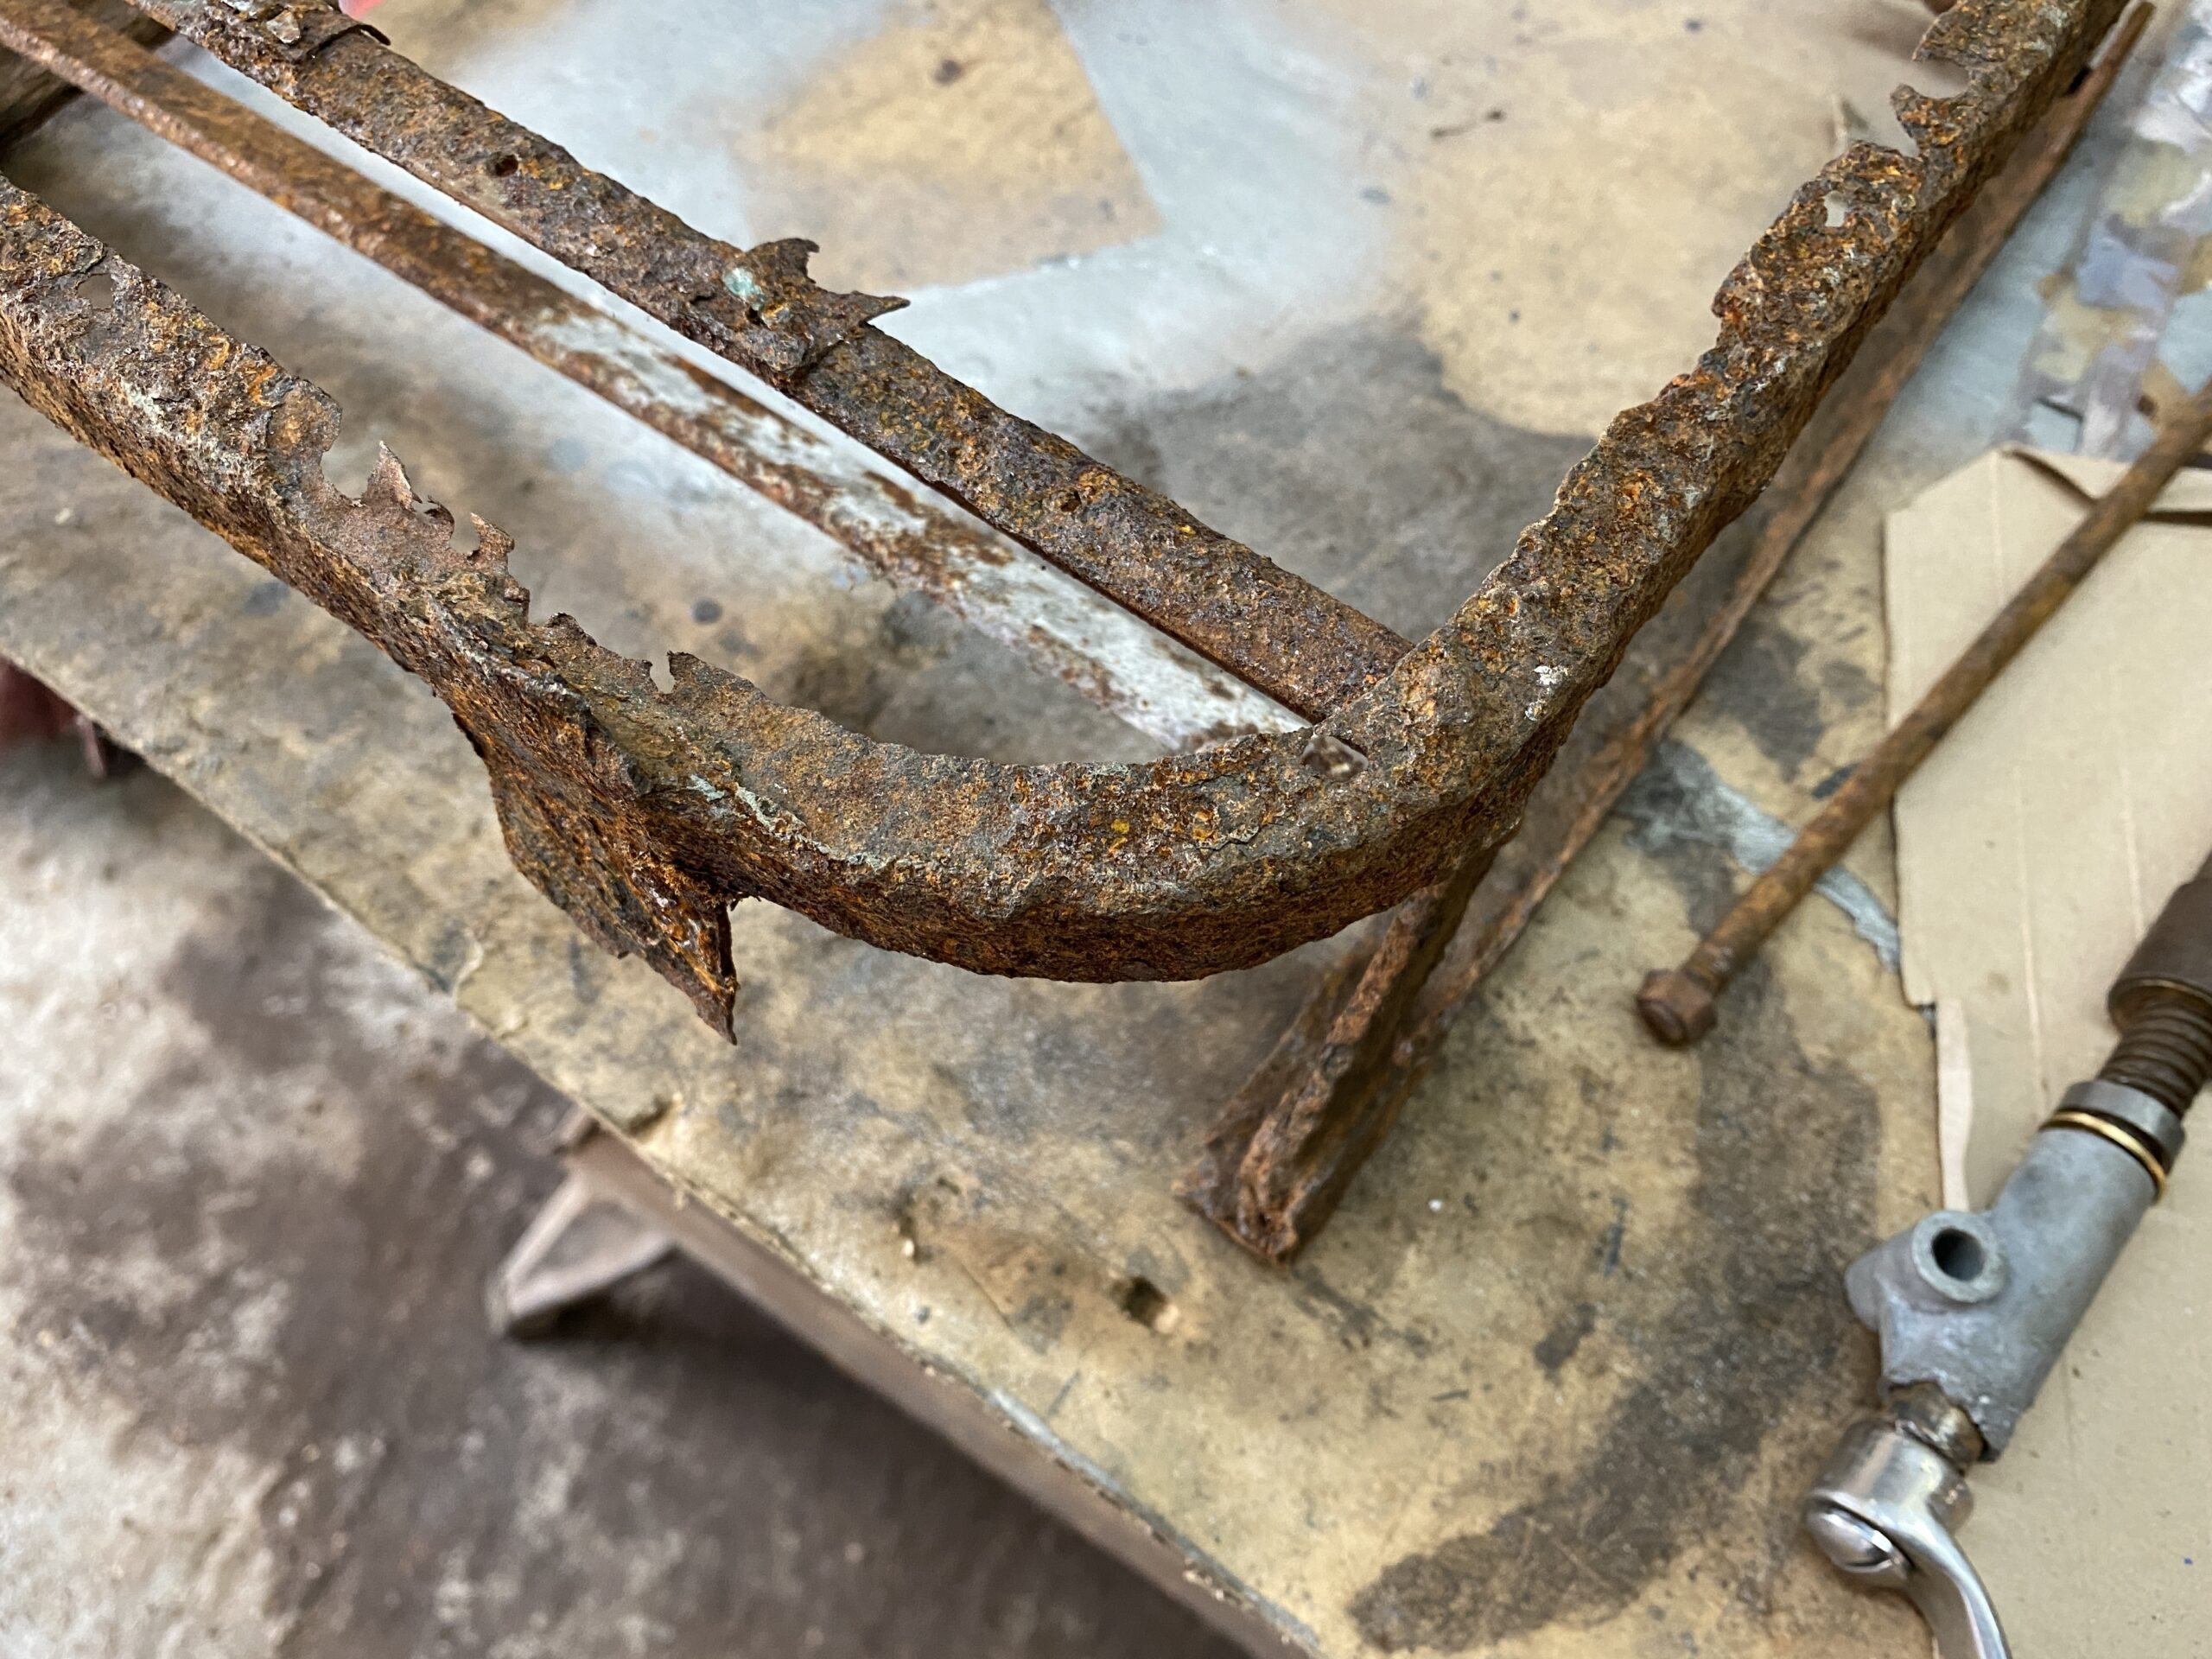
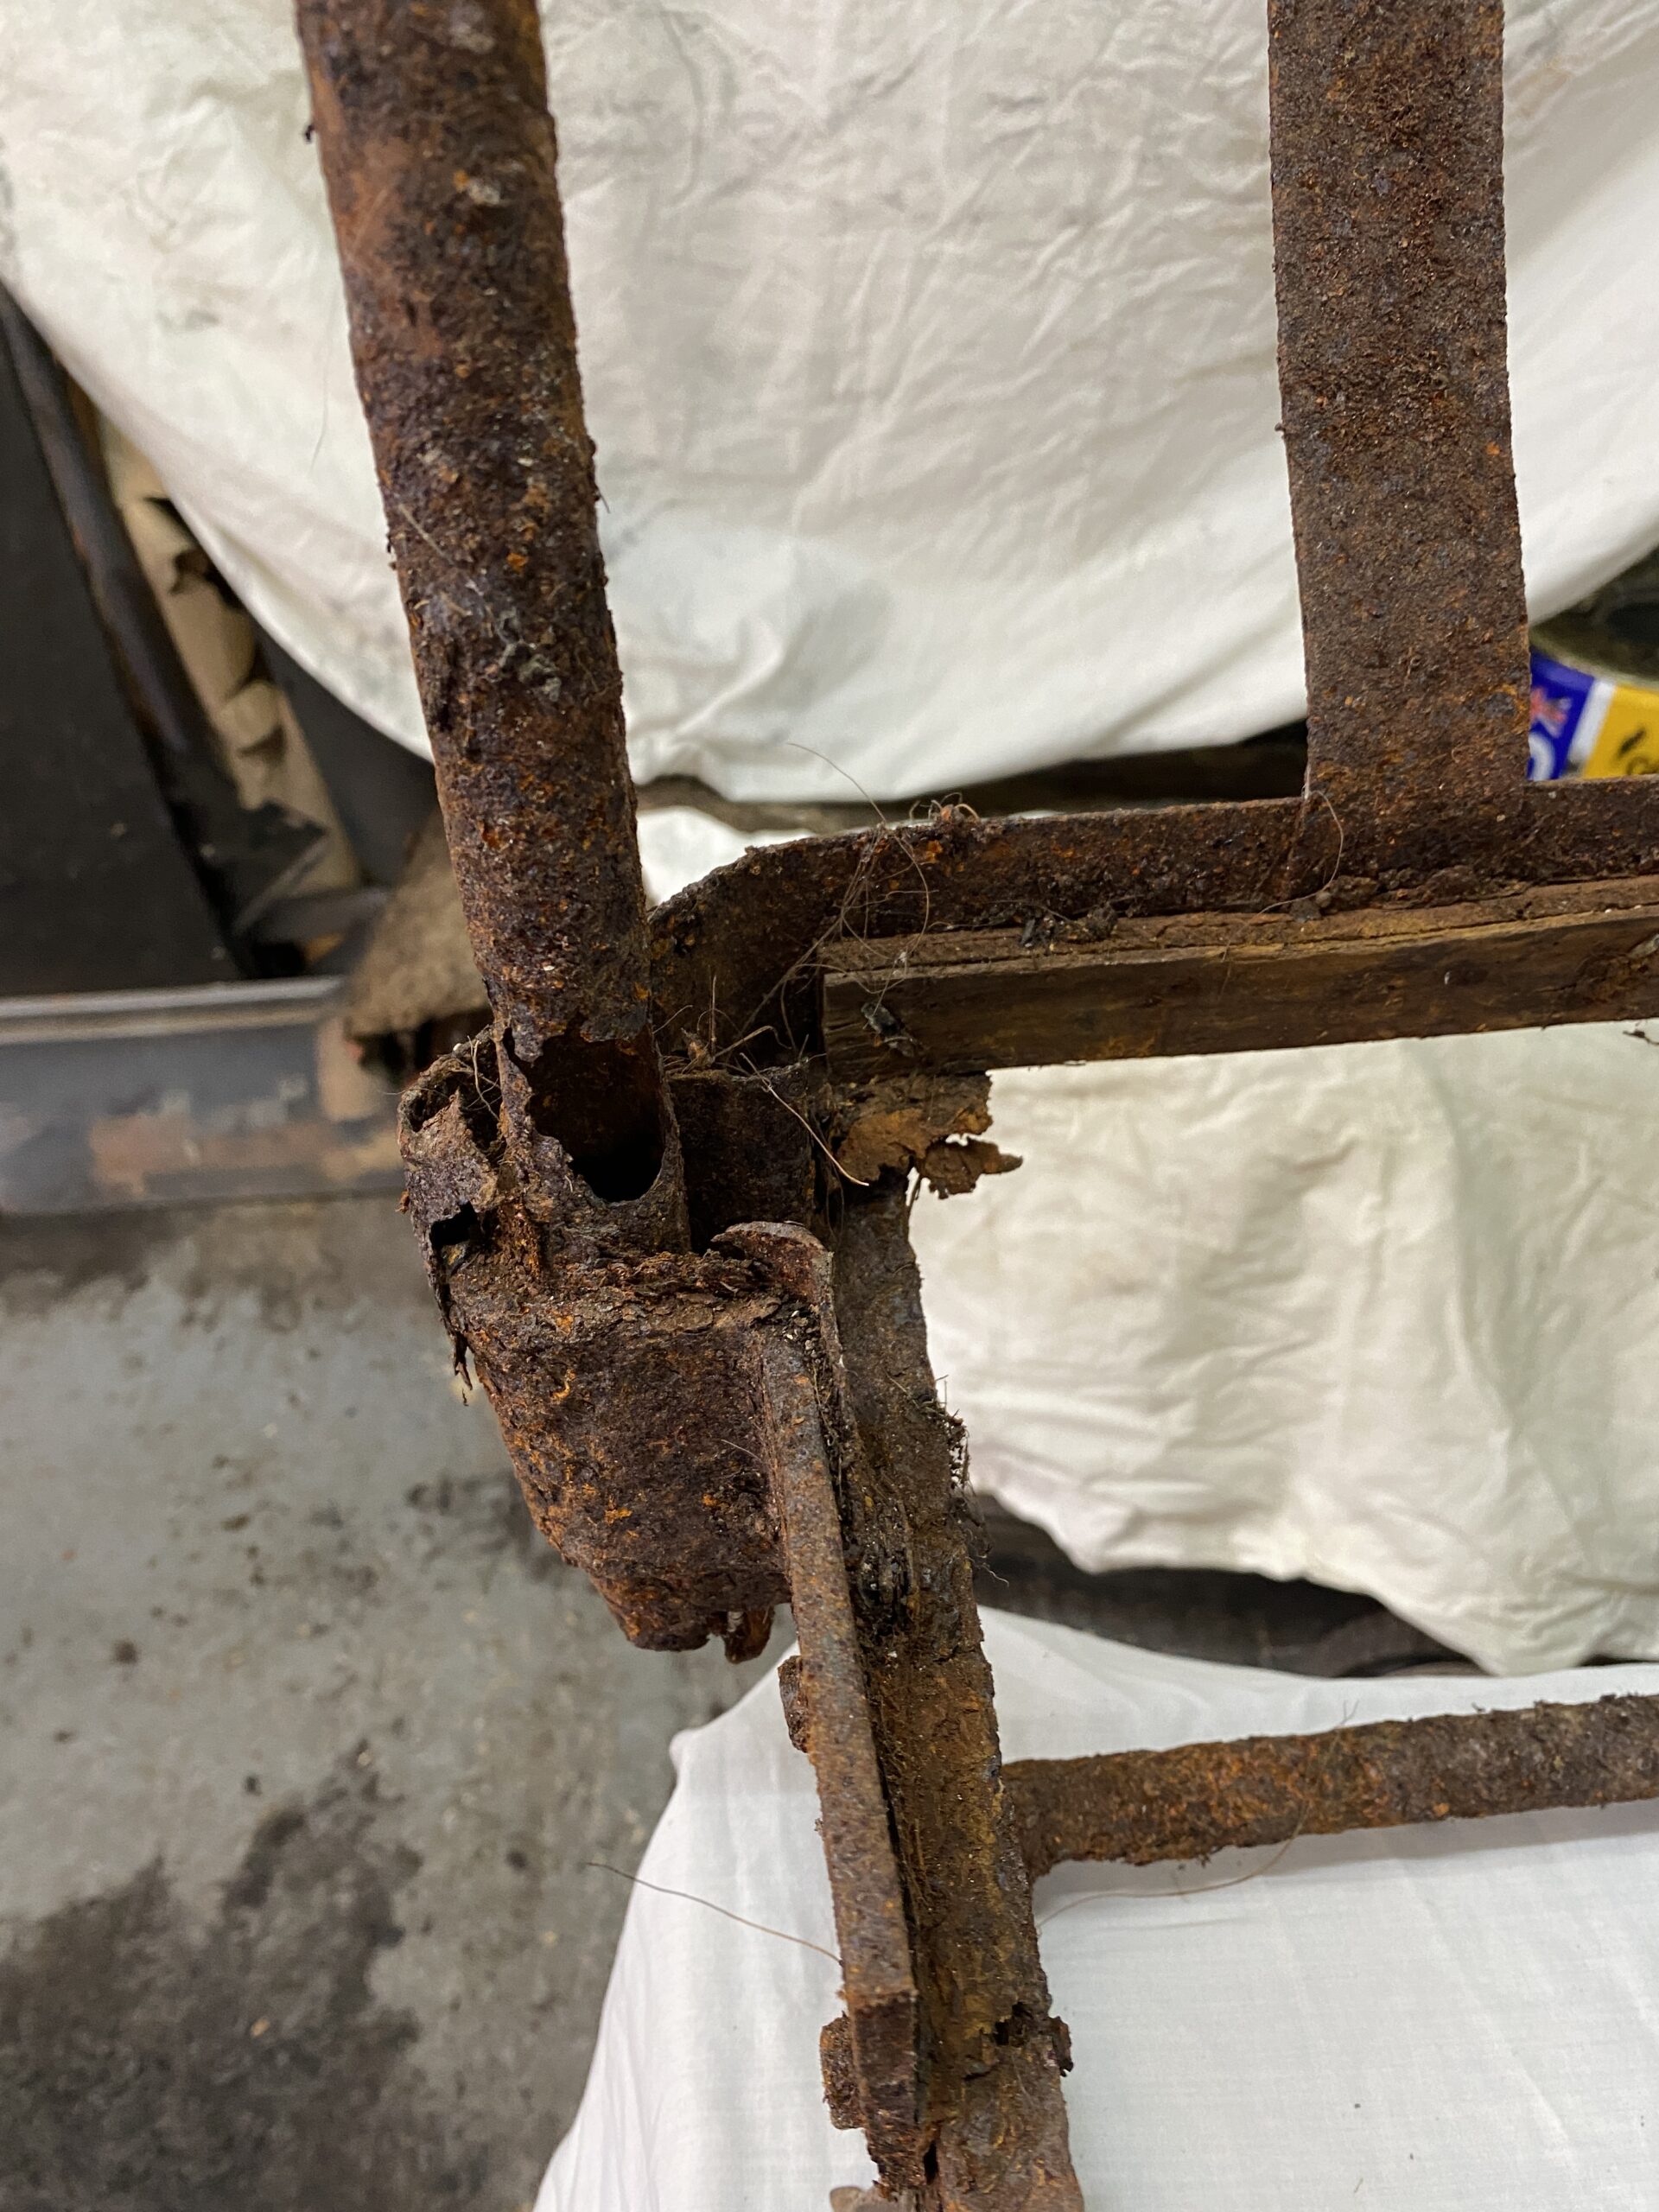
Having taken a real good look at the remains of the seat there is a huge amount of rust just about everywhere, it definitely would be unsafe to use. Releasing the rust from parts that are supposed to move is relatively easy in that I soak them in 'concrete cleaner' which does an absolutely fabulous job of stripping ferrous oxide from solid metal. So I am using this to separate the decomposed parts from the metal that I want to keep.

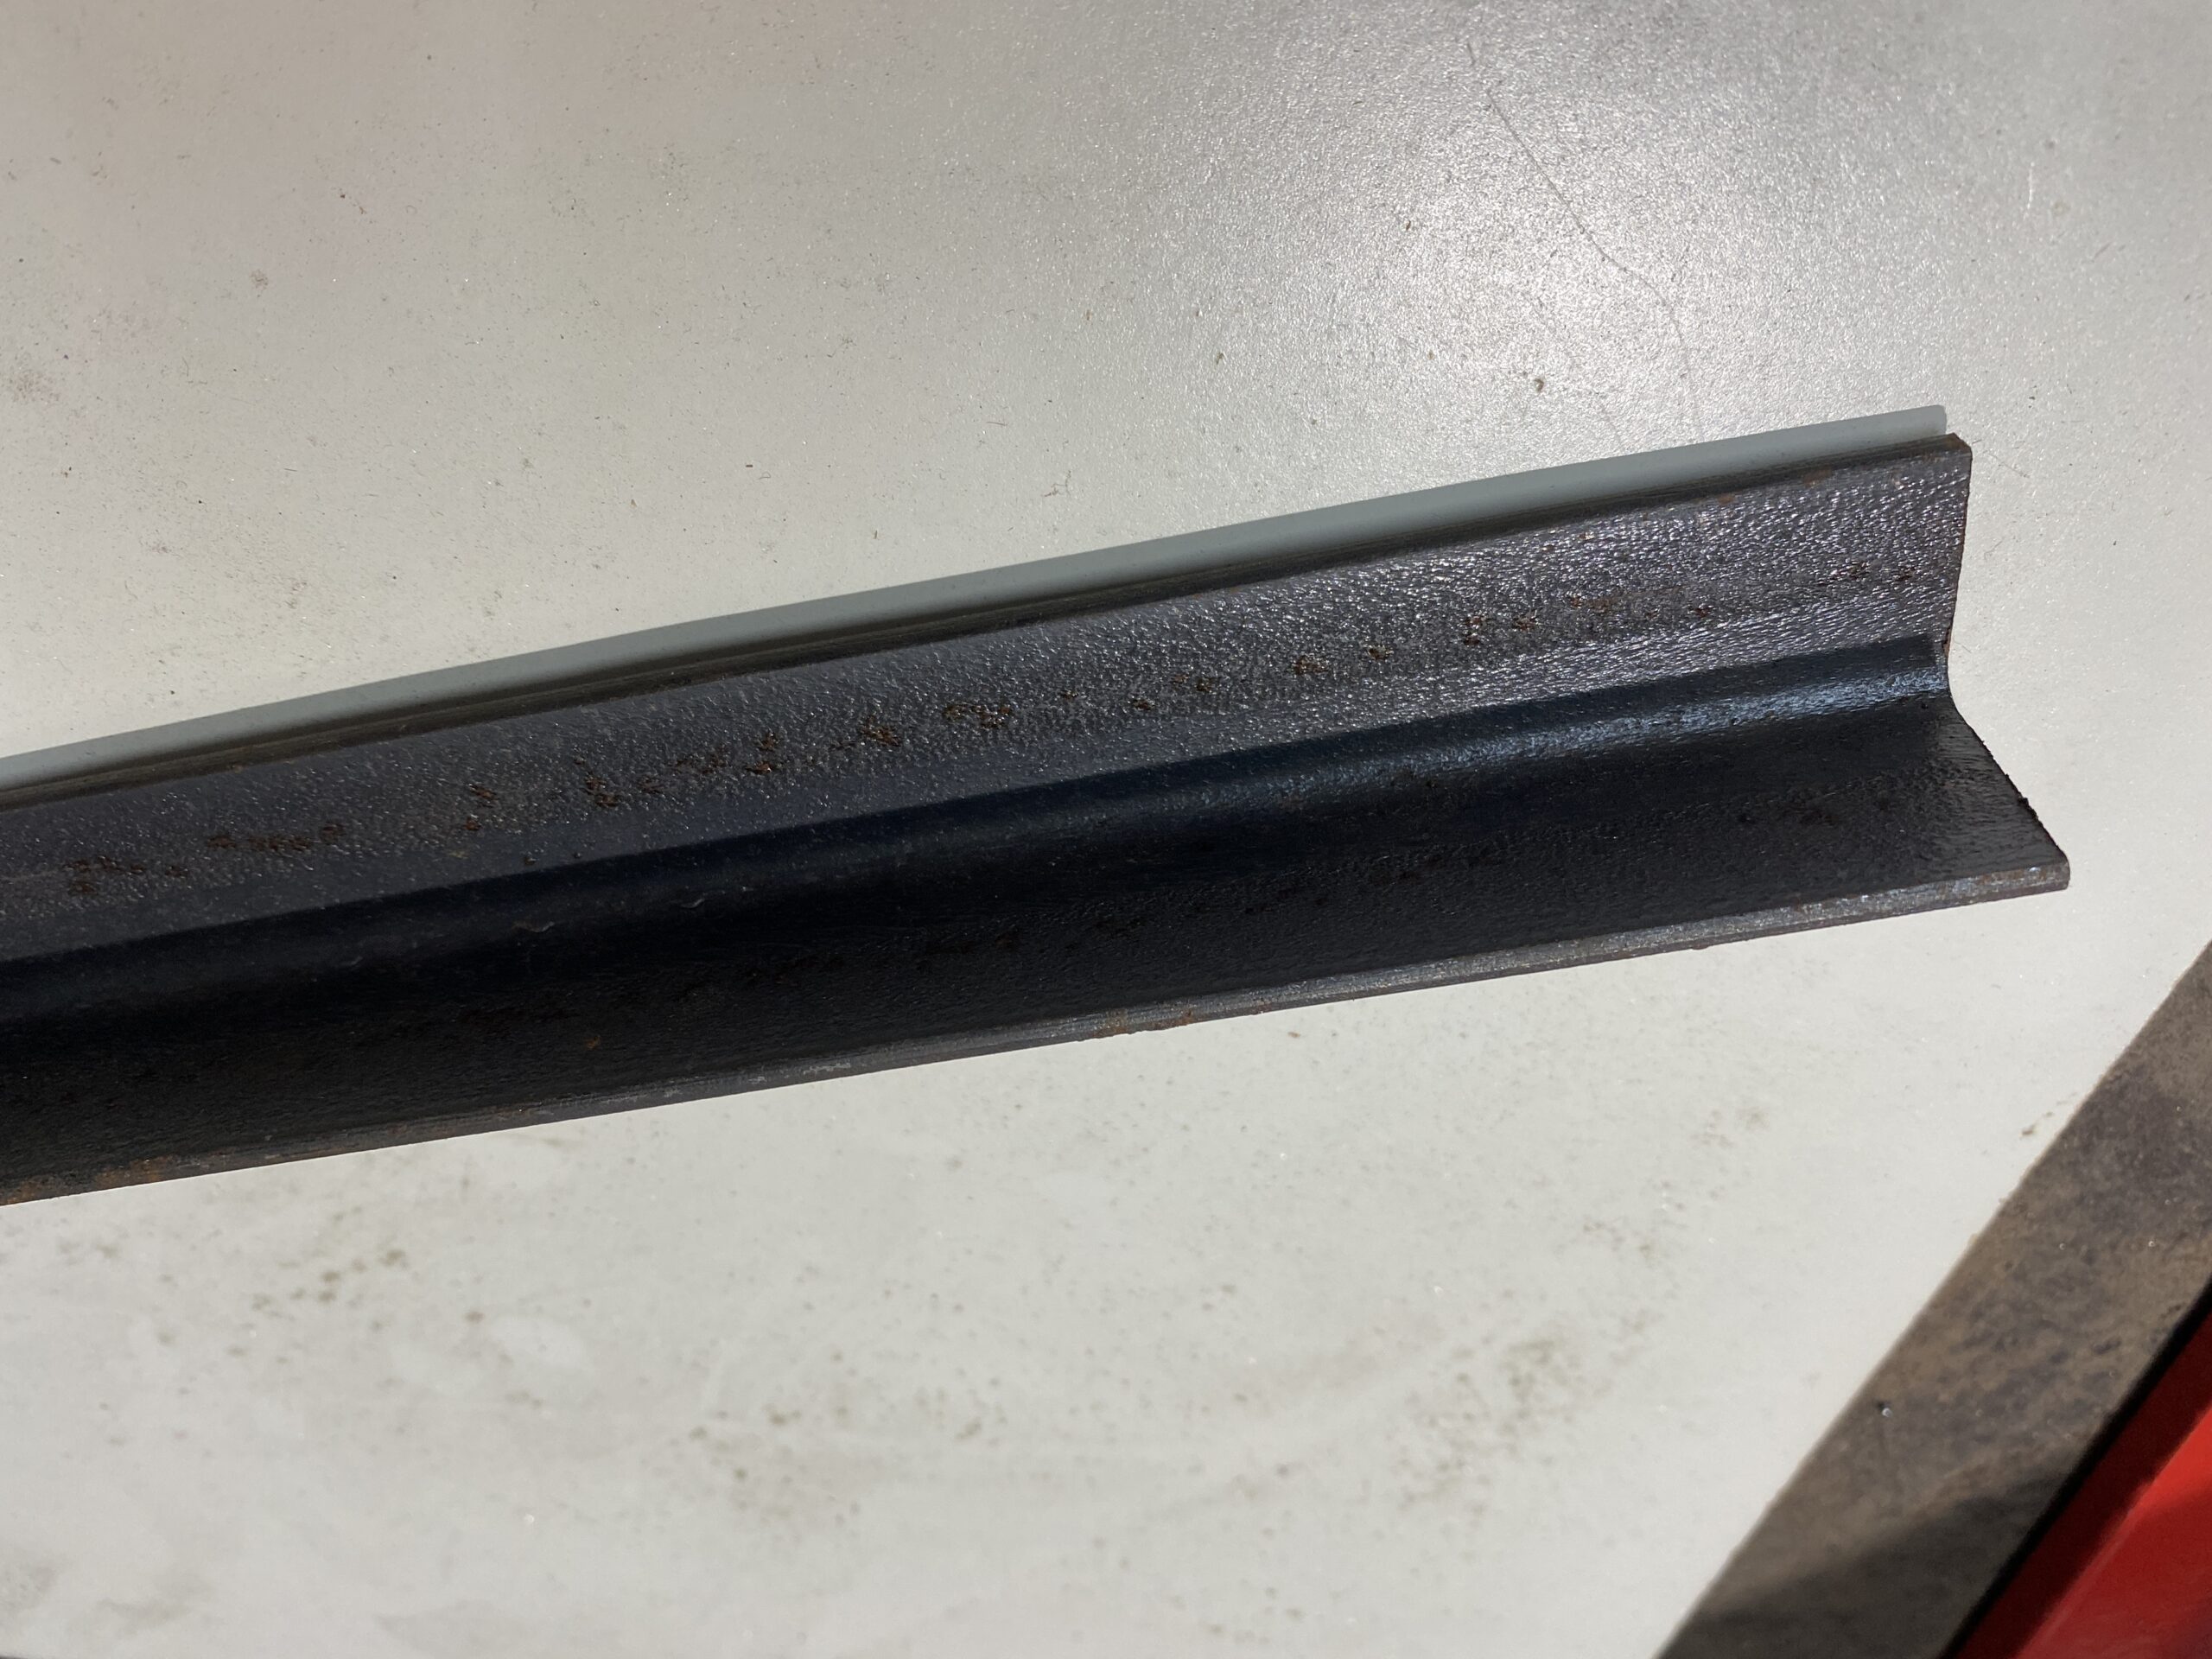
Here is where we are with the seat: The seat back will have replacement 20mm tubes bent to shape, The top and bottom part of the seat frame will be made out of 20mmx3mm angle iron to replicate how it was made originally and the cross braces and moving components will be made from 20mmx3mm flat bar. Most of the construction is relatively straight forward but they seat back is still a challenge that I have to face.

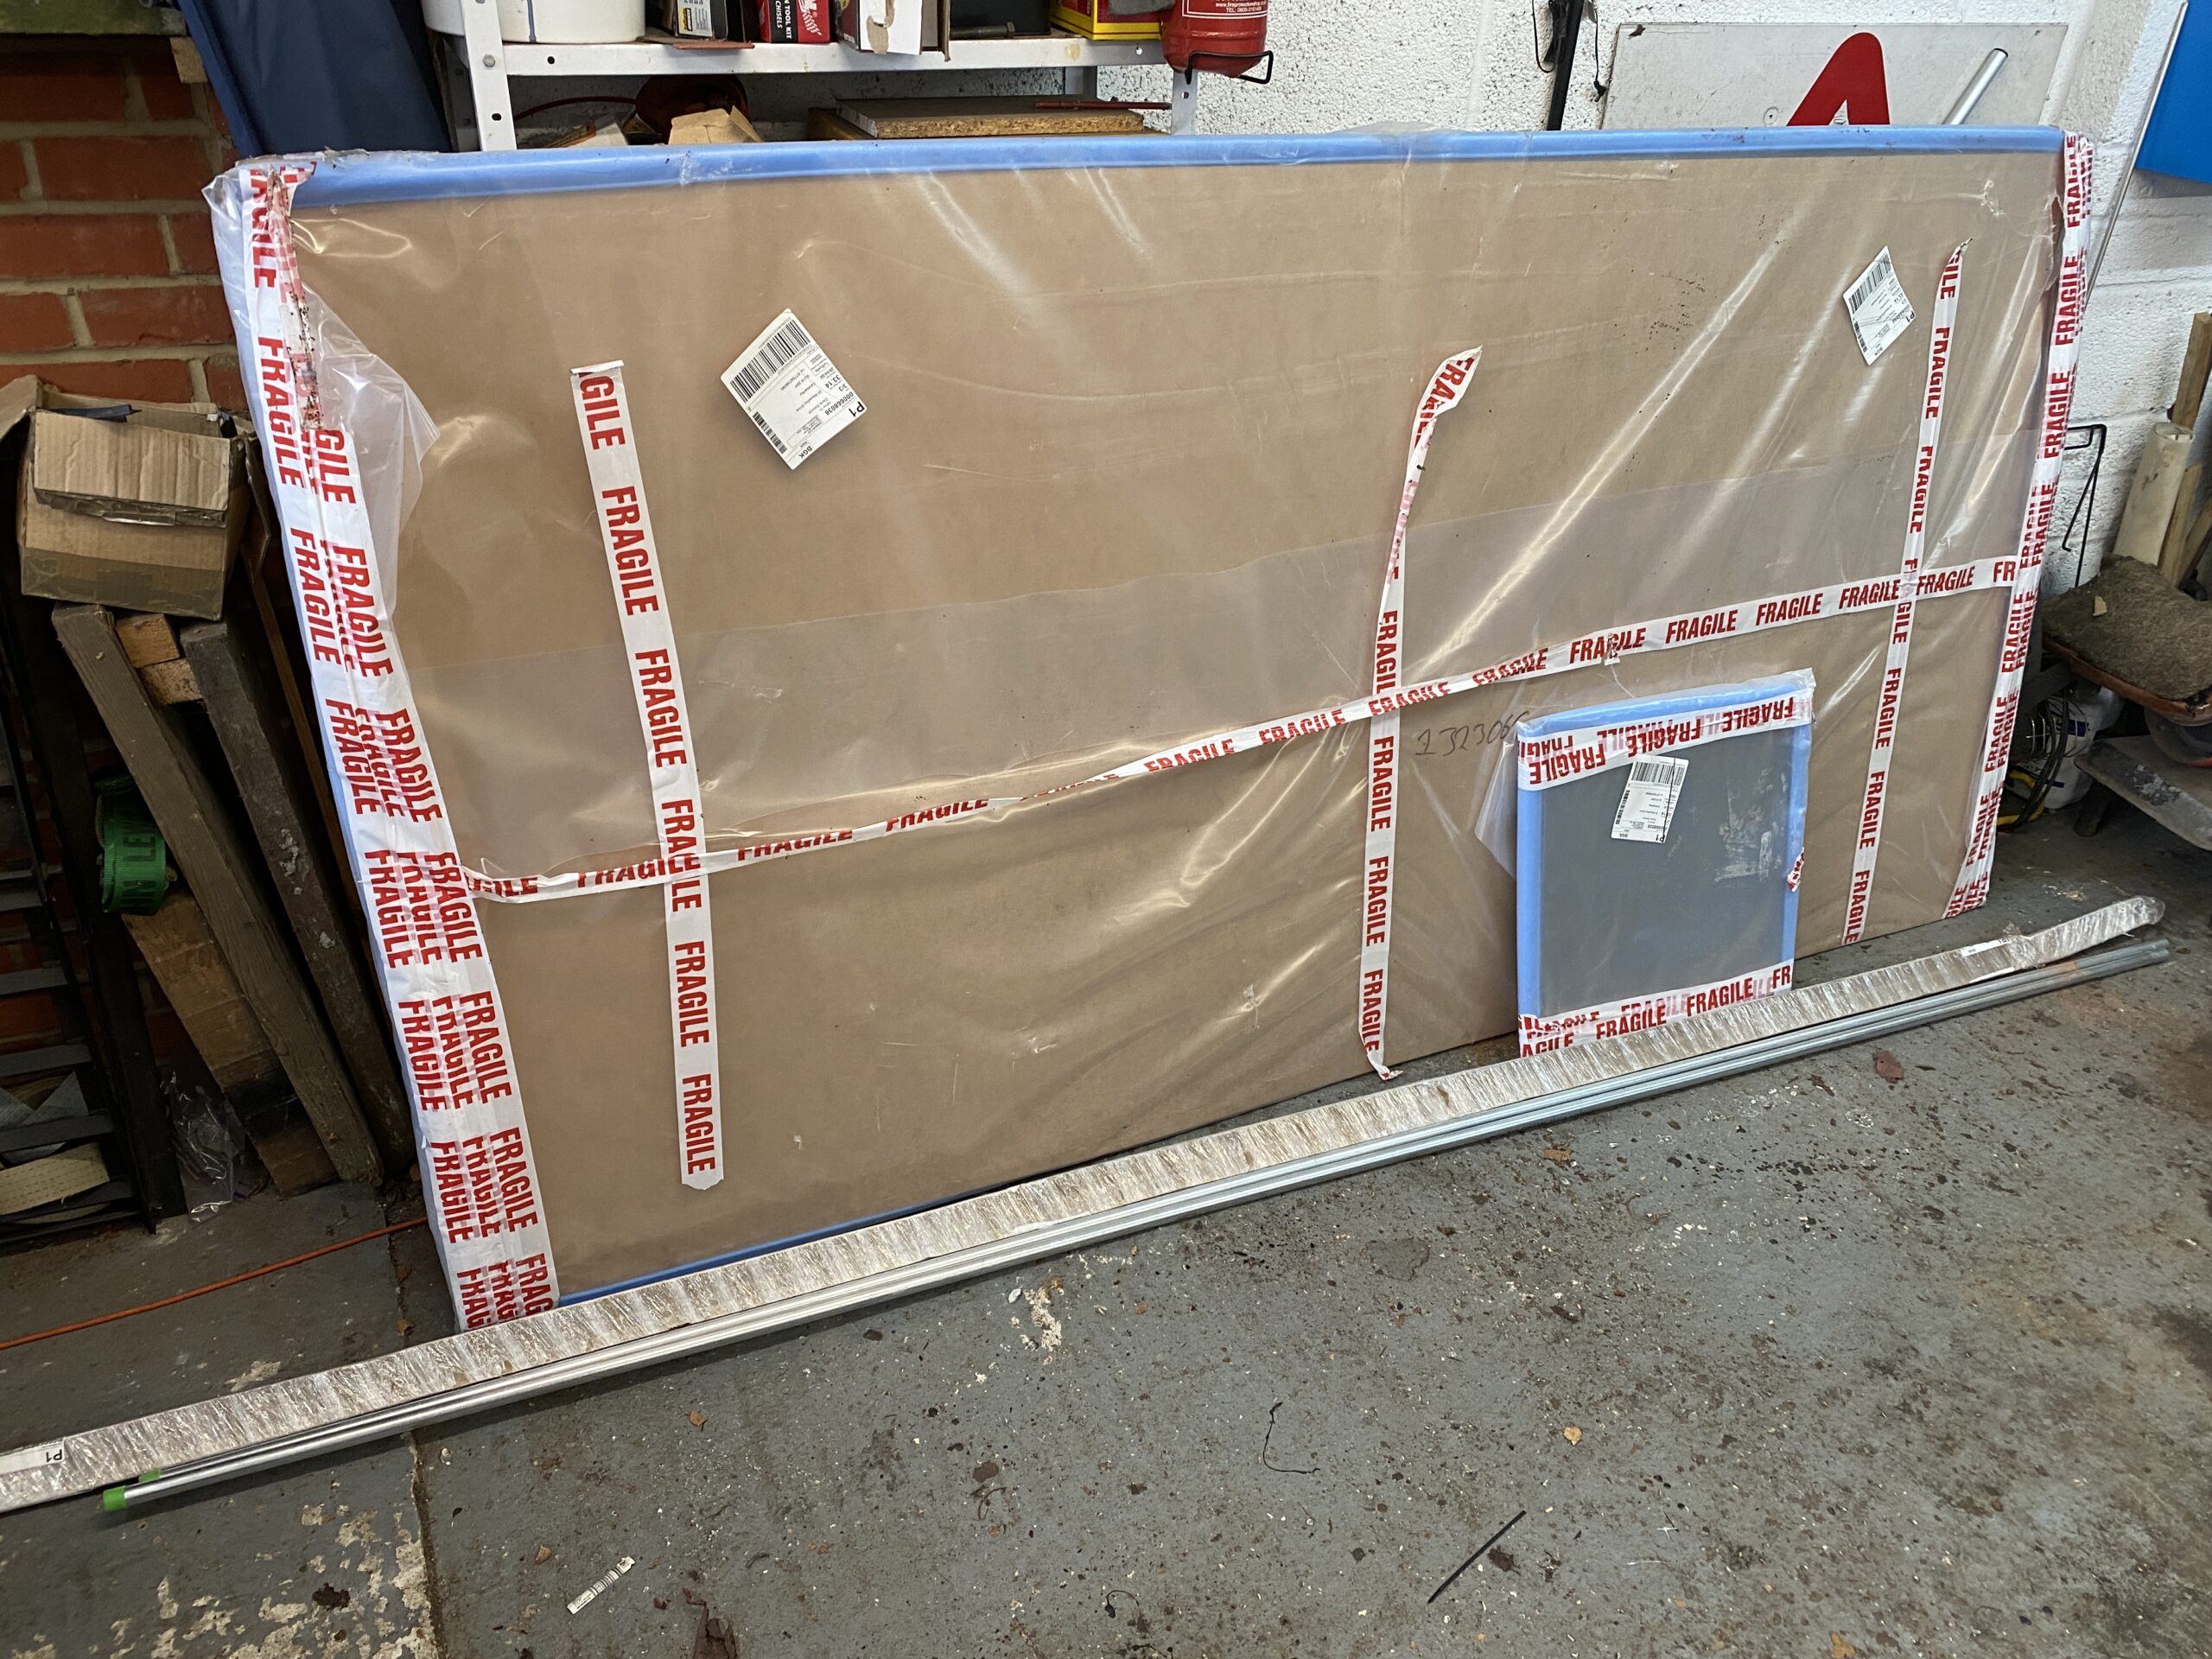
Here is my order of metal, a 8'x4' sheet of metal (weirdly not ordered in metric dimensions), 0.5mx0.5m of 2mm sheet, 3m of angle, 3m of flatbar and 6m of tube because I fully expect to have to try to make the seat back several times

The fun starts now... well actually soon, because the car gets delivered to me this week....

Seat Rebuild part 1

Seat Rebuild part 1

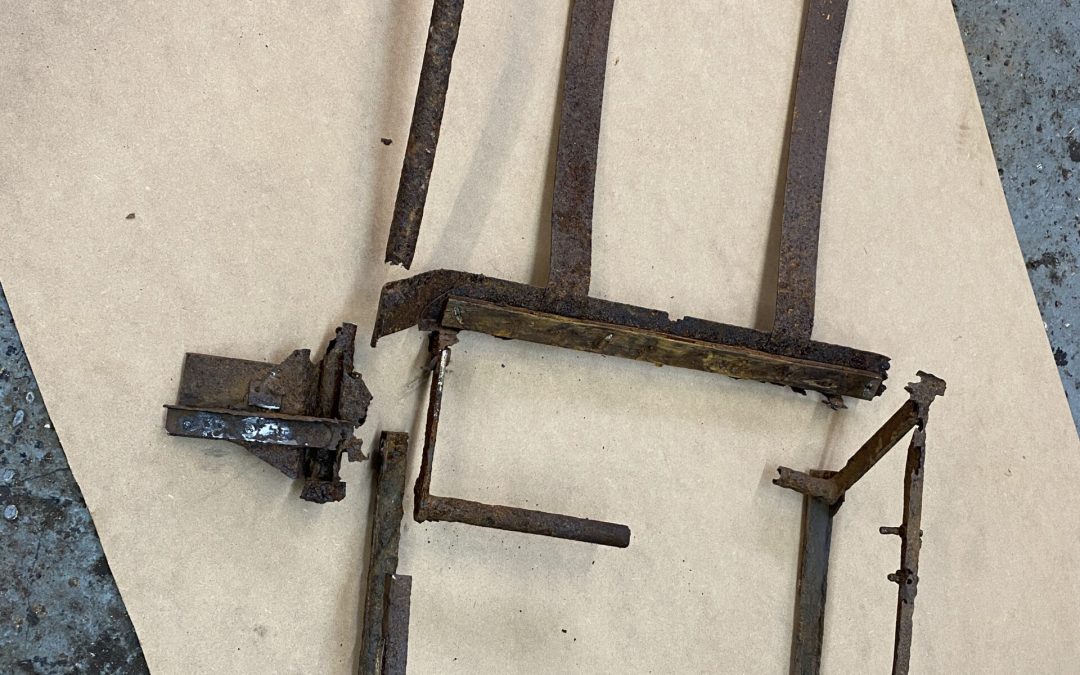
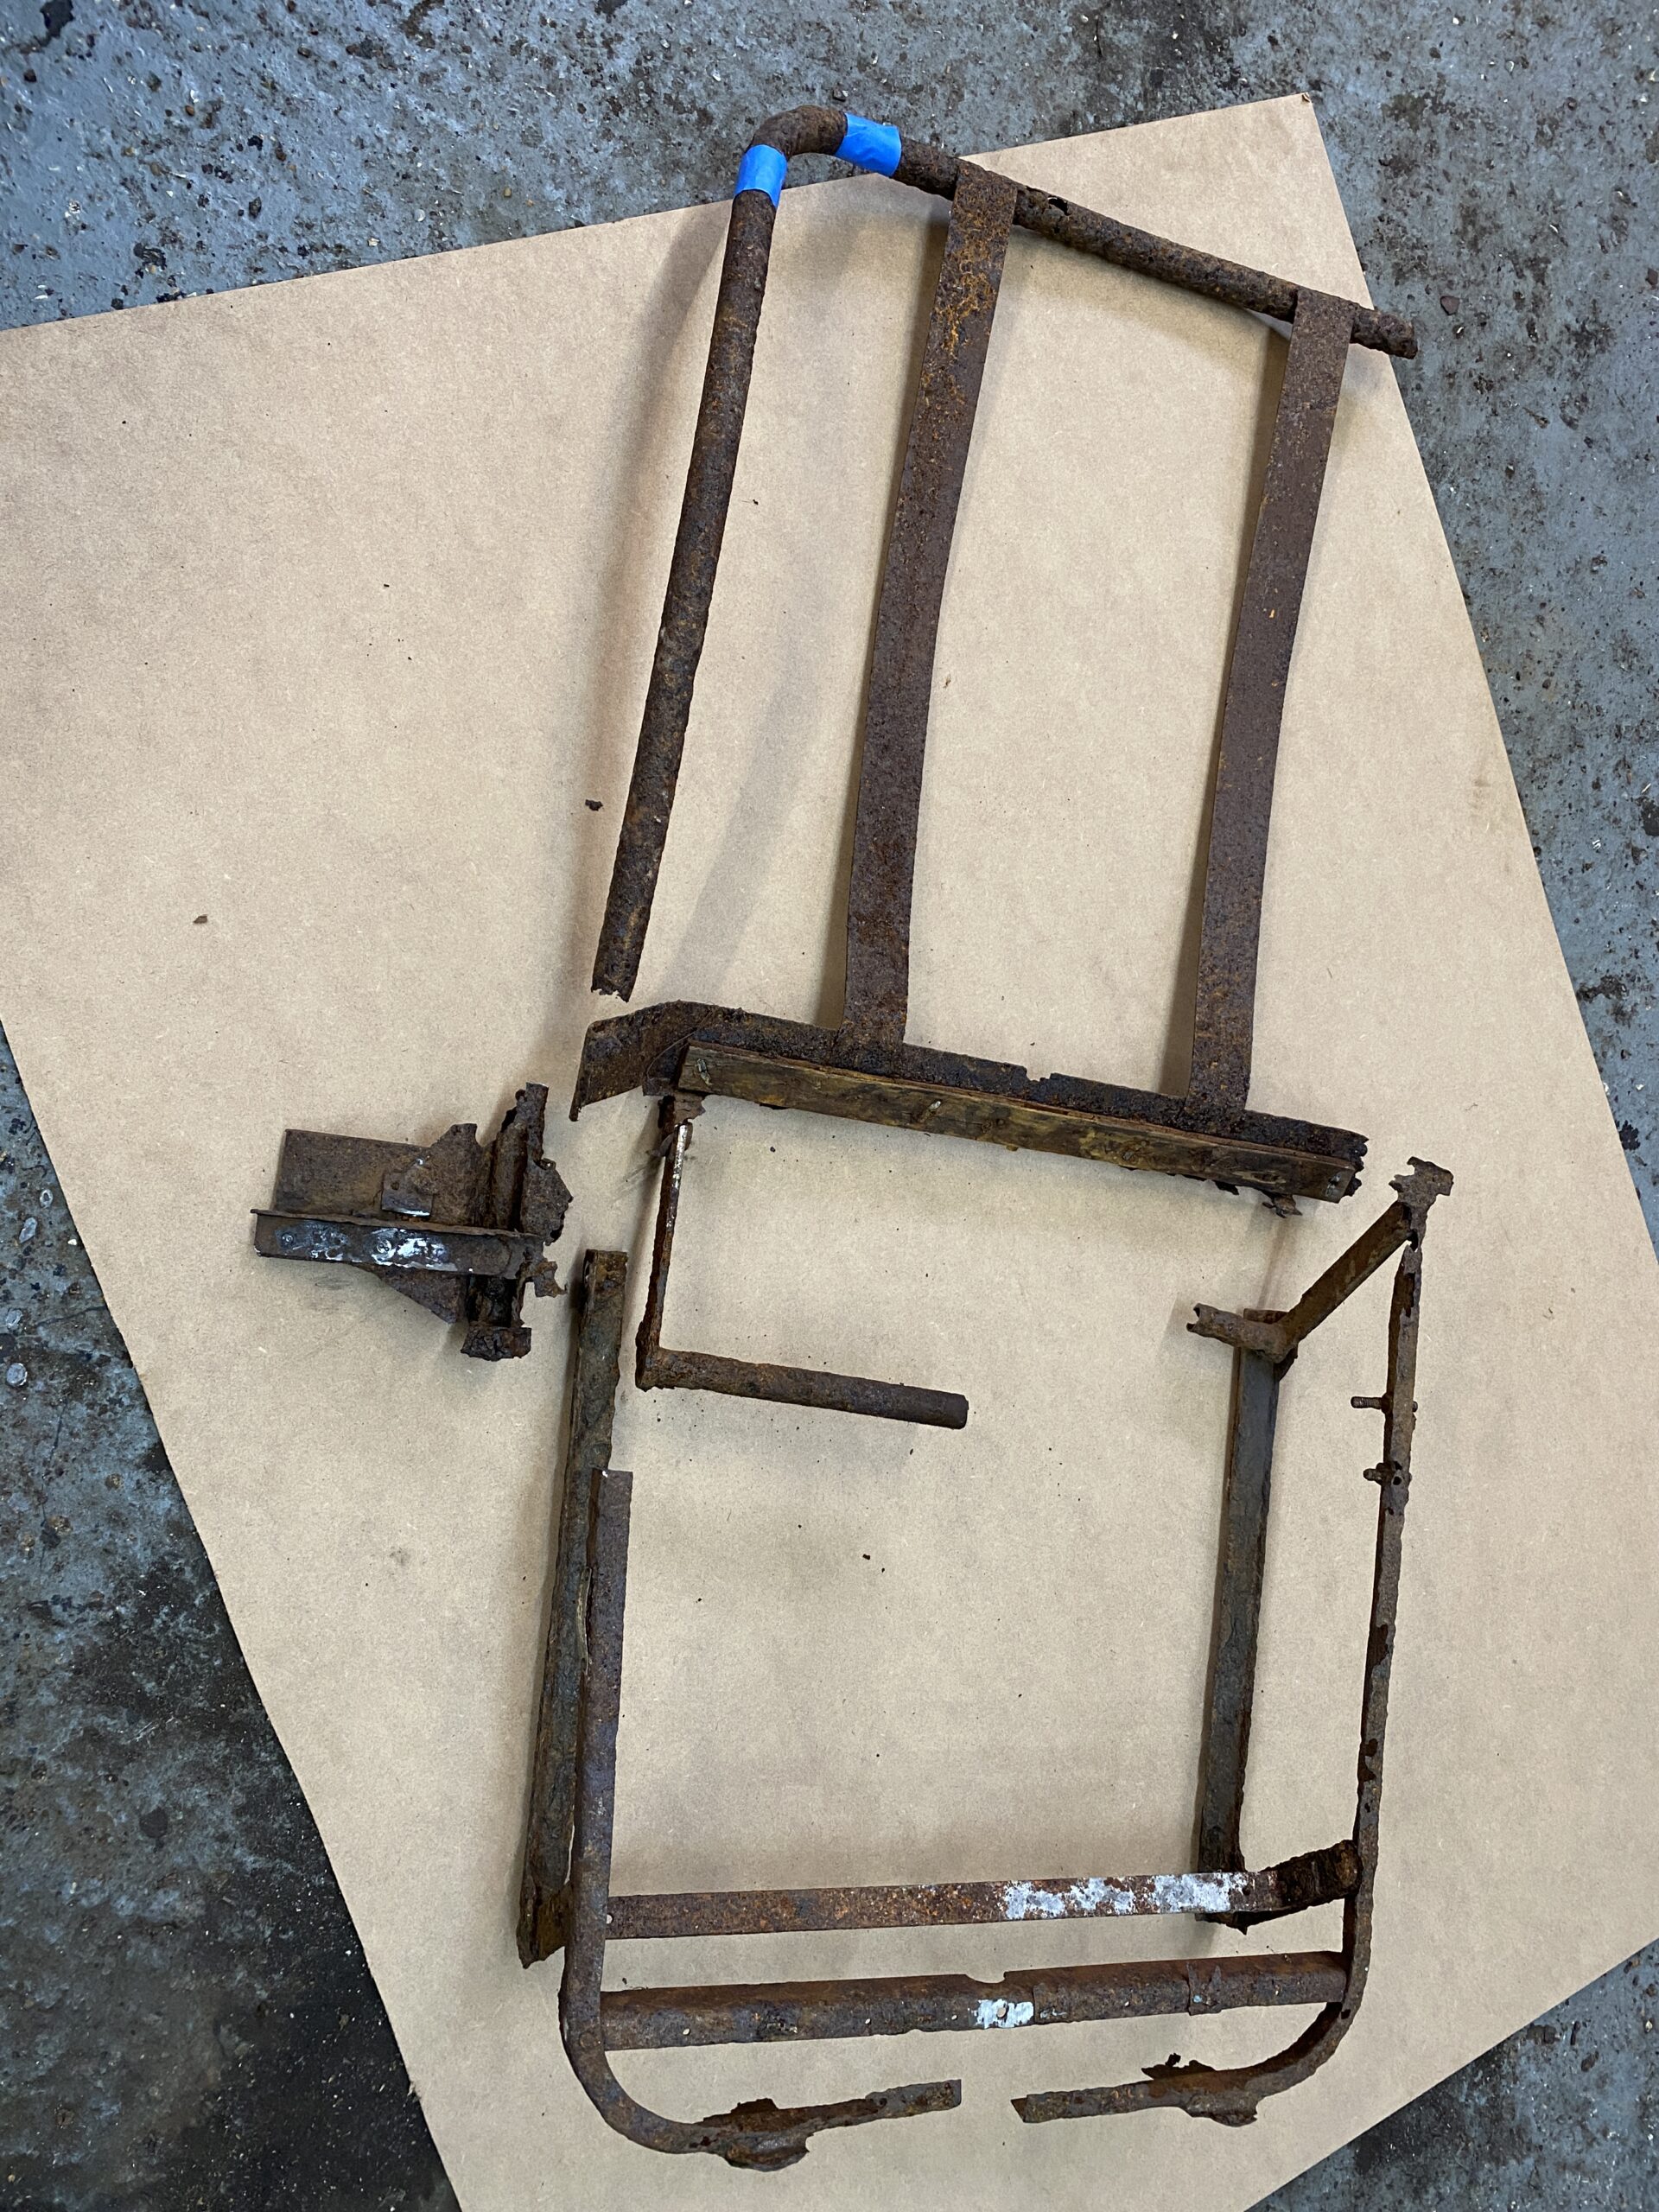
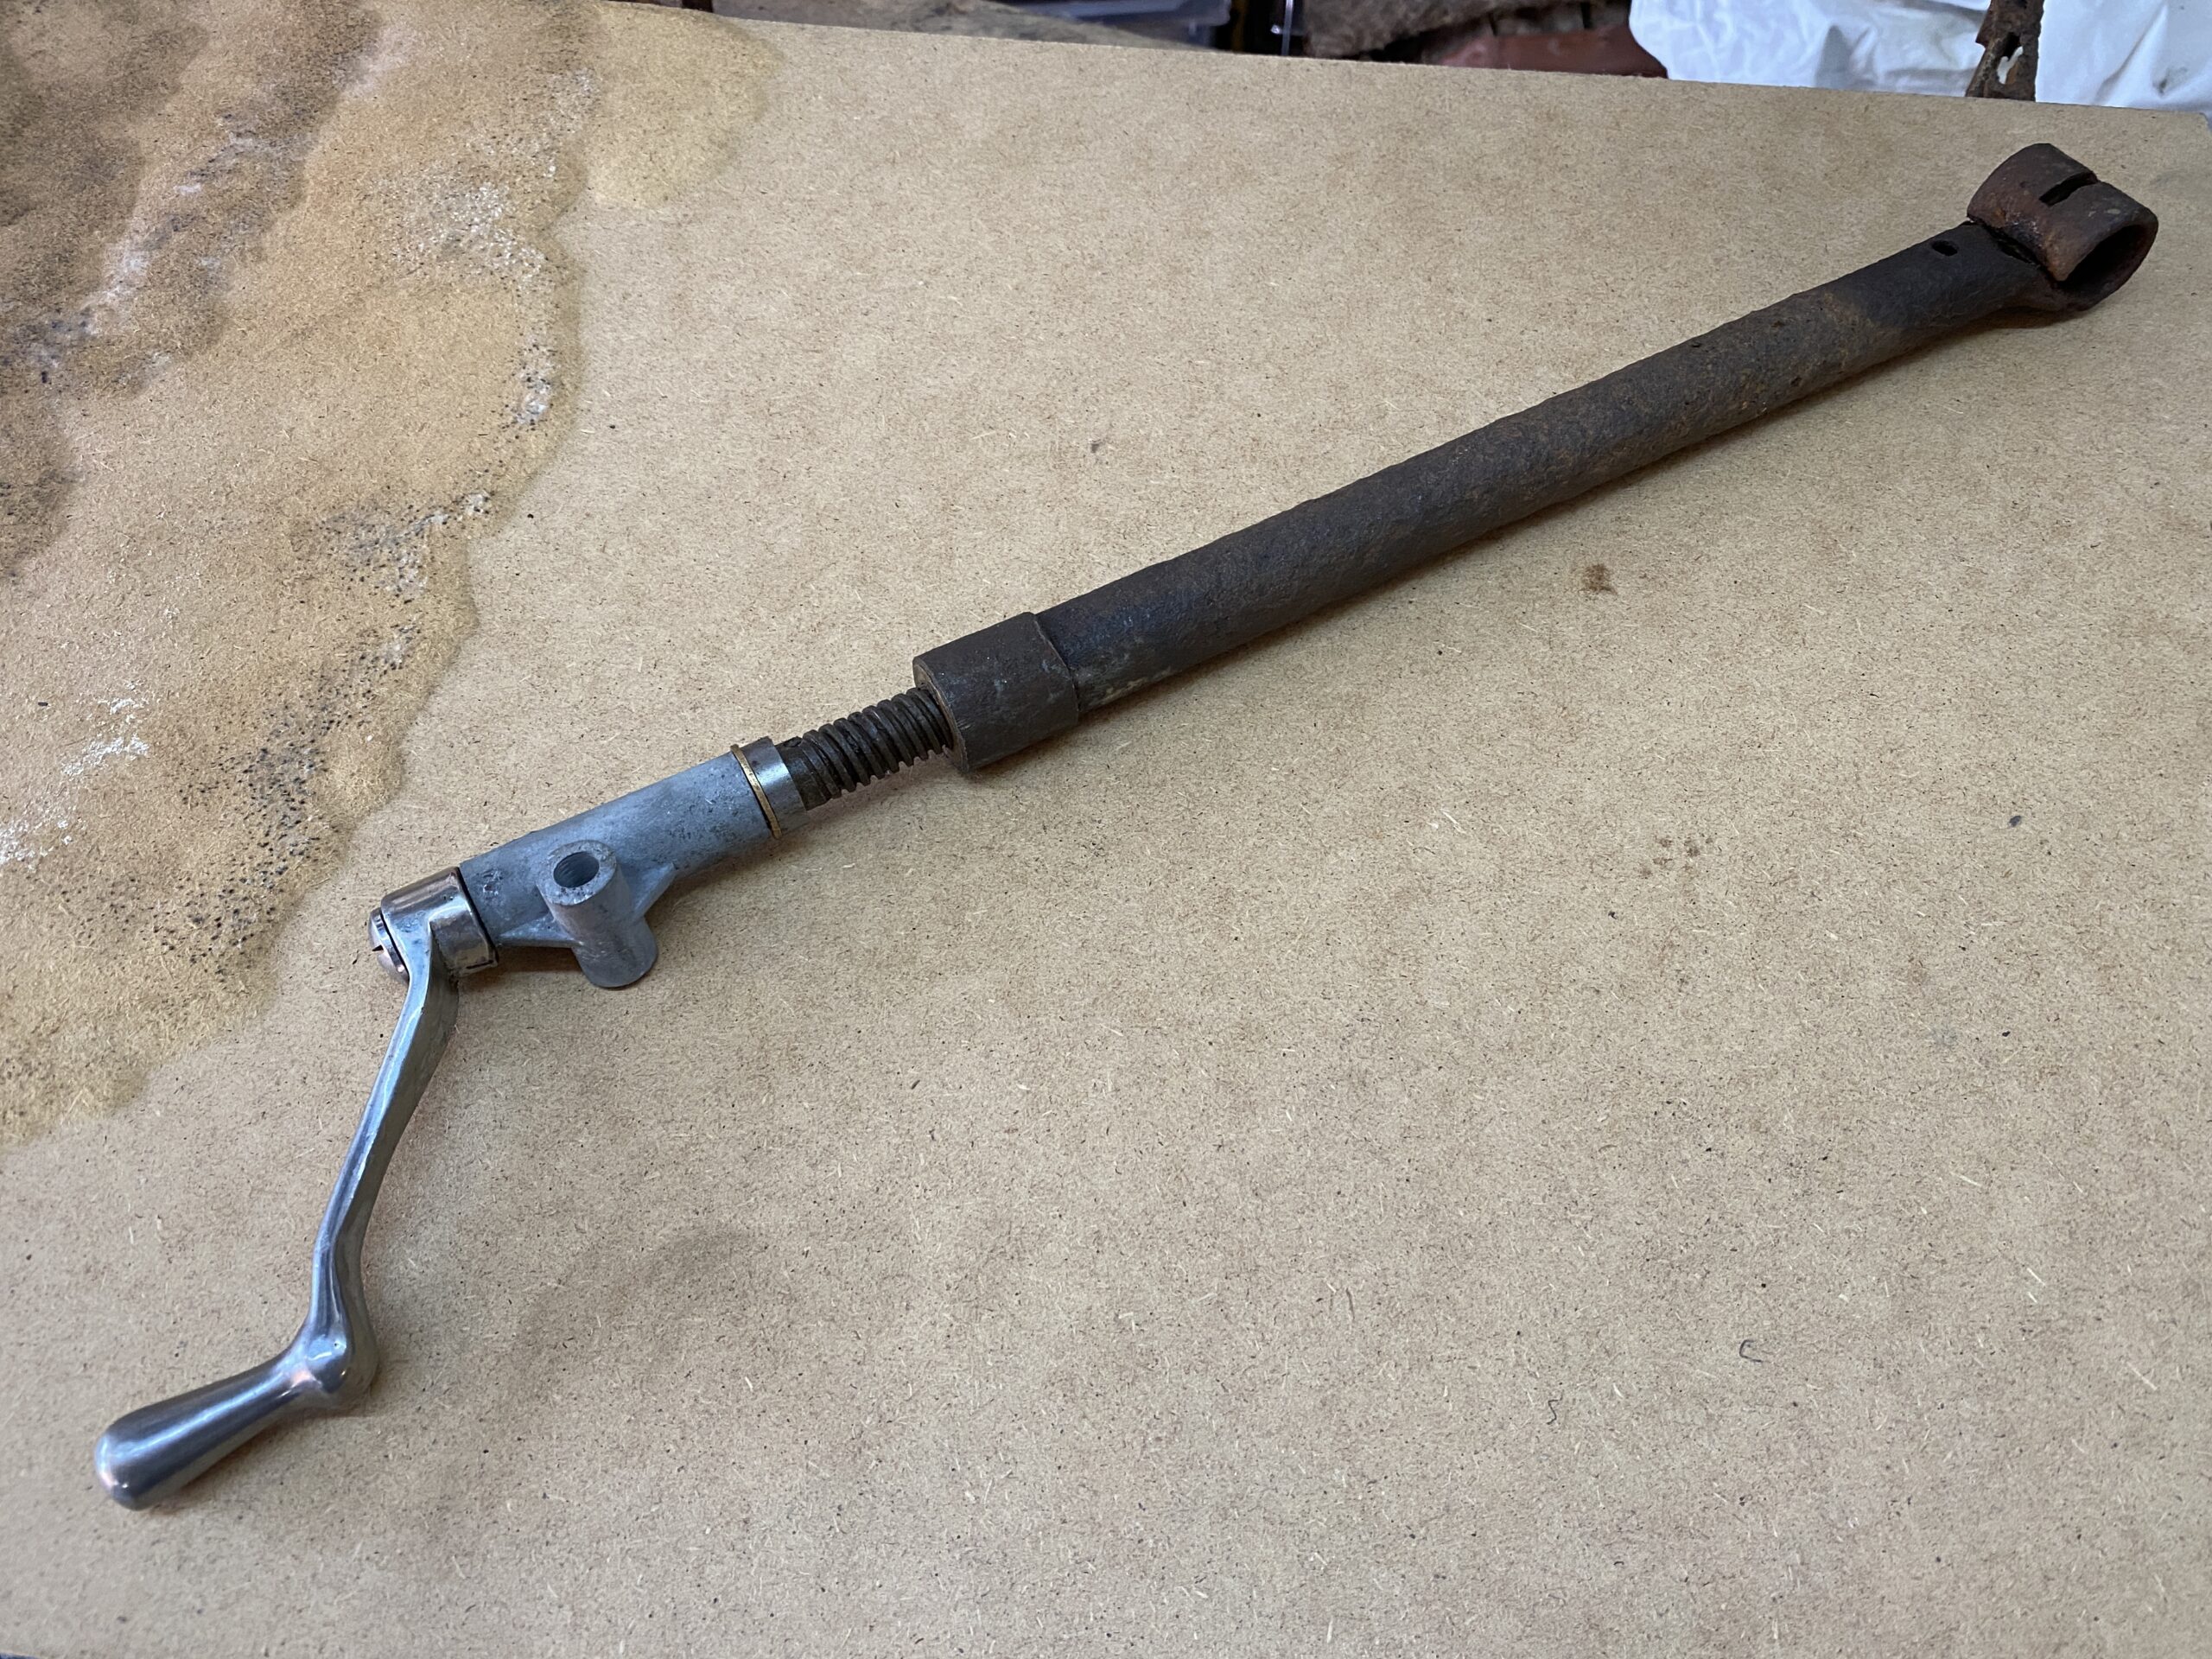
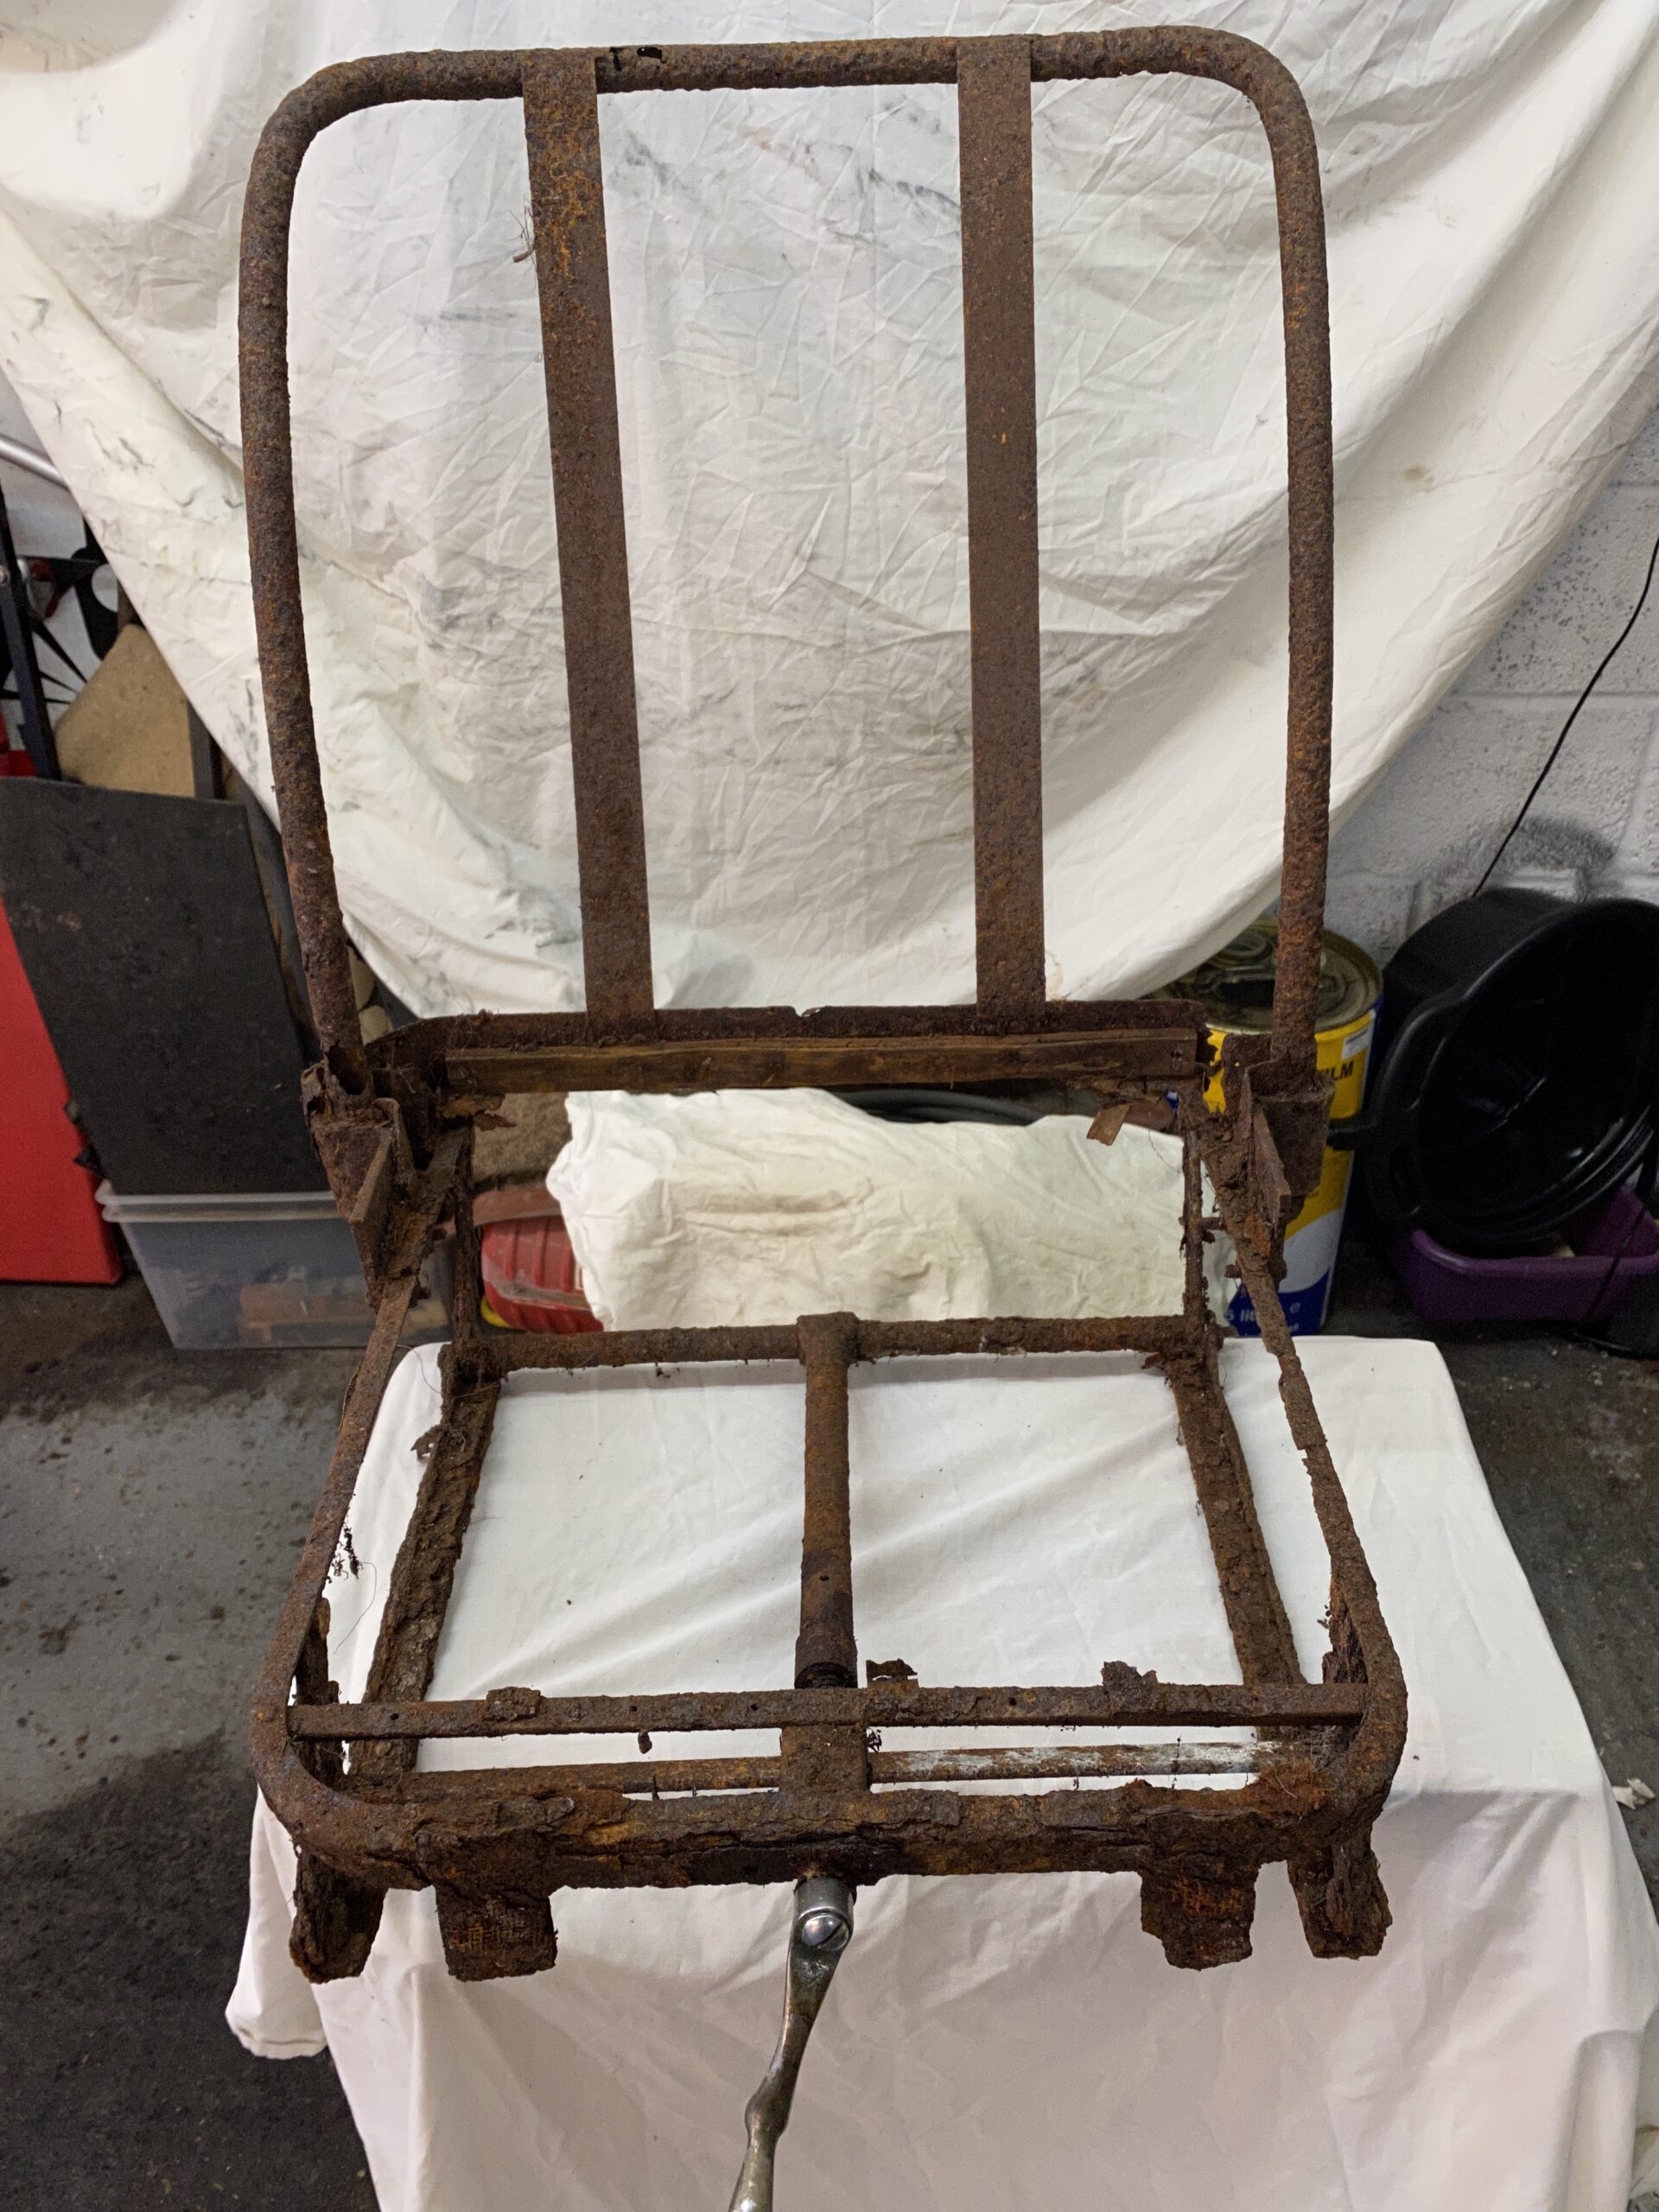
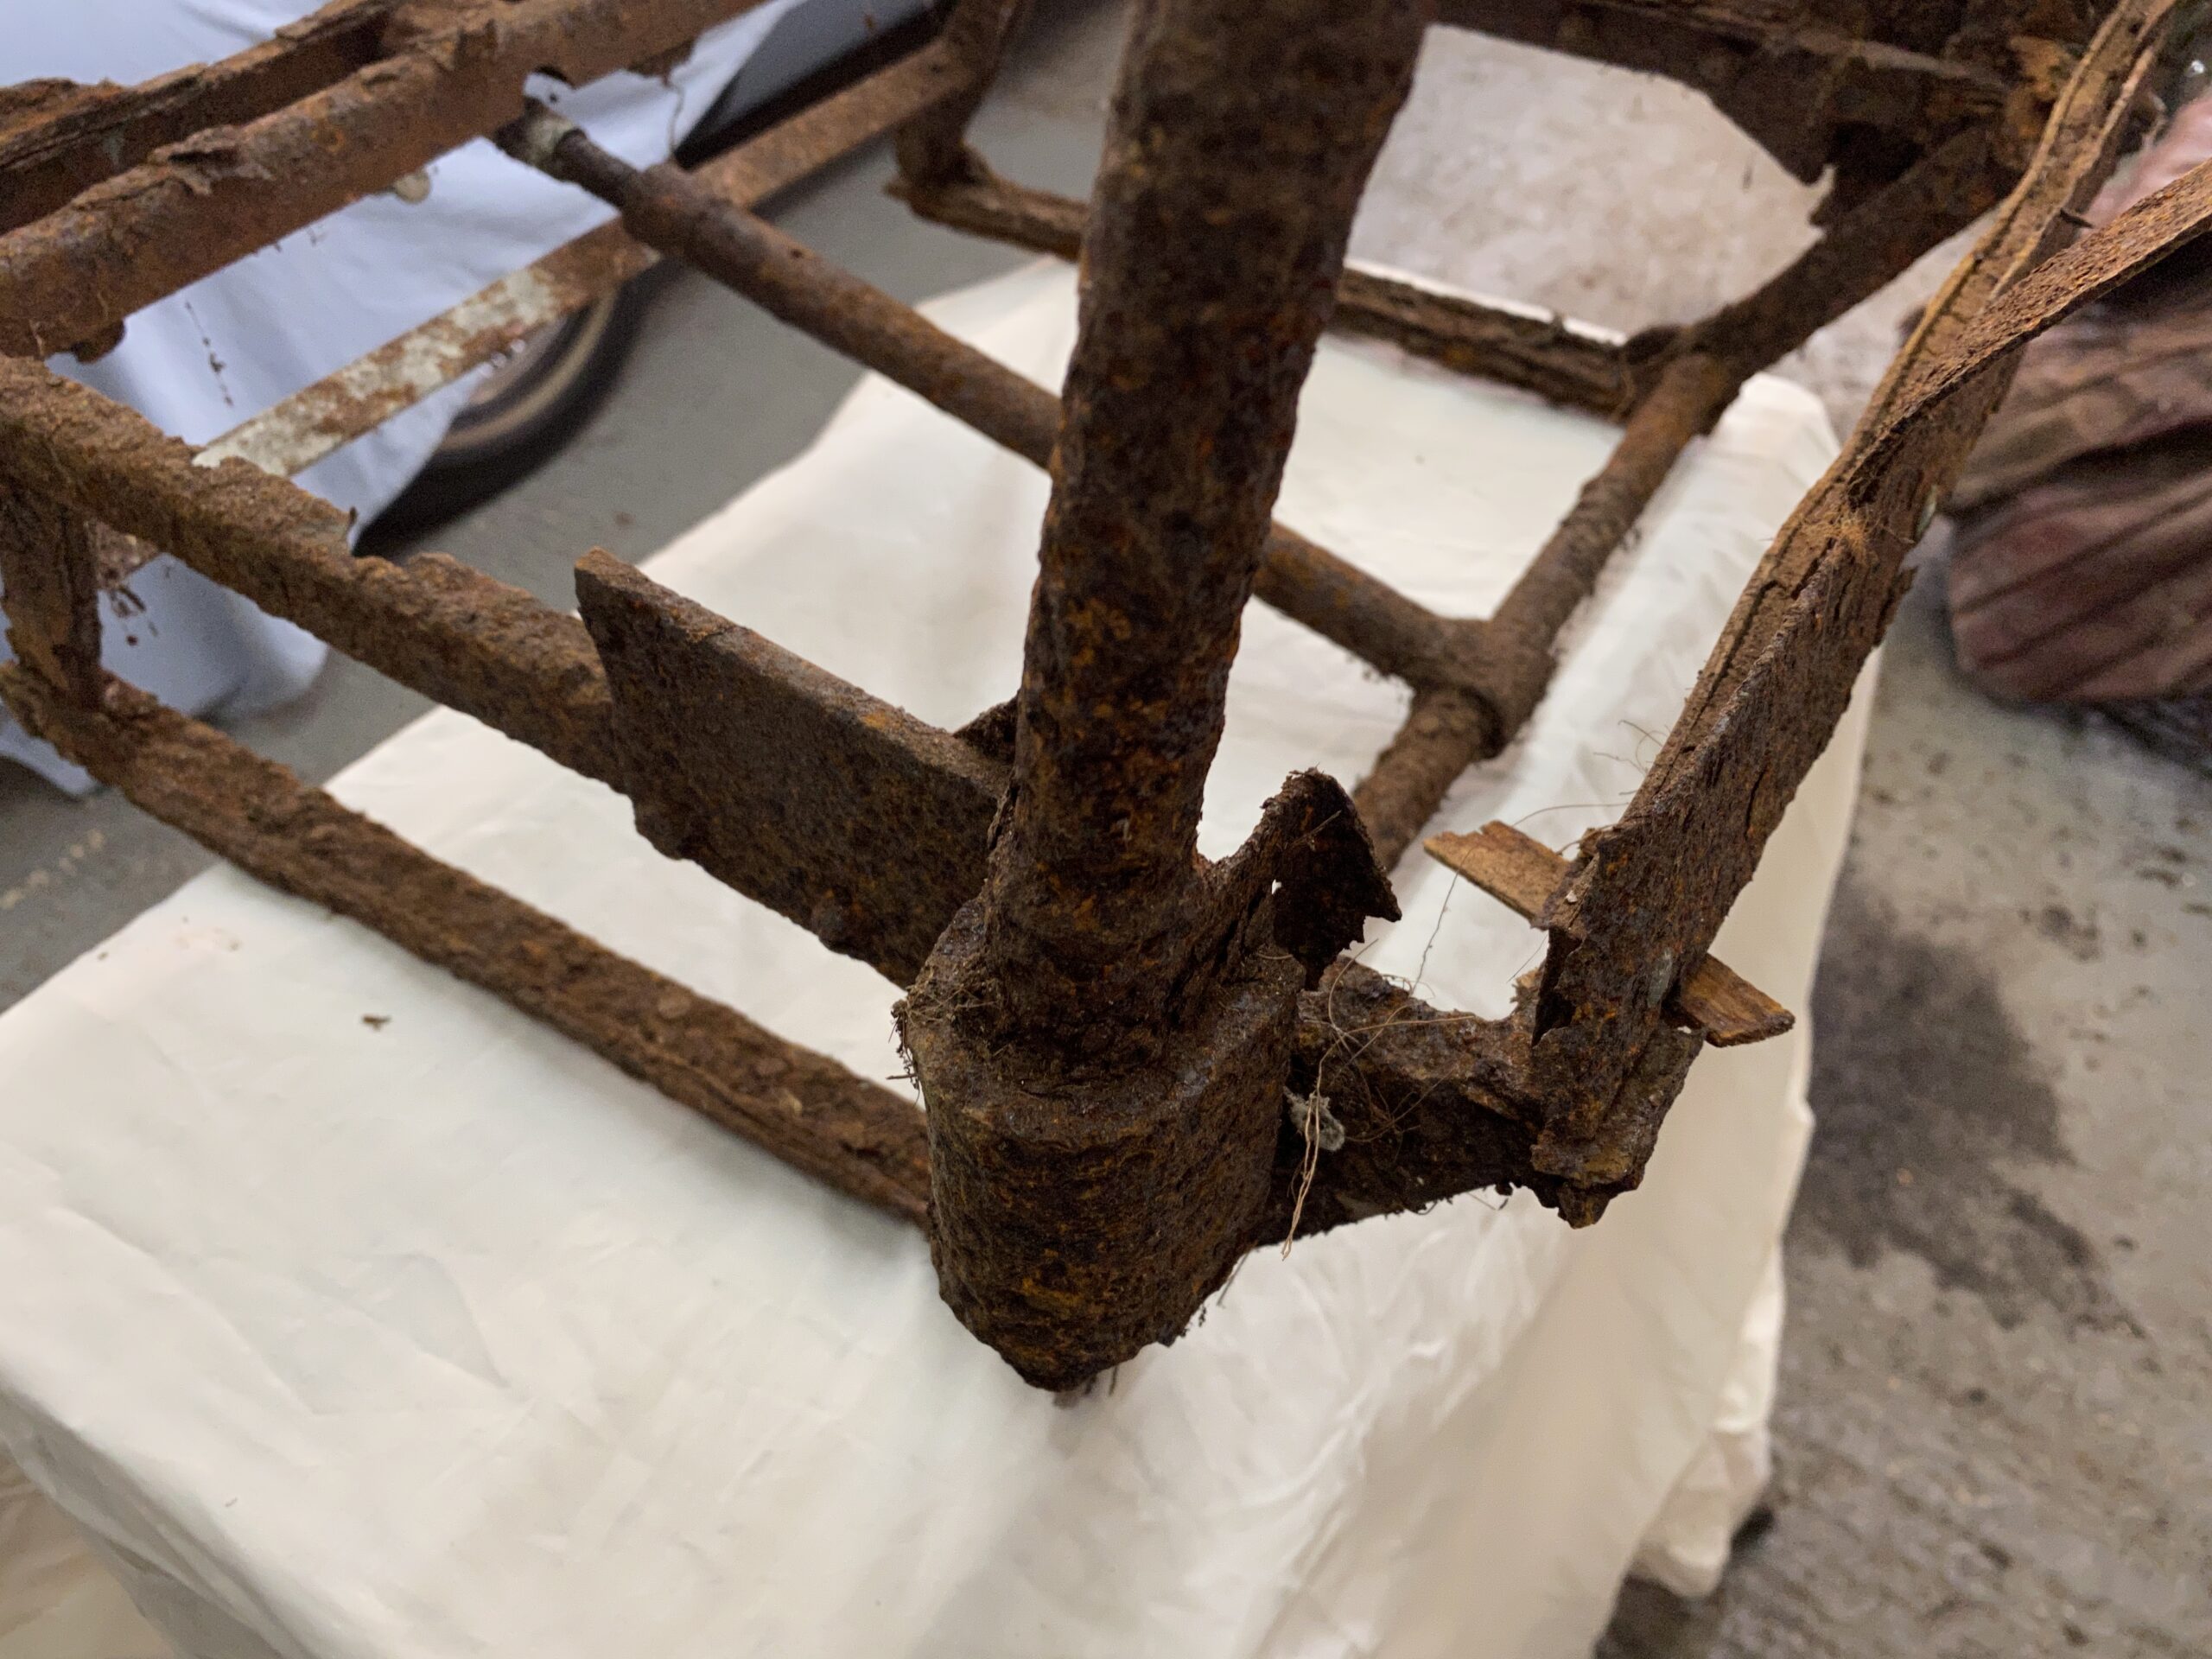
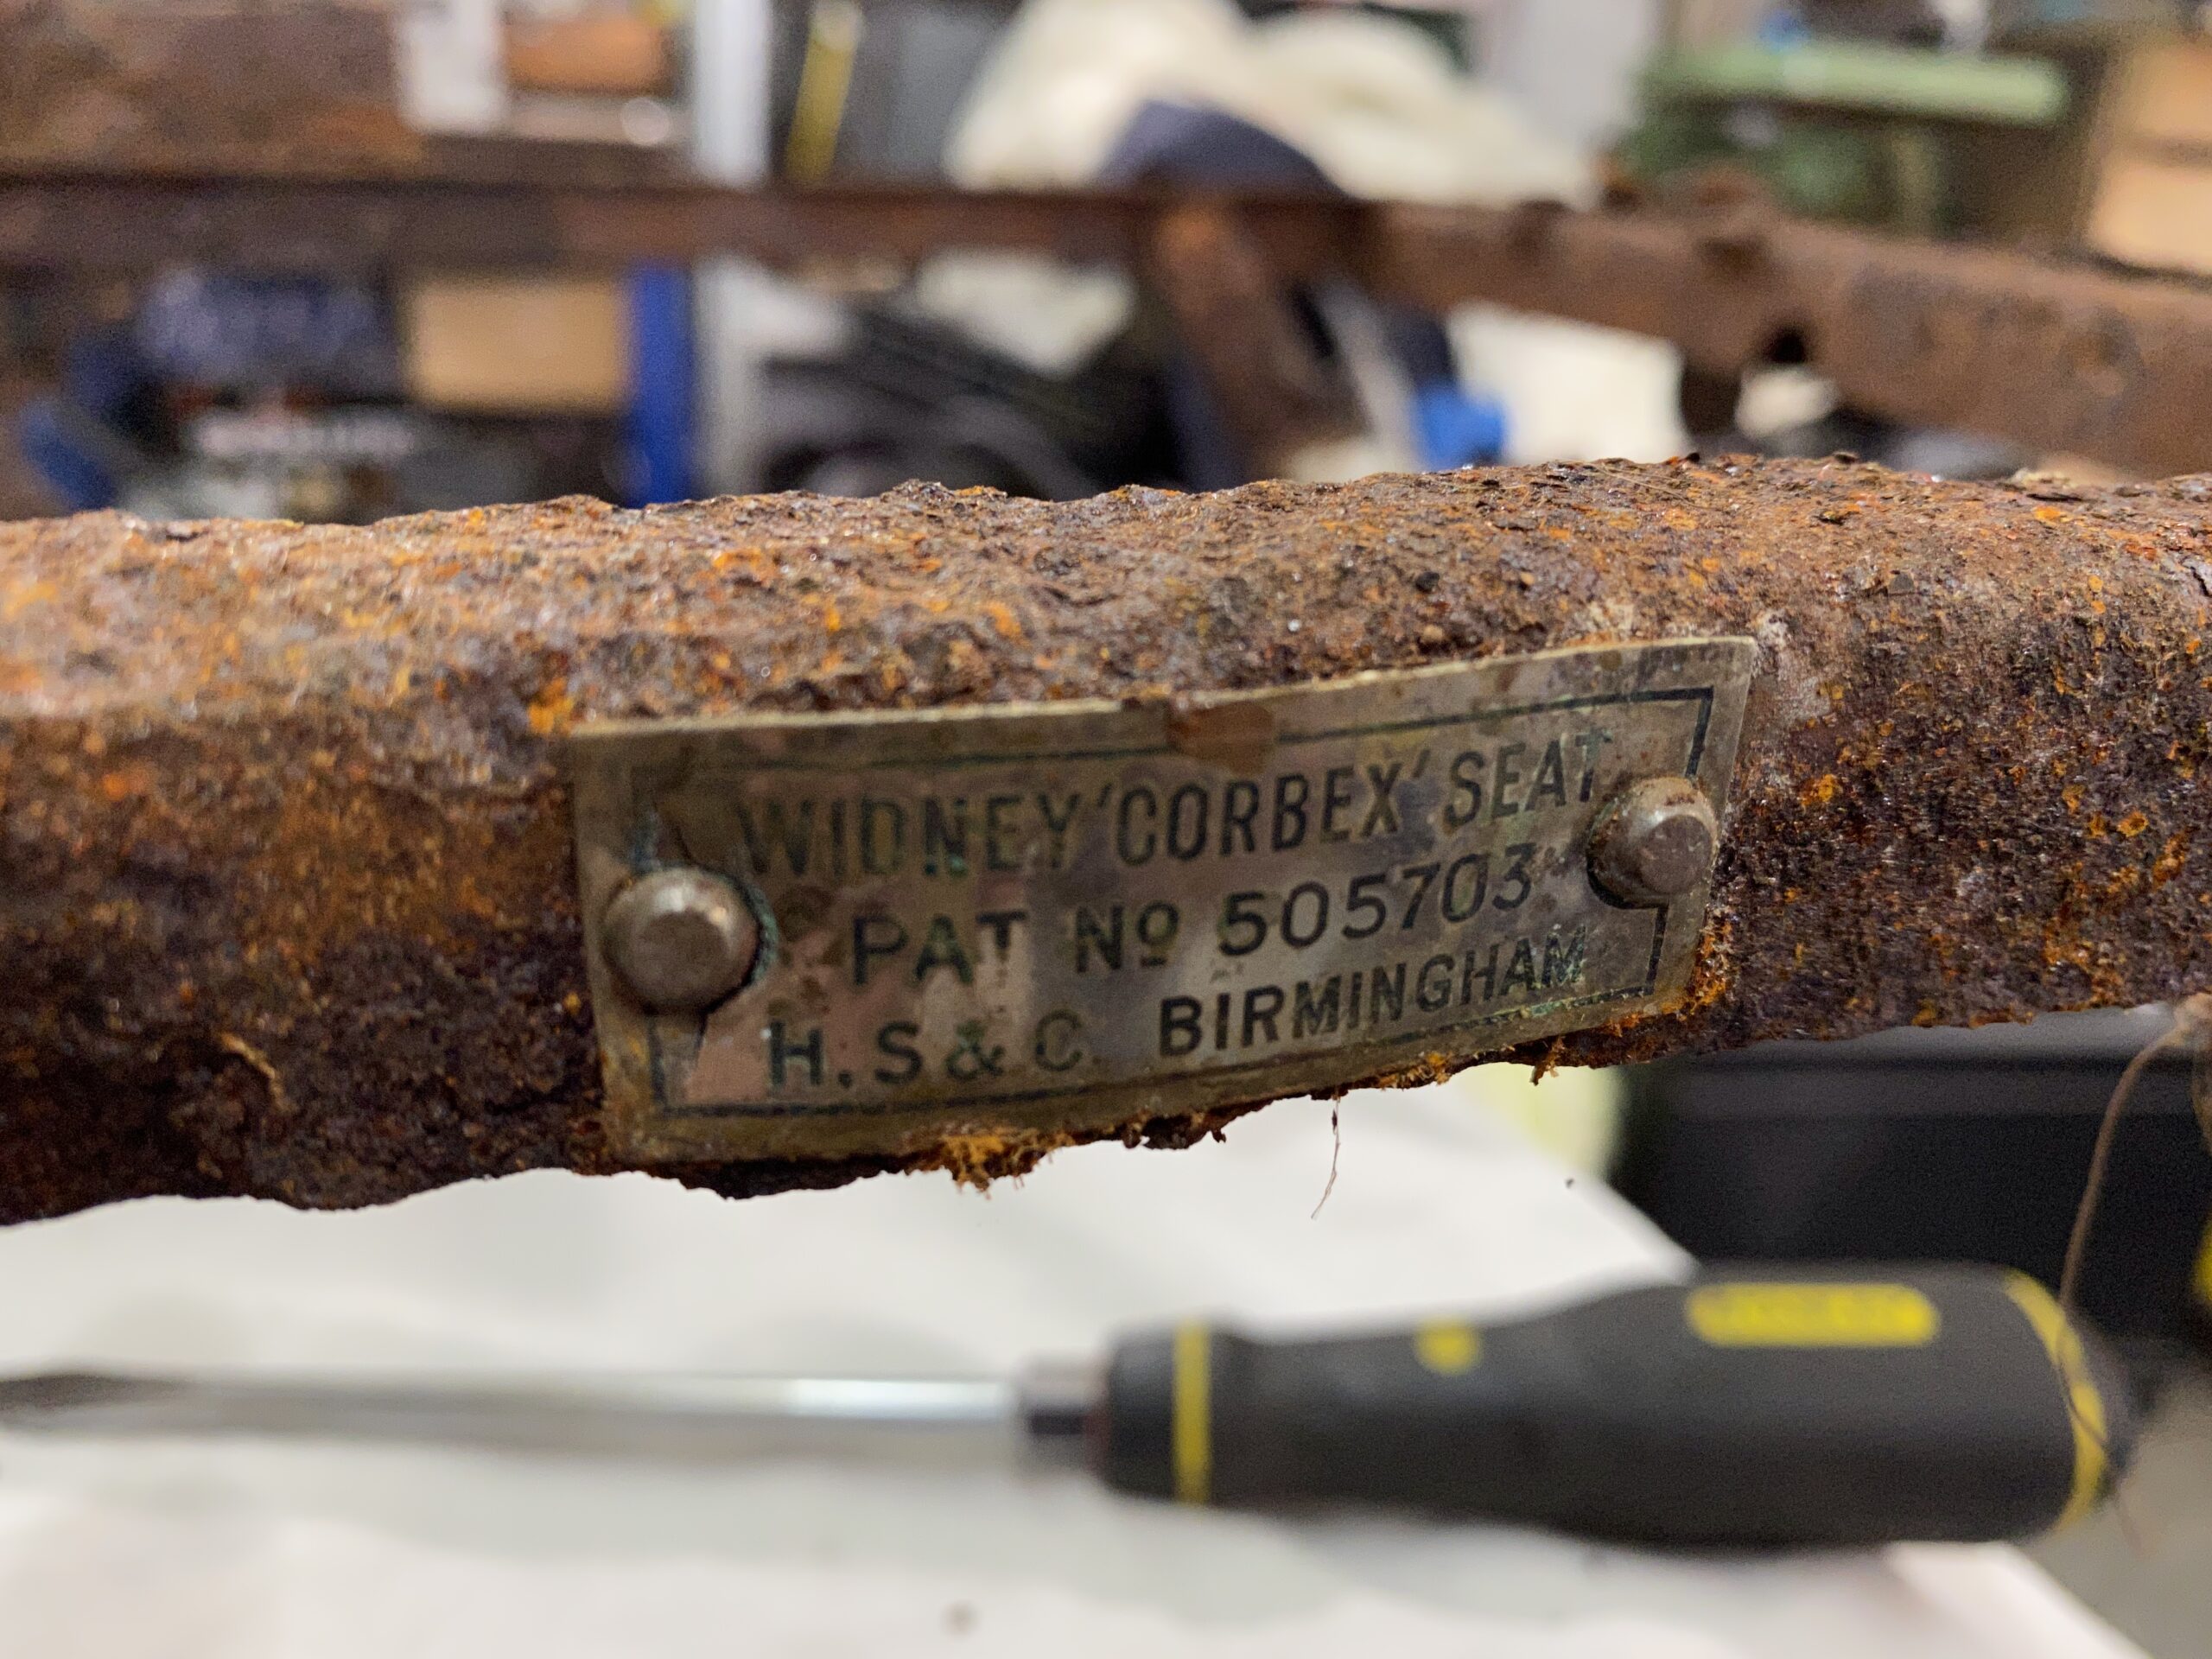
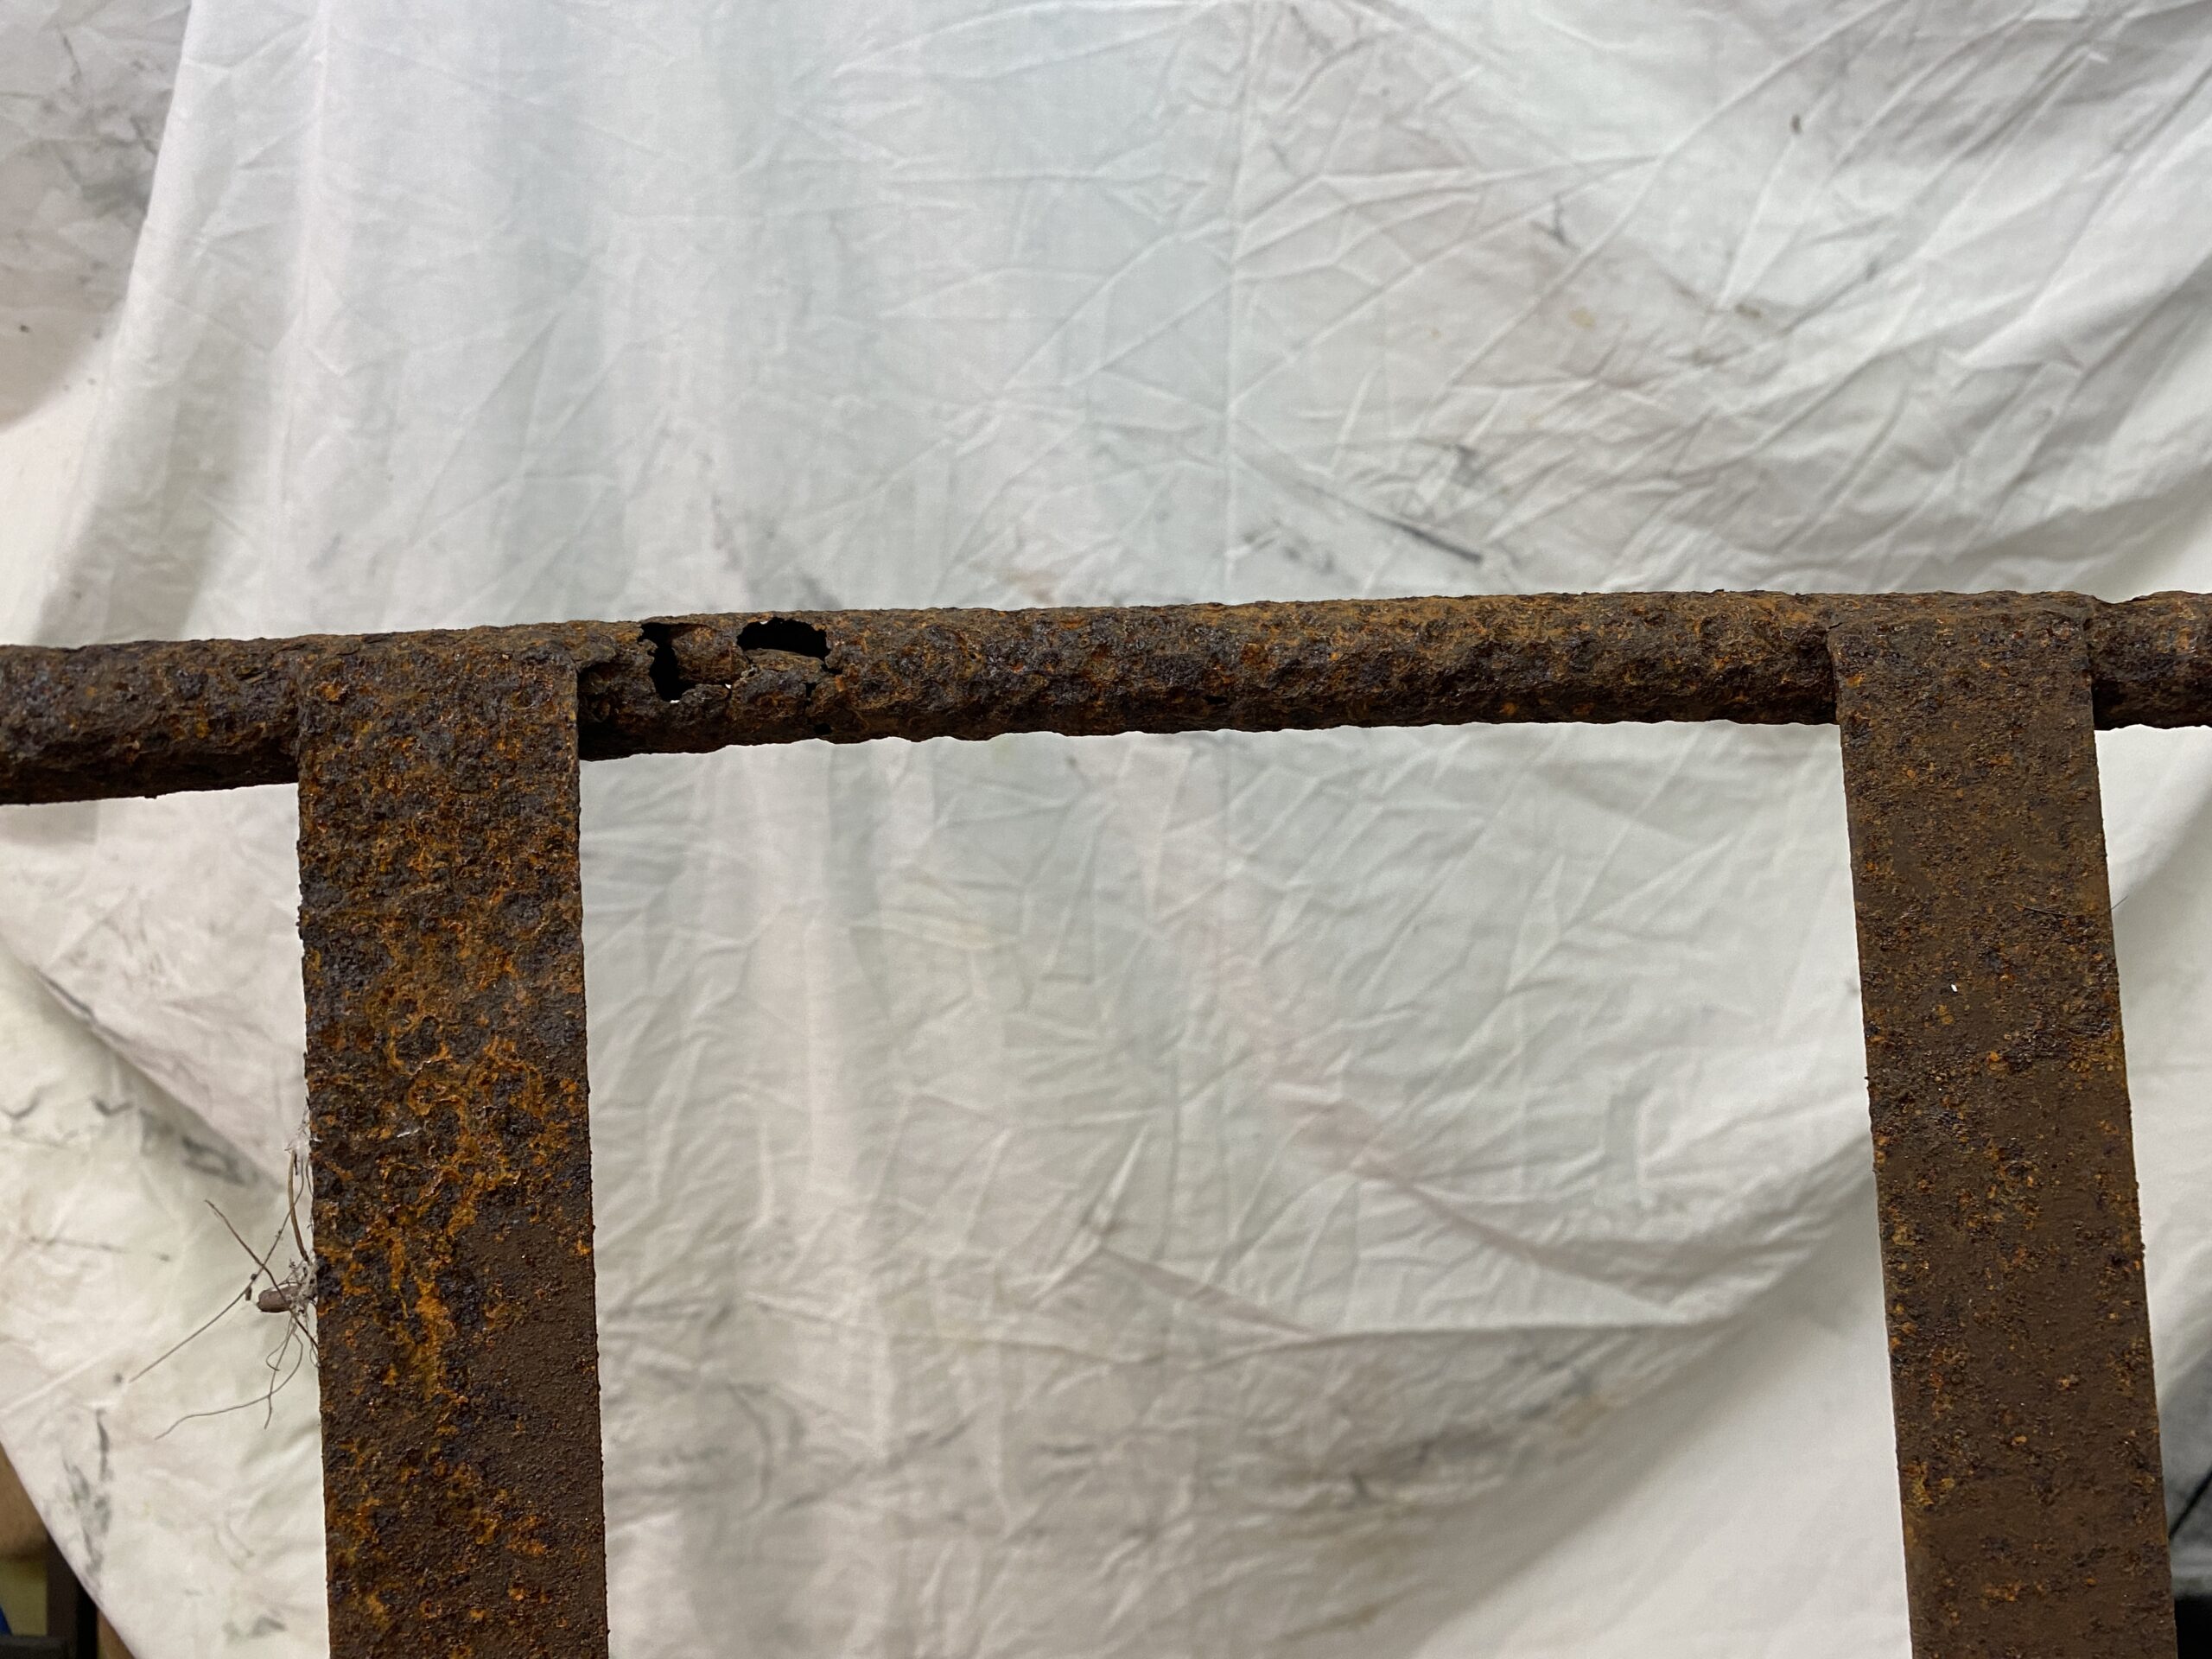
 The passenger seat is sadly beyond being restored, it has quite a few moving parts and all of them are either totally corroded (fused together) or they have rotted through. The hoop that supports the back of the seat has a lot of holes and is dangerously thin where strength is important. The frame is basically angle constructed from 3mm thick angle iron or flat bar and the seat is able to move backwards and forwards by turning a chrome handle at the front of the seat. That handle turns a long threaded bar which in turn push/pulls the upper part of the frame on brackets that rotate forwards/backwards. Its quite simple in concept and construction and I can see how it is *supposed* to work, but it is now one piece of rusted steel with holes.

First off - can I save the handle/threaded bar mechanism? Having removed it from the frame, I soaked all the parts that I thought were supposed to move with PlusGas, my 'get-things-moving' fluid of choice. It took repeated soakings over a two week period but in the end the handle moved a tiny amount - and that is all I needed to then agitate the handle within its range of movement until it slowly had a larger range and then was able to fully rotate. Cutting a long story short and with much cleaning of the coarse thread, the handle rotates freely and operates the threaded rod smoothly. This was great news, a crucial part of the seat mechanism was working again and can now be restored.

Next was measuring the frame components and ordering the replacement steel. Done but I have to wait a week for it to arrive. In the meantime How on earth do I bend 3mm thick 25x25mm Angle iron around a graceful curve like the front of the seat as seen below?

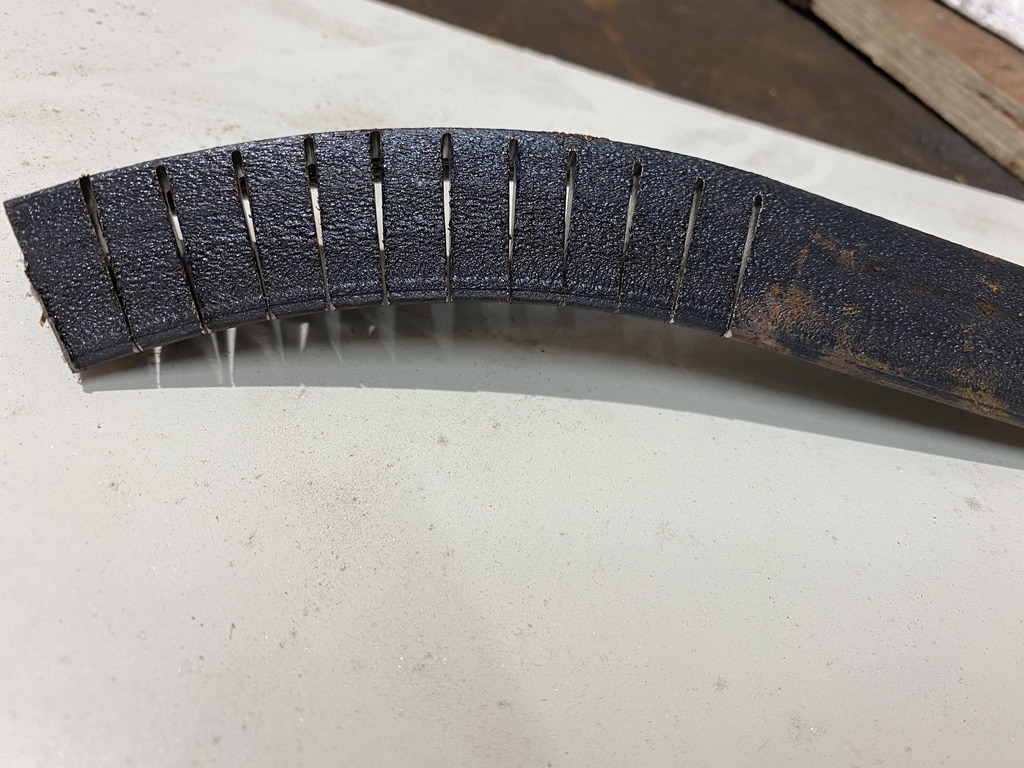
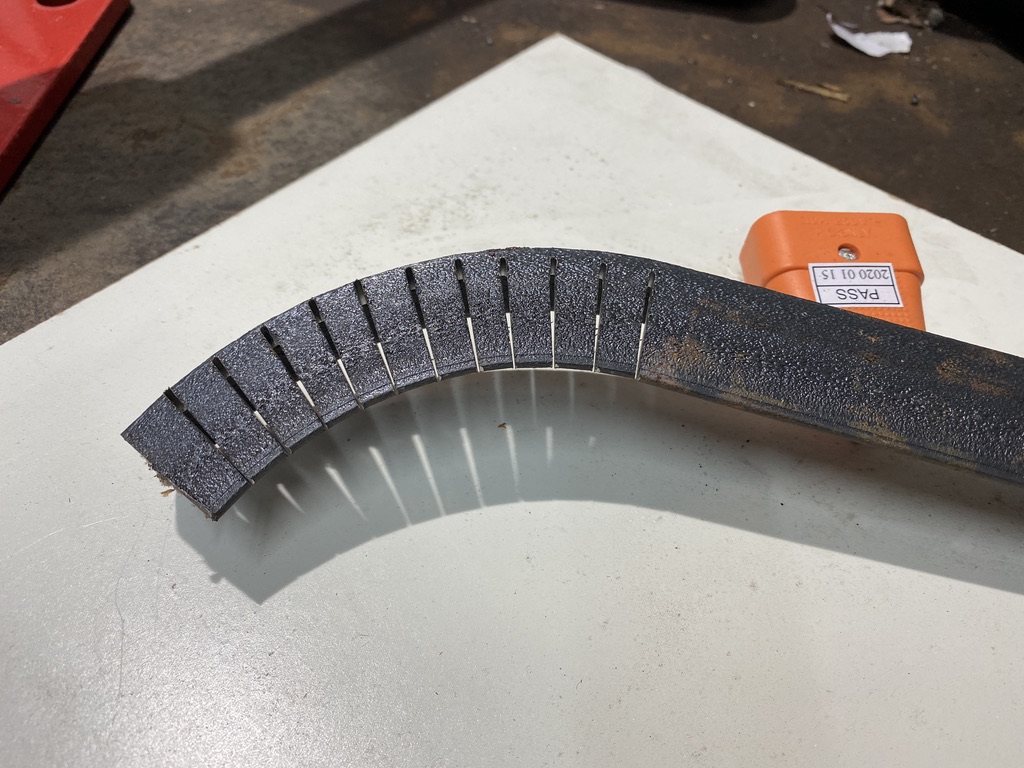
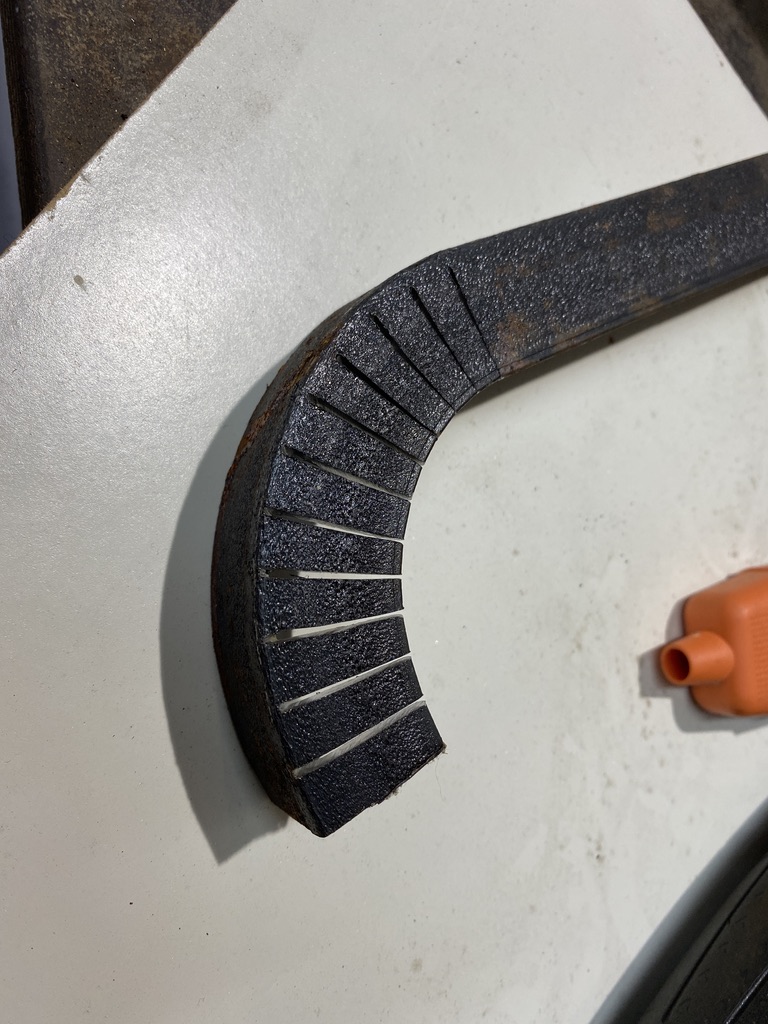
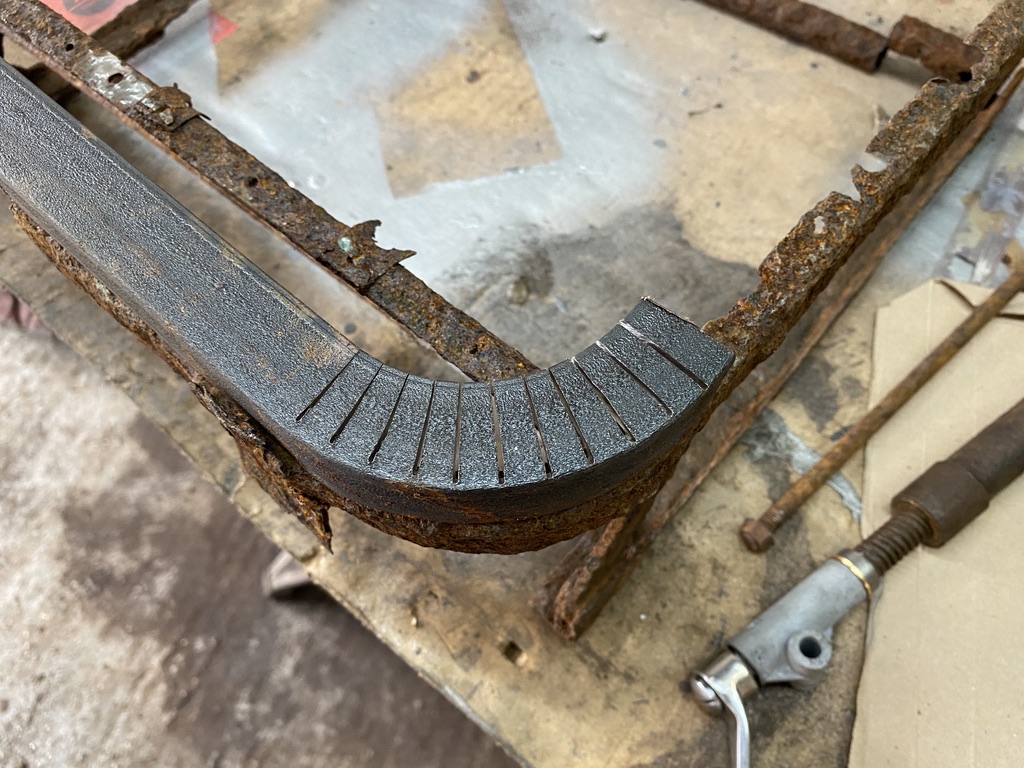
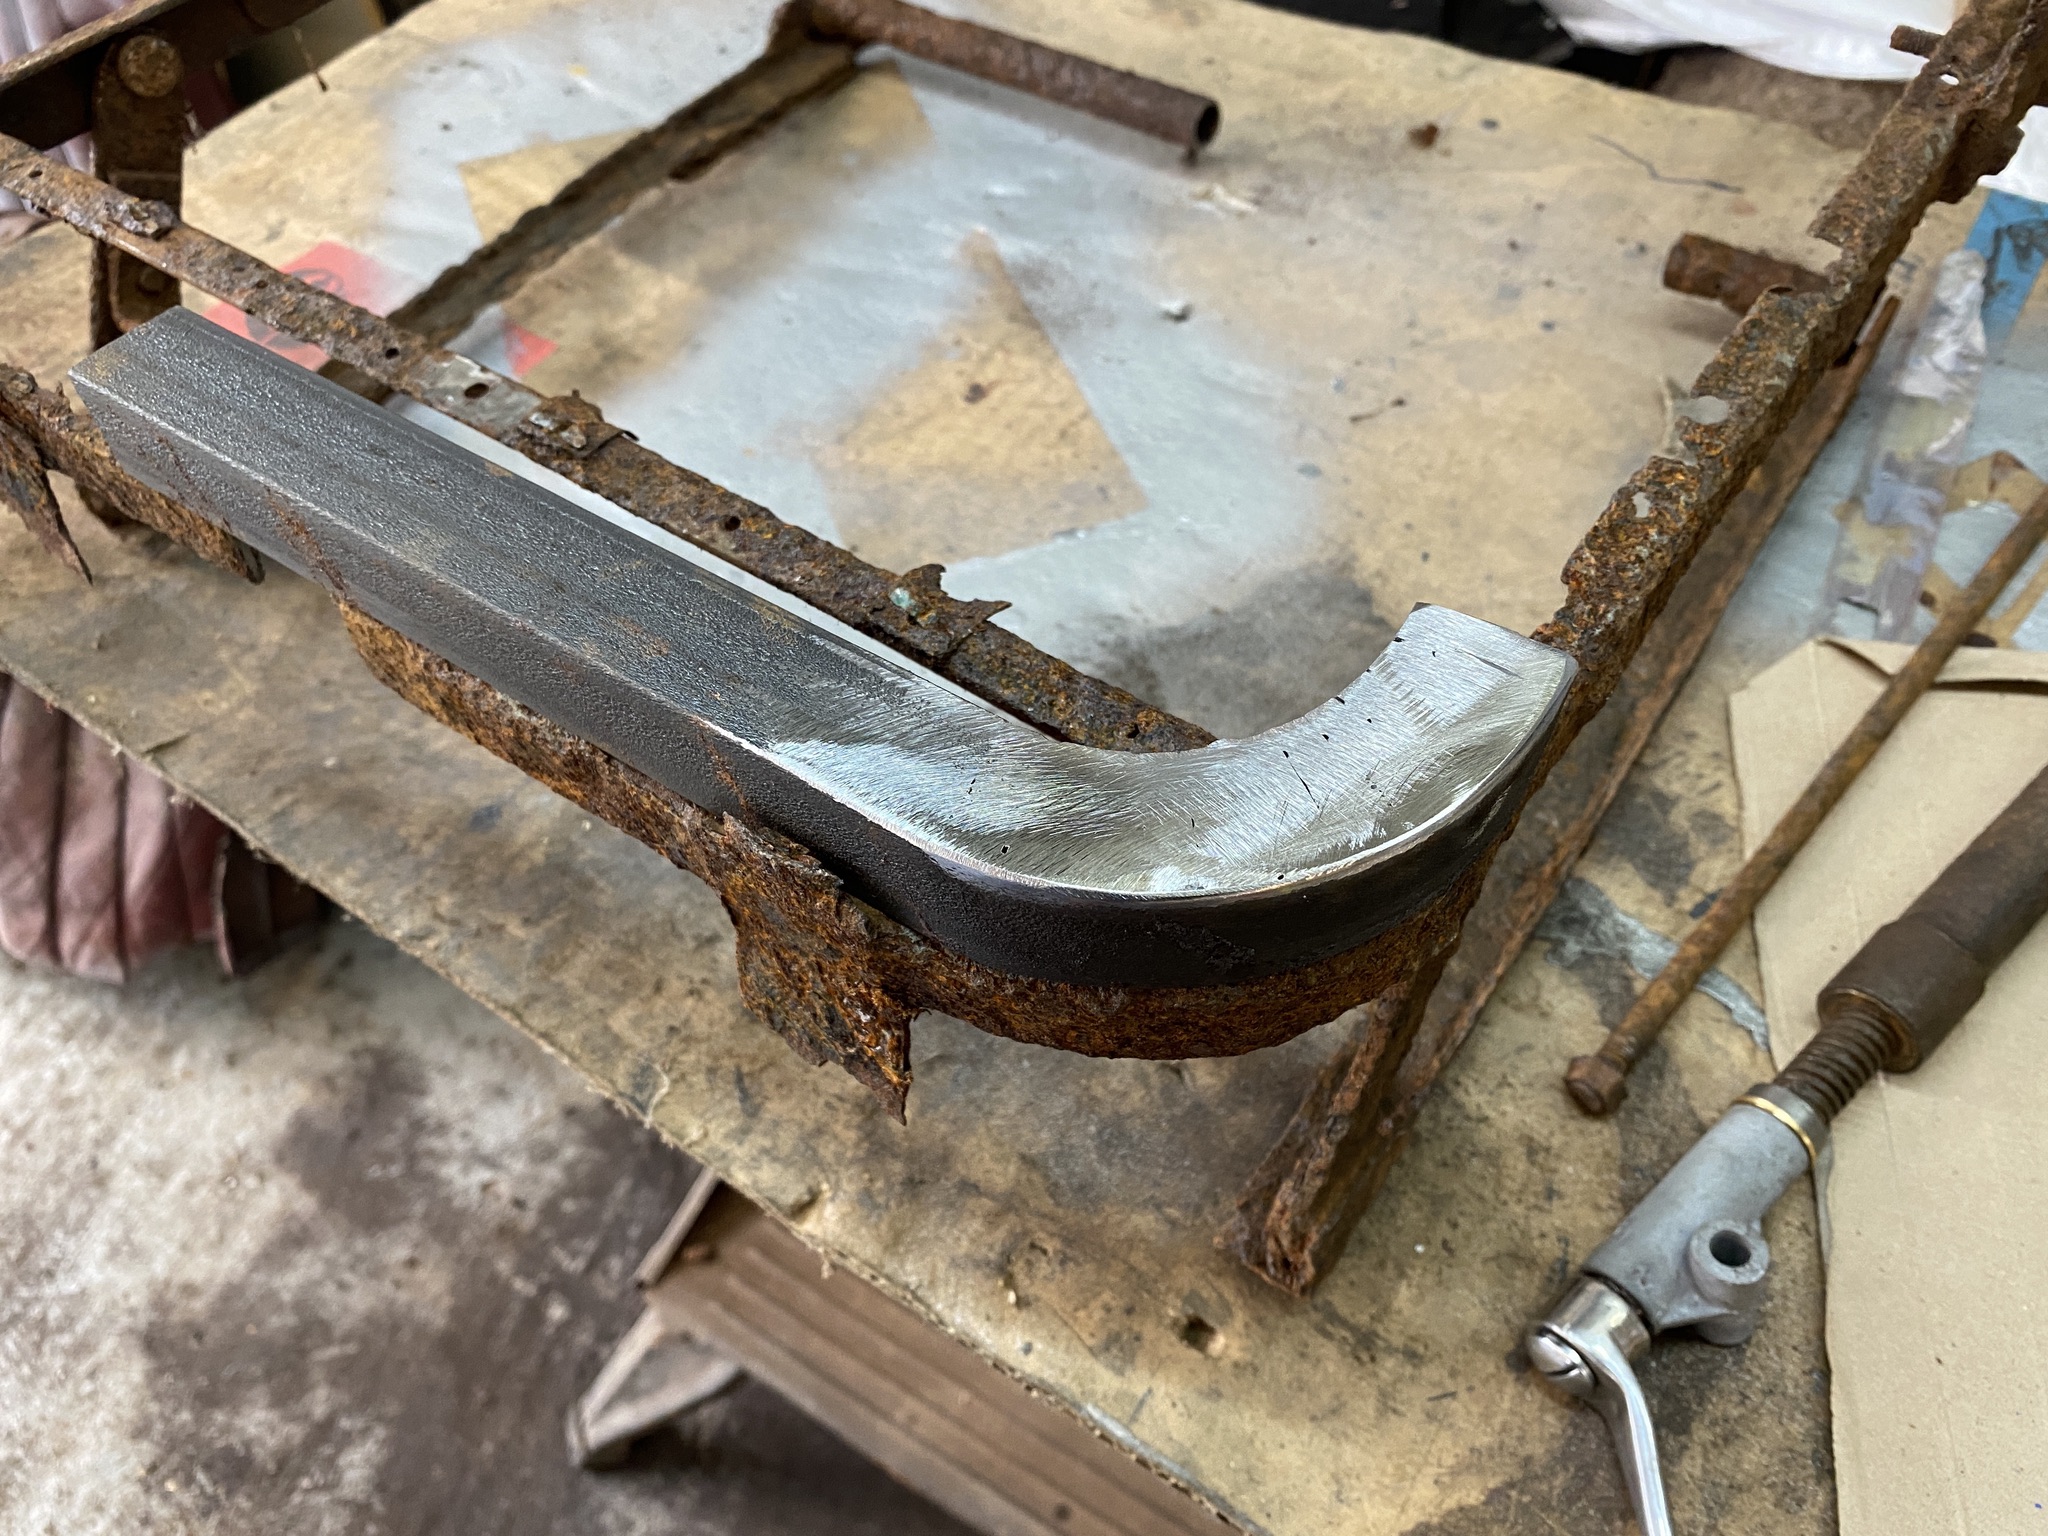
Angle iron by nature of the 90 degree angle resists being bent, flat bar however will bend relatively easily. So my theory, which should work given some patience was to cut a series of slots in one side of the angle iron so that the remaining solid side could be bent. The gaps in the cuts would close up as the metal was bent and all I had to do then was weld up the slots to create a solid piece of metal again. This did indeed work but I had to cut the slots, bend the metal, gently recut the slots so a new wider gap was produced, bend the metal and once more recut the slots and bend the metal. And voila, I now had a curved piece of angle iron that matched the profile of the seat radius:

Bend 1 below: 

Bend 2:

Bend 3:

A trial placement - very slightly bent beyond 90 degrees - but it will do for a test piece.

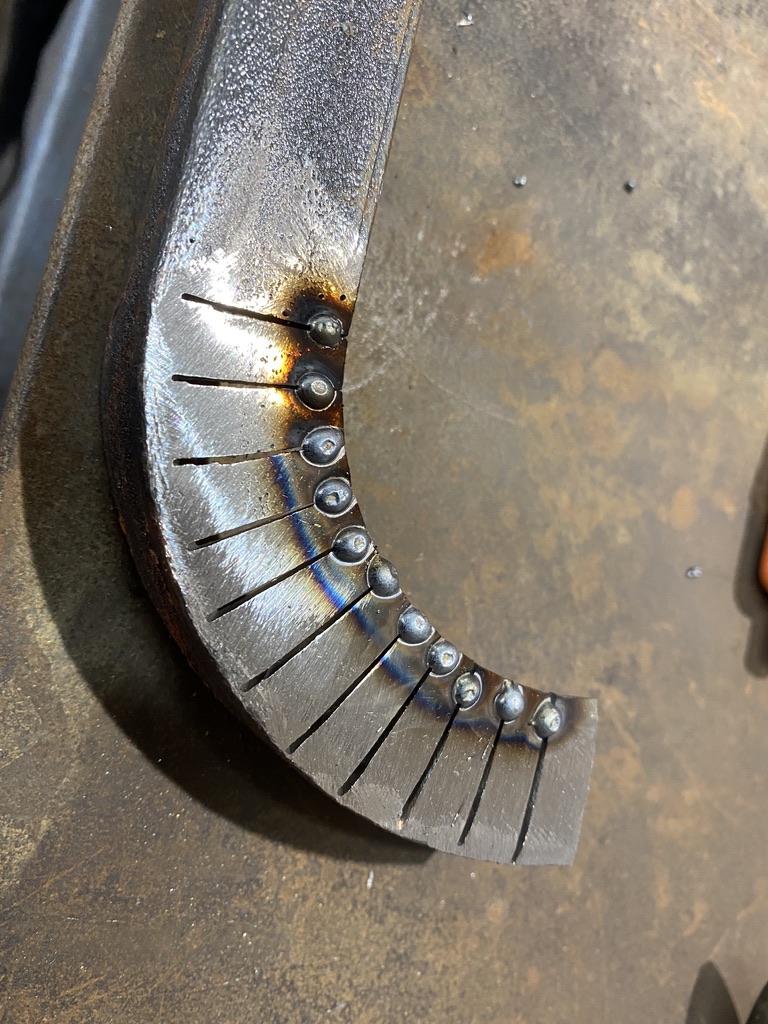
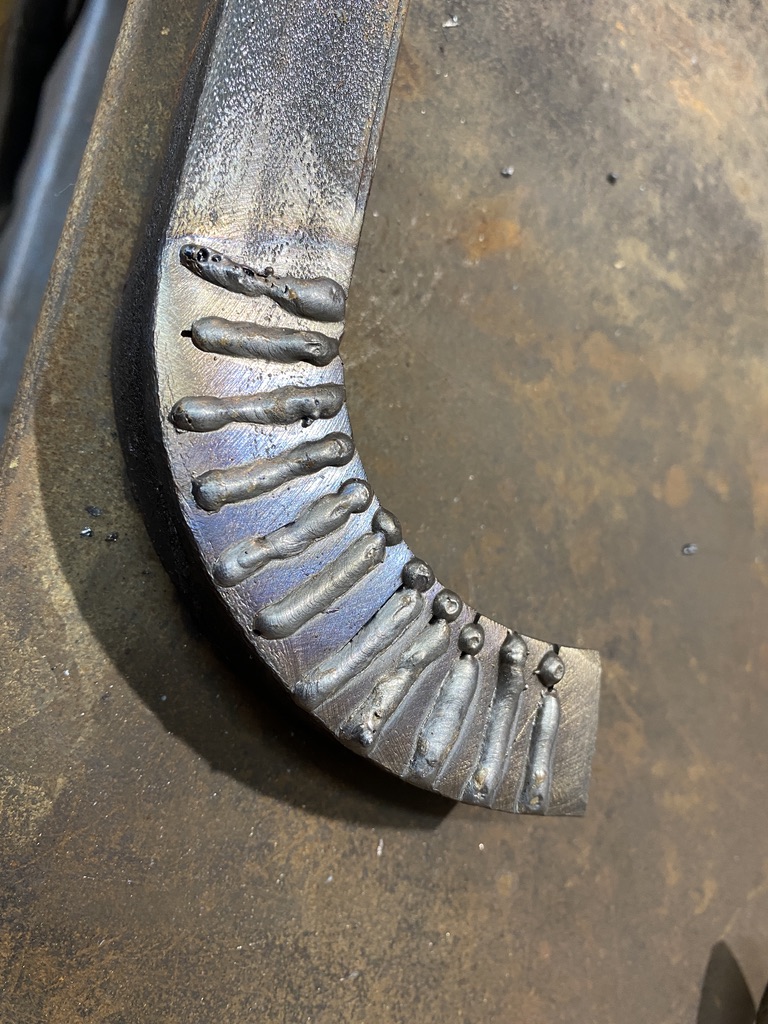
Now in theory I simply need to weld up the slots and grind them smooth.
In the pictures below, remember that this is just a test piece and NOT a piece of fabrication that I will actually use to rebuild the frame, so to be honest, I was not particularly worried about being careful with the welding accuracy or the speed of welding (as can be seen by the topmost weld which is horrible).

First tack weld the ends of the slots so they cant move, then fully weld the slots, then grind smooth.

I think this more than proves the concept that I can actually fabricate curved angle iron, so I will now await delivery of the steel and look forward to making the entire top section out of one piece of angle iron to match the original.

A few more parts come home

A few more parts come home

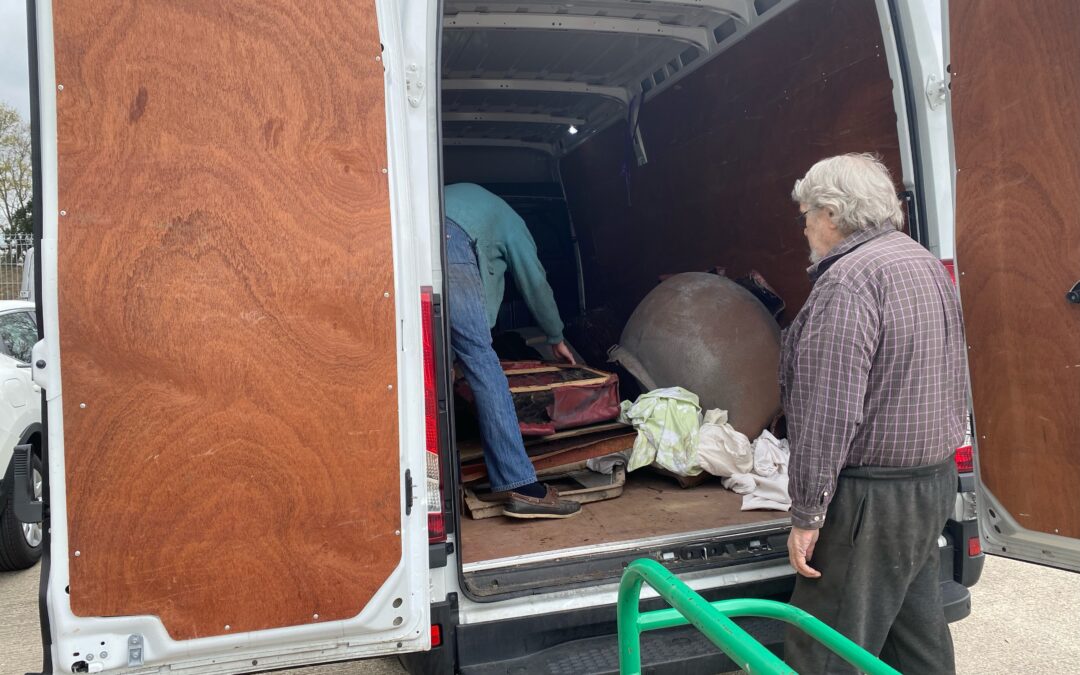
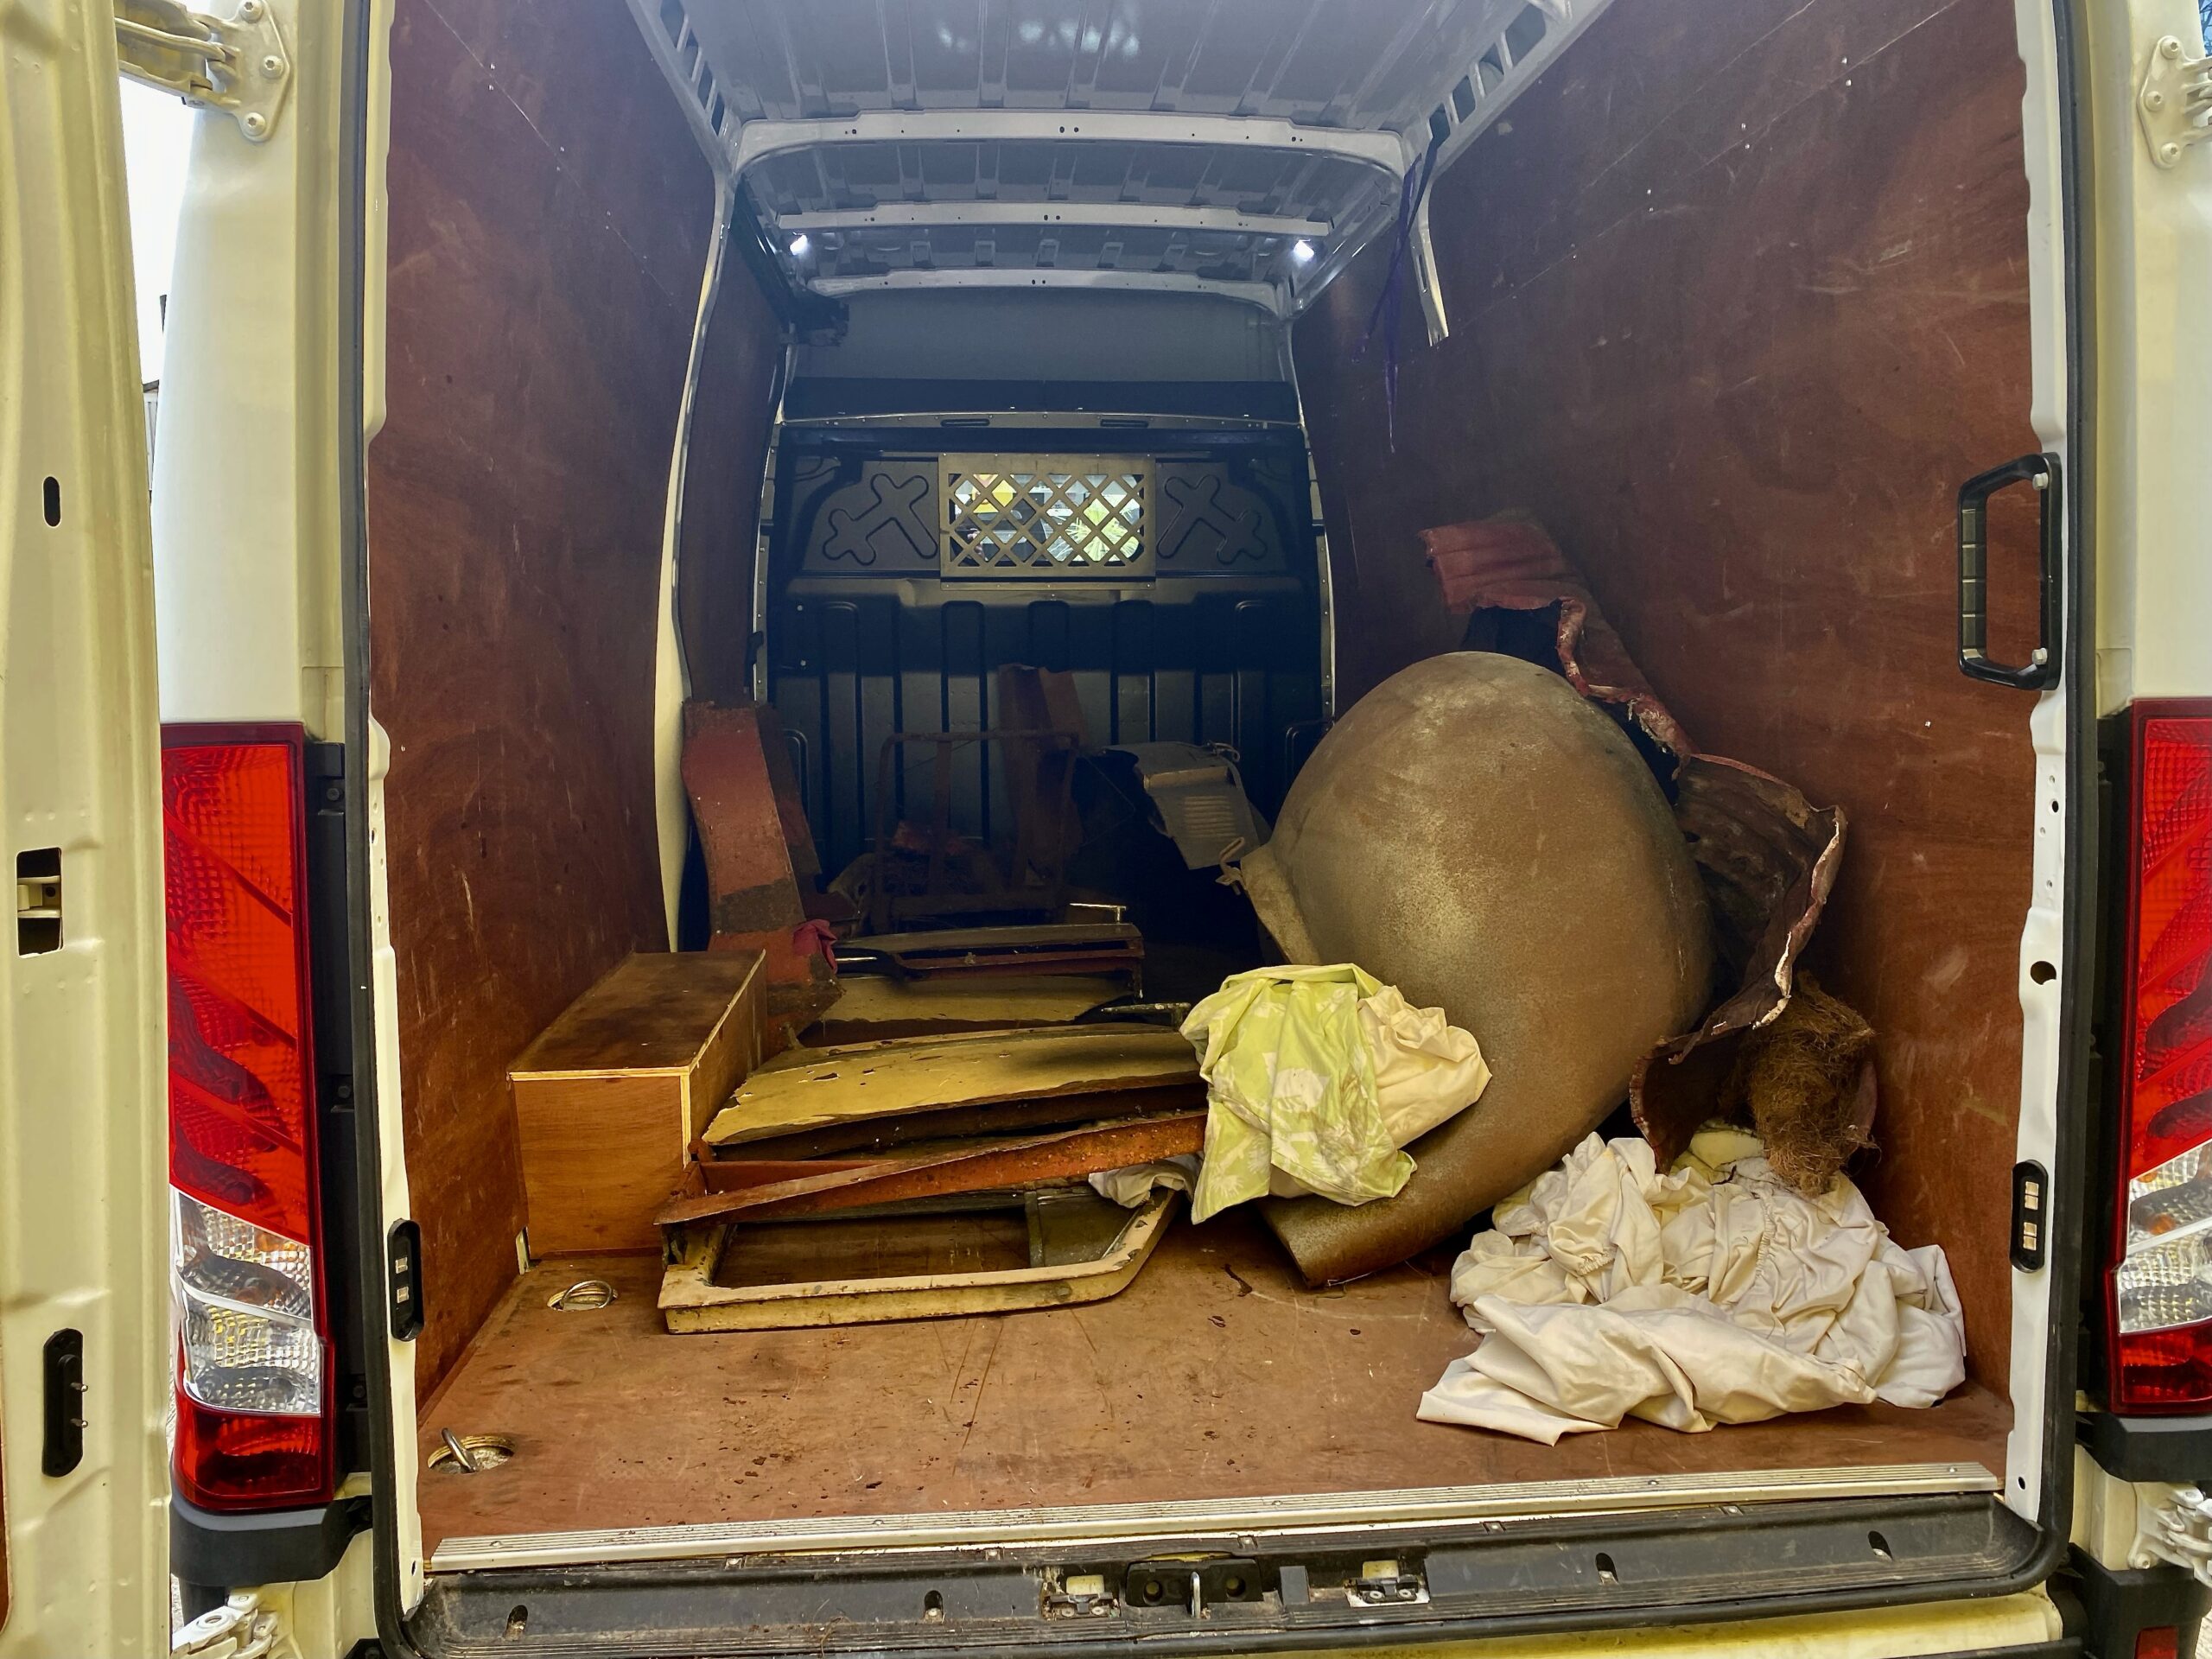
Today, I hired a medium-sized van because it needed to have at least 3m (10 feet) of internal loading area so that the front wings would fit in!

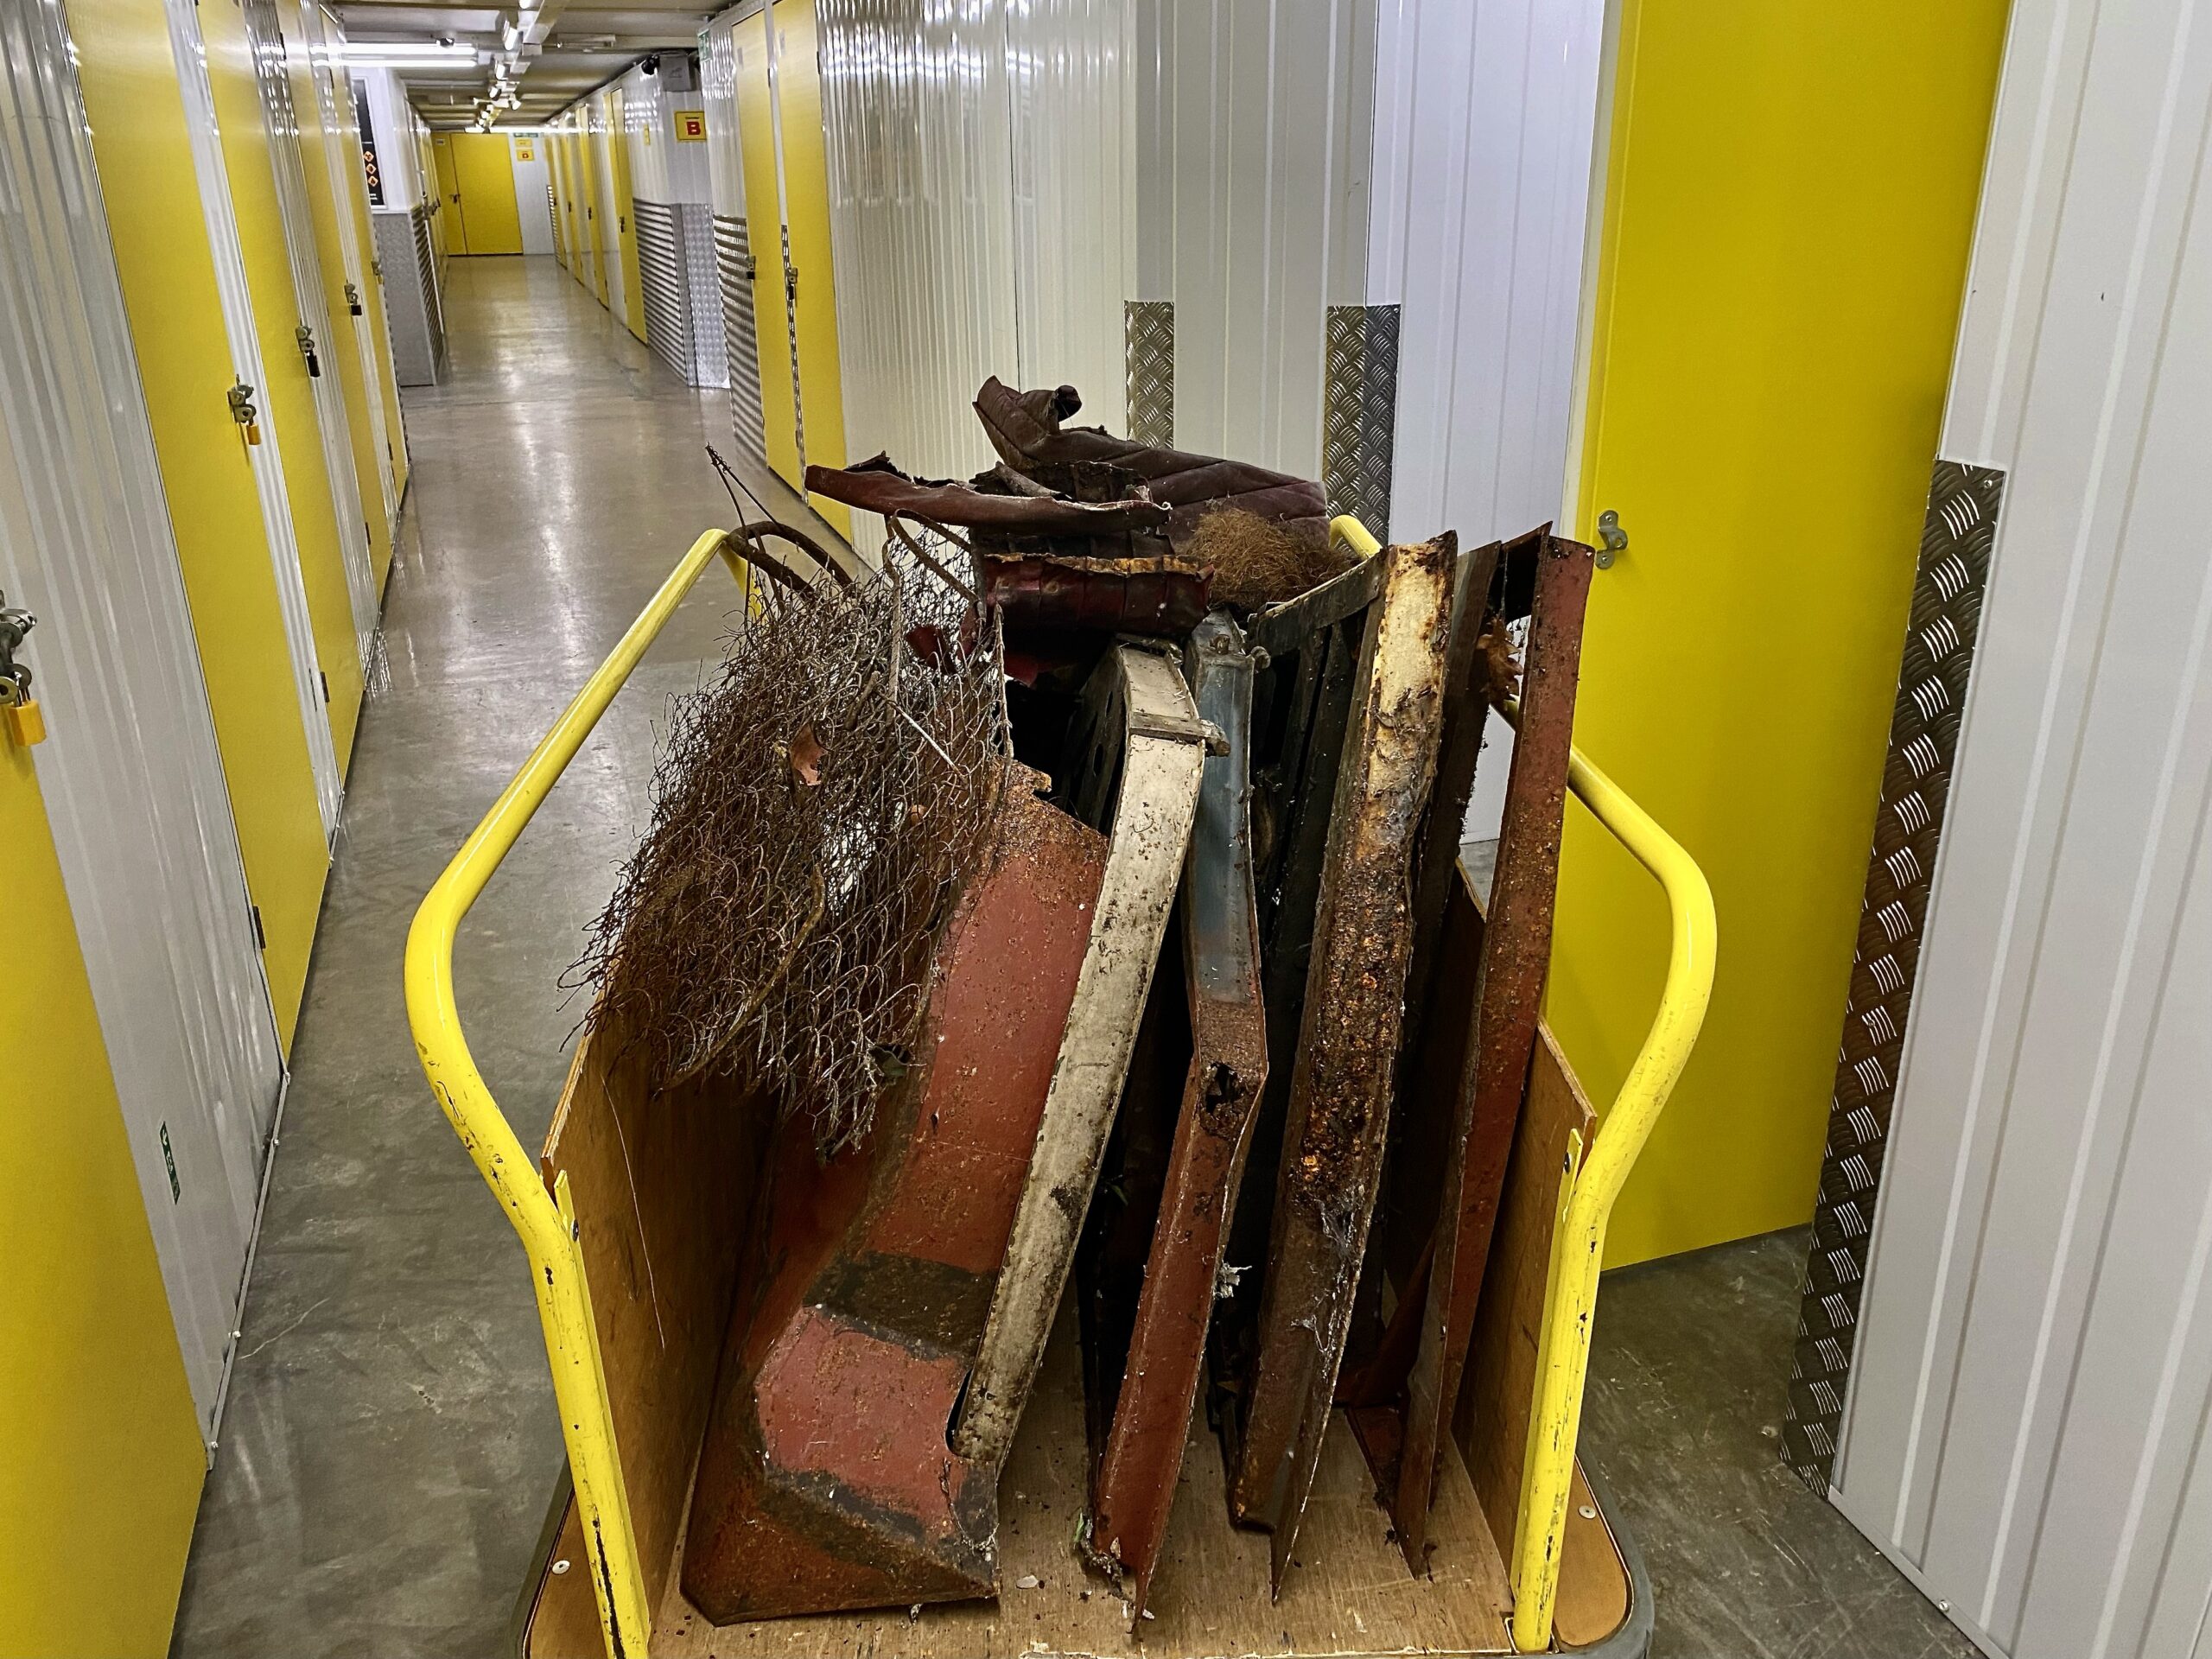
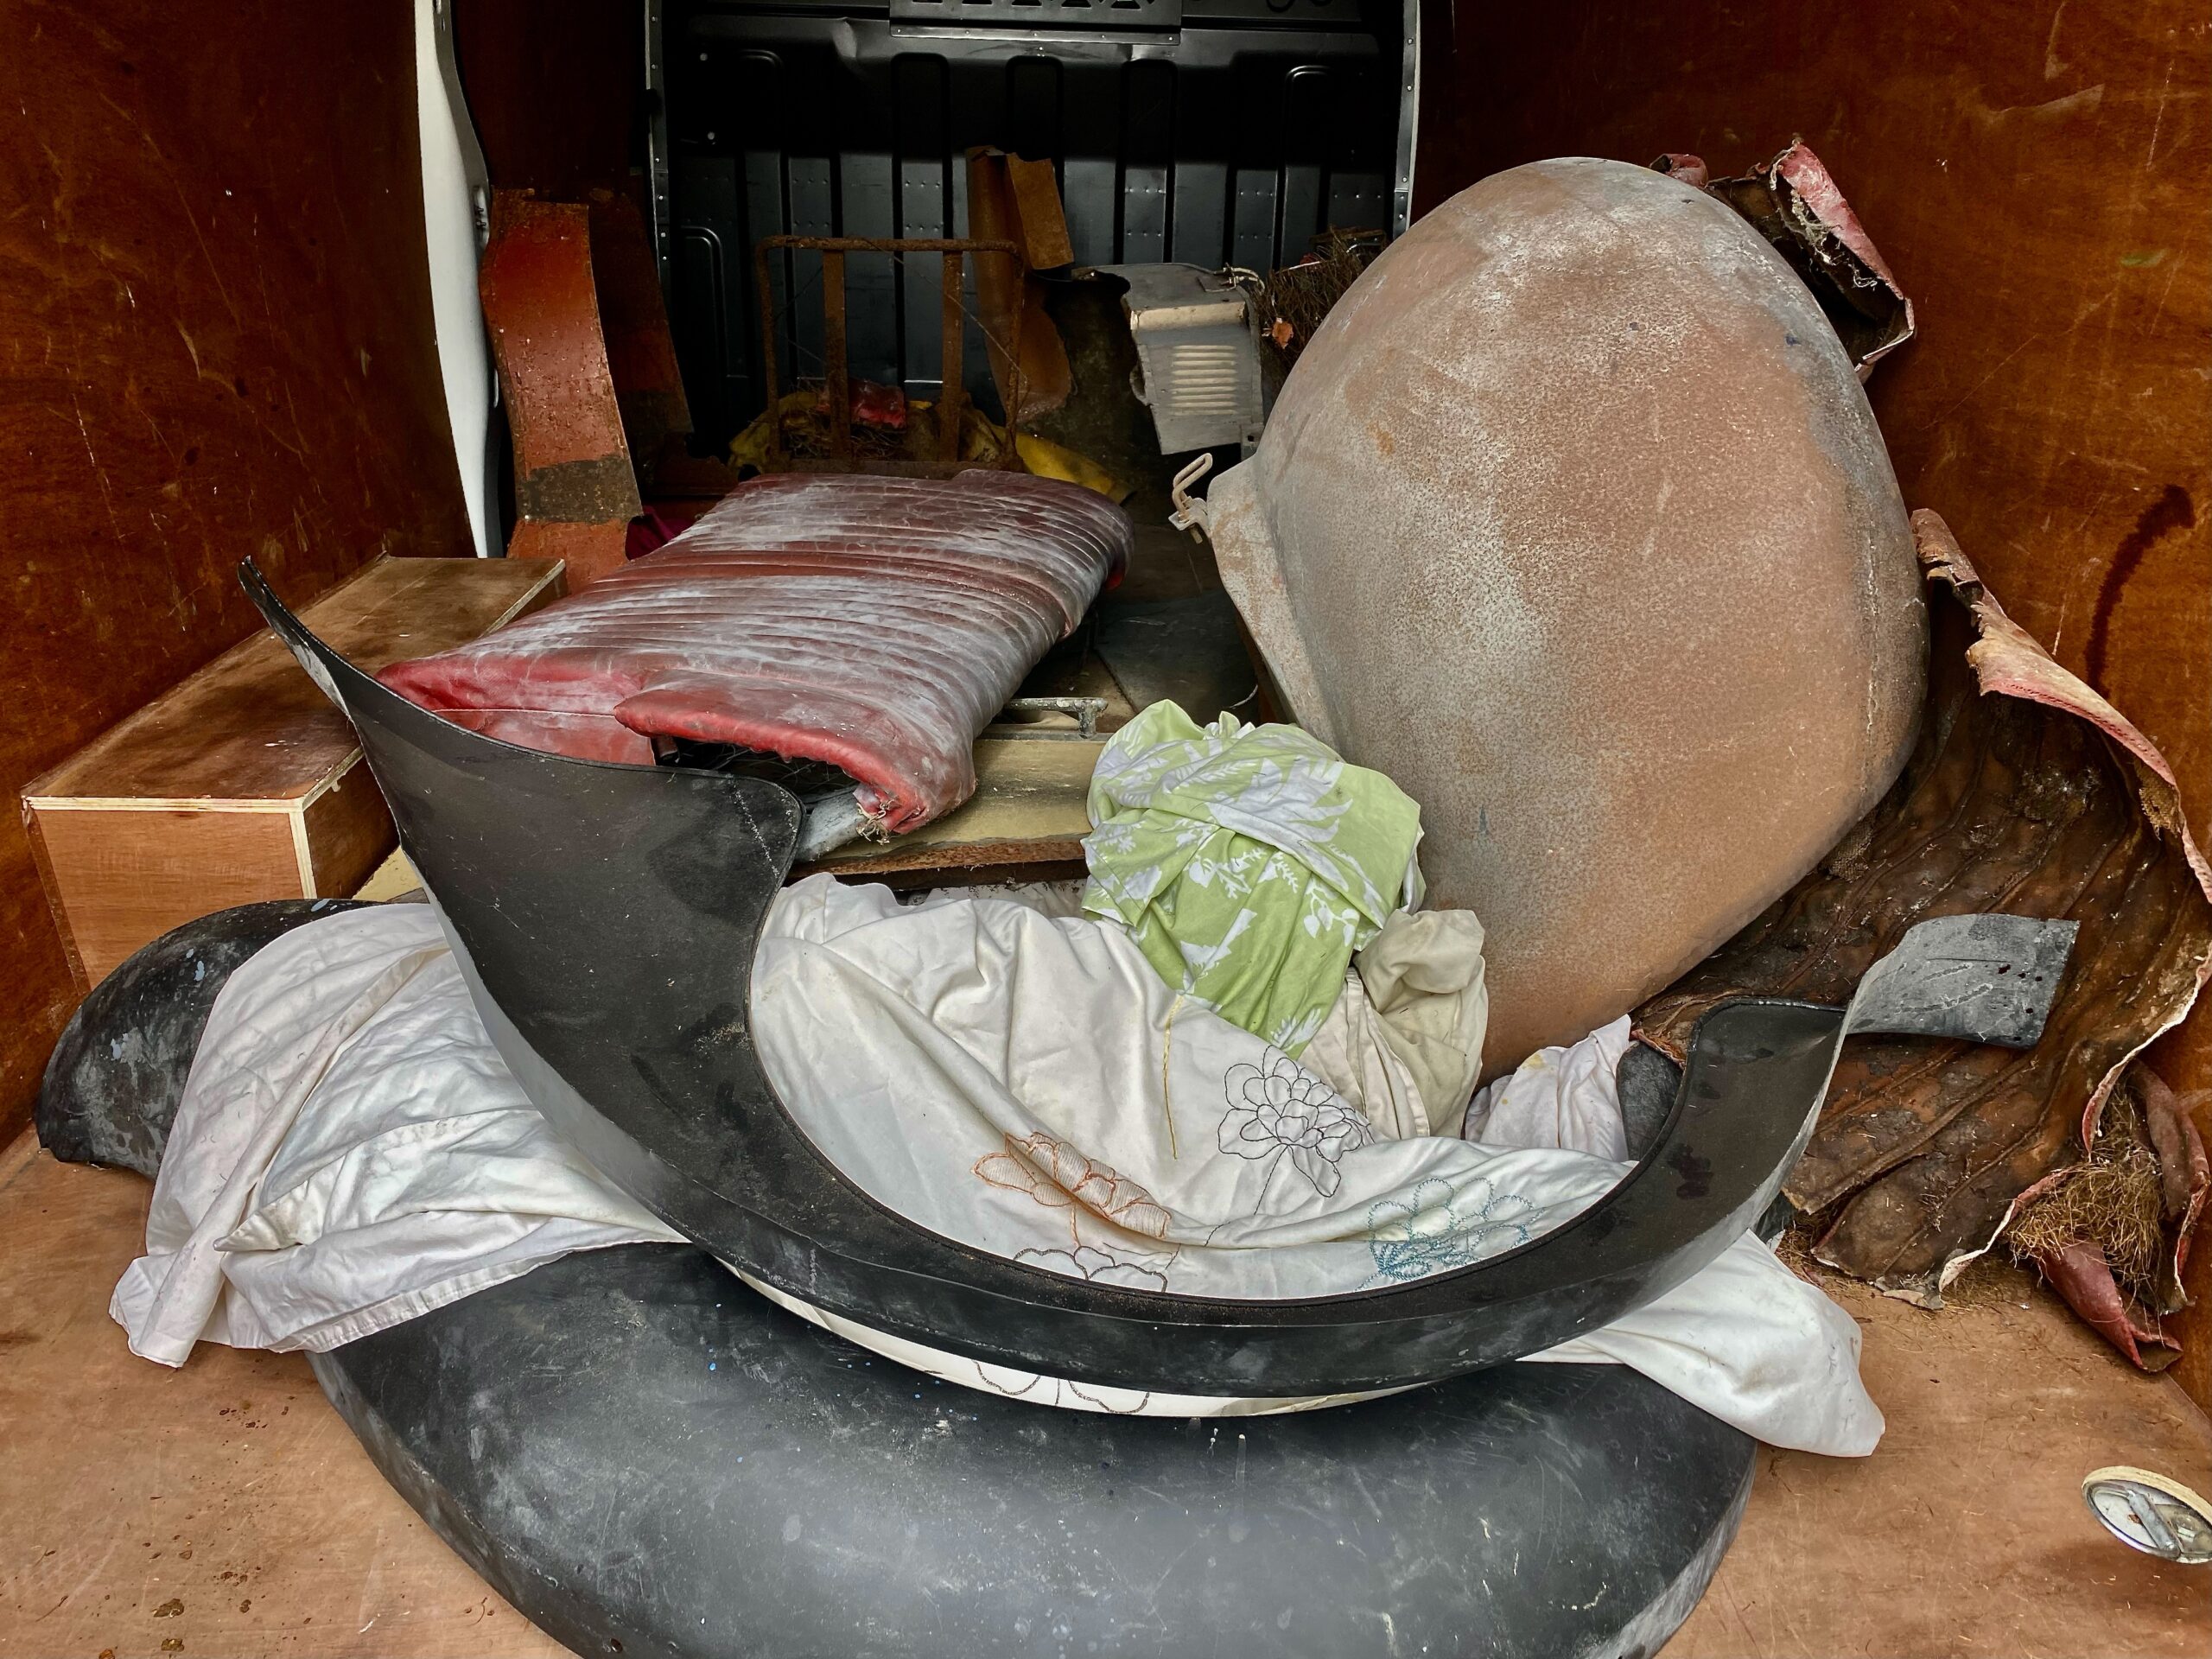
First-born & I drove round to Steve's place and collected all the parts that were not fitted to the car. Well I say "all", what I mean is: as many as were obviously associated with the car.  There are some parts that must be in the garage 'somewhere' but they will be uncovered over time. Alongside the wings, we collected all 4 doors, which were surprisingly heavy. Even though the door bottoms were rusty, we needed to be careful with them because the chrome trim, door glass, and the original door handles were still fitted to each of the doors. Also collected were the front passenger seat (more on that in a minute), the rear seat back, the 2 rear wings, the spare wheel storage tray, the VERY heavy front bumper, oh, and a number of very tired looking leather seat covers that are beyond use, apart from being a reference for the new leather trimming.

The spare wheel tray had been rebuilt by Steve, but sadly was one of the victims of his old storage garage having a hole in the roof brought about by a fallen tree. Trouble is, Steve didn't visit that garage very often so the new hole let in rain over an extended period, which unfortunately landed on the seats and the spare wheel tray and did what rain does best to unprotected metal.

The subject of this blog entry is really that corroded front seat. It looks horrible: there are holes in the main steel loop, the supporting framework, the seat frame and the very basic runners. The seat was originally adjustable for height and position using a rather lovely handle, but for a minute all the moving parts are seized. There is nothing that can't be repaired or rebuilt with sufficient patience and time, although bending a new hoop will be an interesting challenge.  I am wondering if the adjusting screw will ever move again - anything that should move is soaked in 'PlusGas' which has reliably freed up joints before, so it's worth a try.

I know it's a bit weird to start the restoration with a seat - but I don't have any metal yet to start repairing body panels and of course the car is still in Steve's garage, so I will play with what I have.

Below are a few pictures of us bringing the parts home and the corroded seat

Some Parts start to come home

Some Parts start to come home

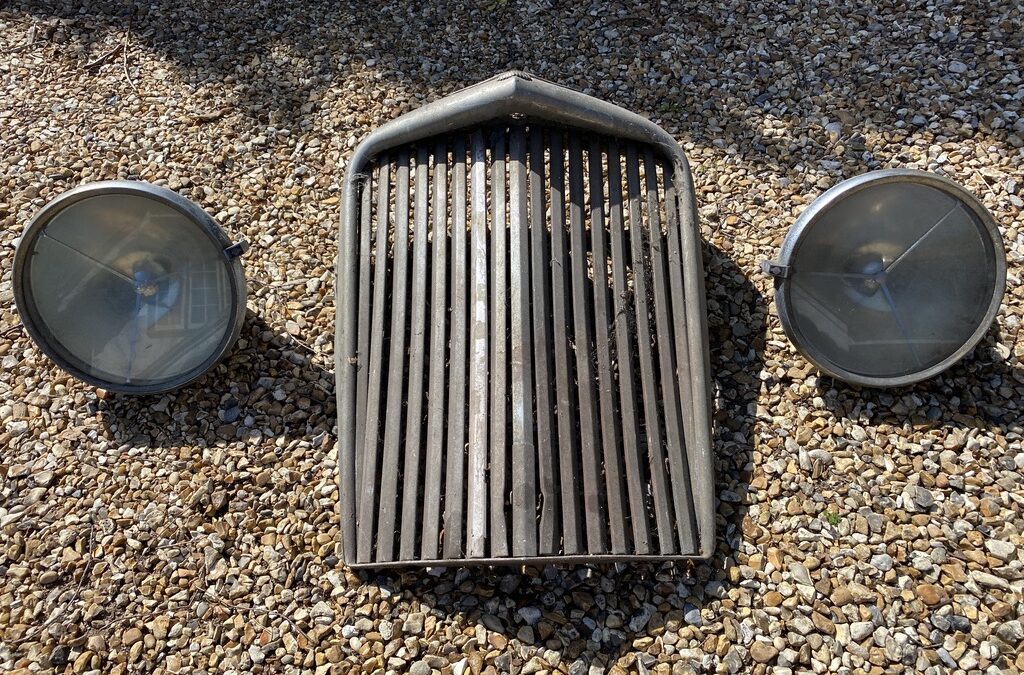
,I am slowly collecting parts from Steve's garage, basically anything I can fit into the boot of my car. So I have the boot lid, the spare wheel cover, radiator grill and those fabulous 12" P100 headlights which despite their immense size I rather suspect were still not that efficient but they do look wonderful when the chrome is all polished up. I also have the tool tray that goes in the boot lid, one bumper (so far) and all the repair panels that Steve created whilst at college. The repair panels not surprisingly, need the surface rust removing and sealing with a zinc based primer to protect them against the elements ready for welding in. I will make drawings of the main panels with measurements in order to have a reference for fellow restorers.  I do know at the time of manufacture, the various panels were made by different companies based on a sample rather than drawings so the fit was not great and some fettling was needed even with the factory parts...

Most of the items are covered in a thick layer of greasy dust which will need respectful cleaning and anything with moving parts will be gently teased back into life as I would like to retain as many of the original parts as possible. I am expecting most of the cast parts, like window winders, badges etc to be badly corroded, they were made from a low quality zinc alloy mixture that was compressed into moulds under high pressure. That reliably produced a good finish, but over time the zinc erodes and separates from the alloy creating pits so the chrome has nothing to hold onto and the items look awful. To be fair to the manufacturers, they were probably not expecting their cars to still be in use 80 years later.

I have found a company who makes replicas of some of the items should they be beyond recovery, and I believe there are a few companies who say they can restore mazak but I rather suspect that is not cheap.

Finally for this week, I have hired a van to collect the front wings, doors, seats and other large items primarily because the front wings are 3metres long. In the meantime, I am making space in the garage in readiness for the old girl to come home. That will be the real start of the blog...