Tyre Cover Panel Pt2

Tyre Cover Panel Pt2

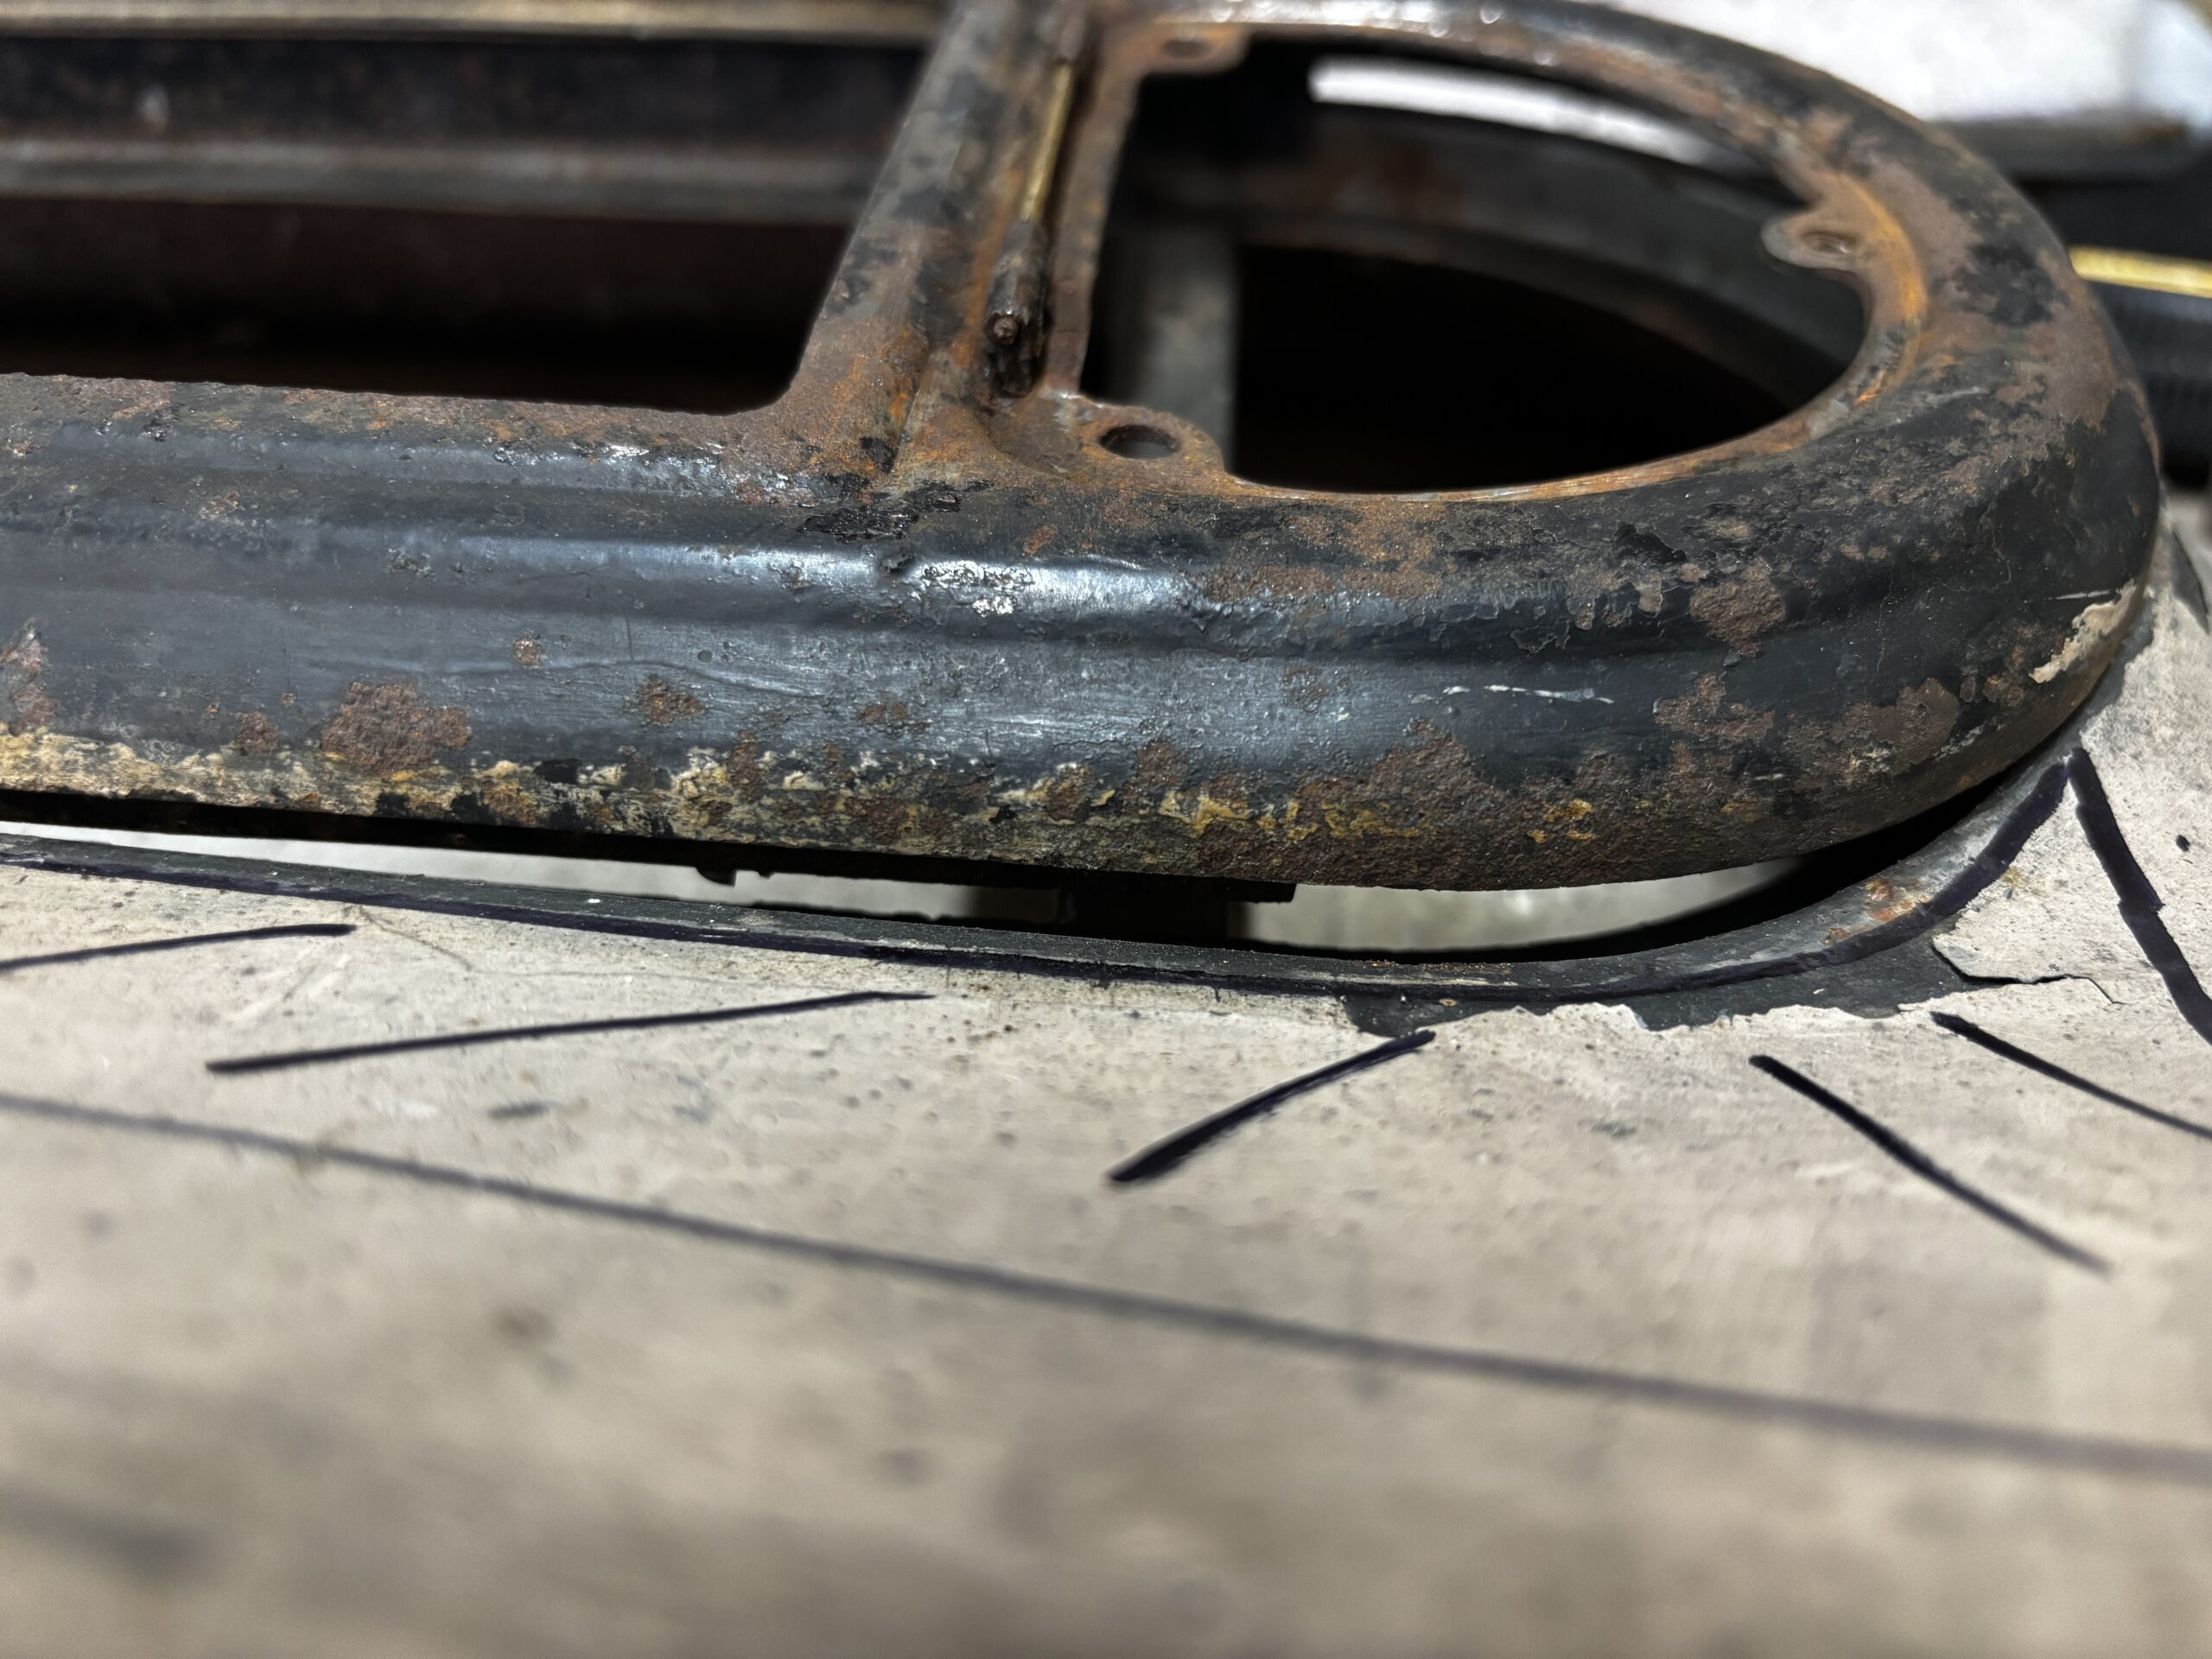
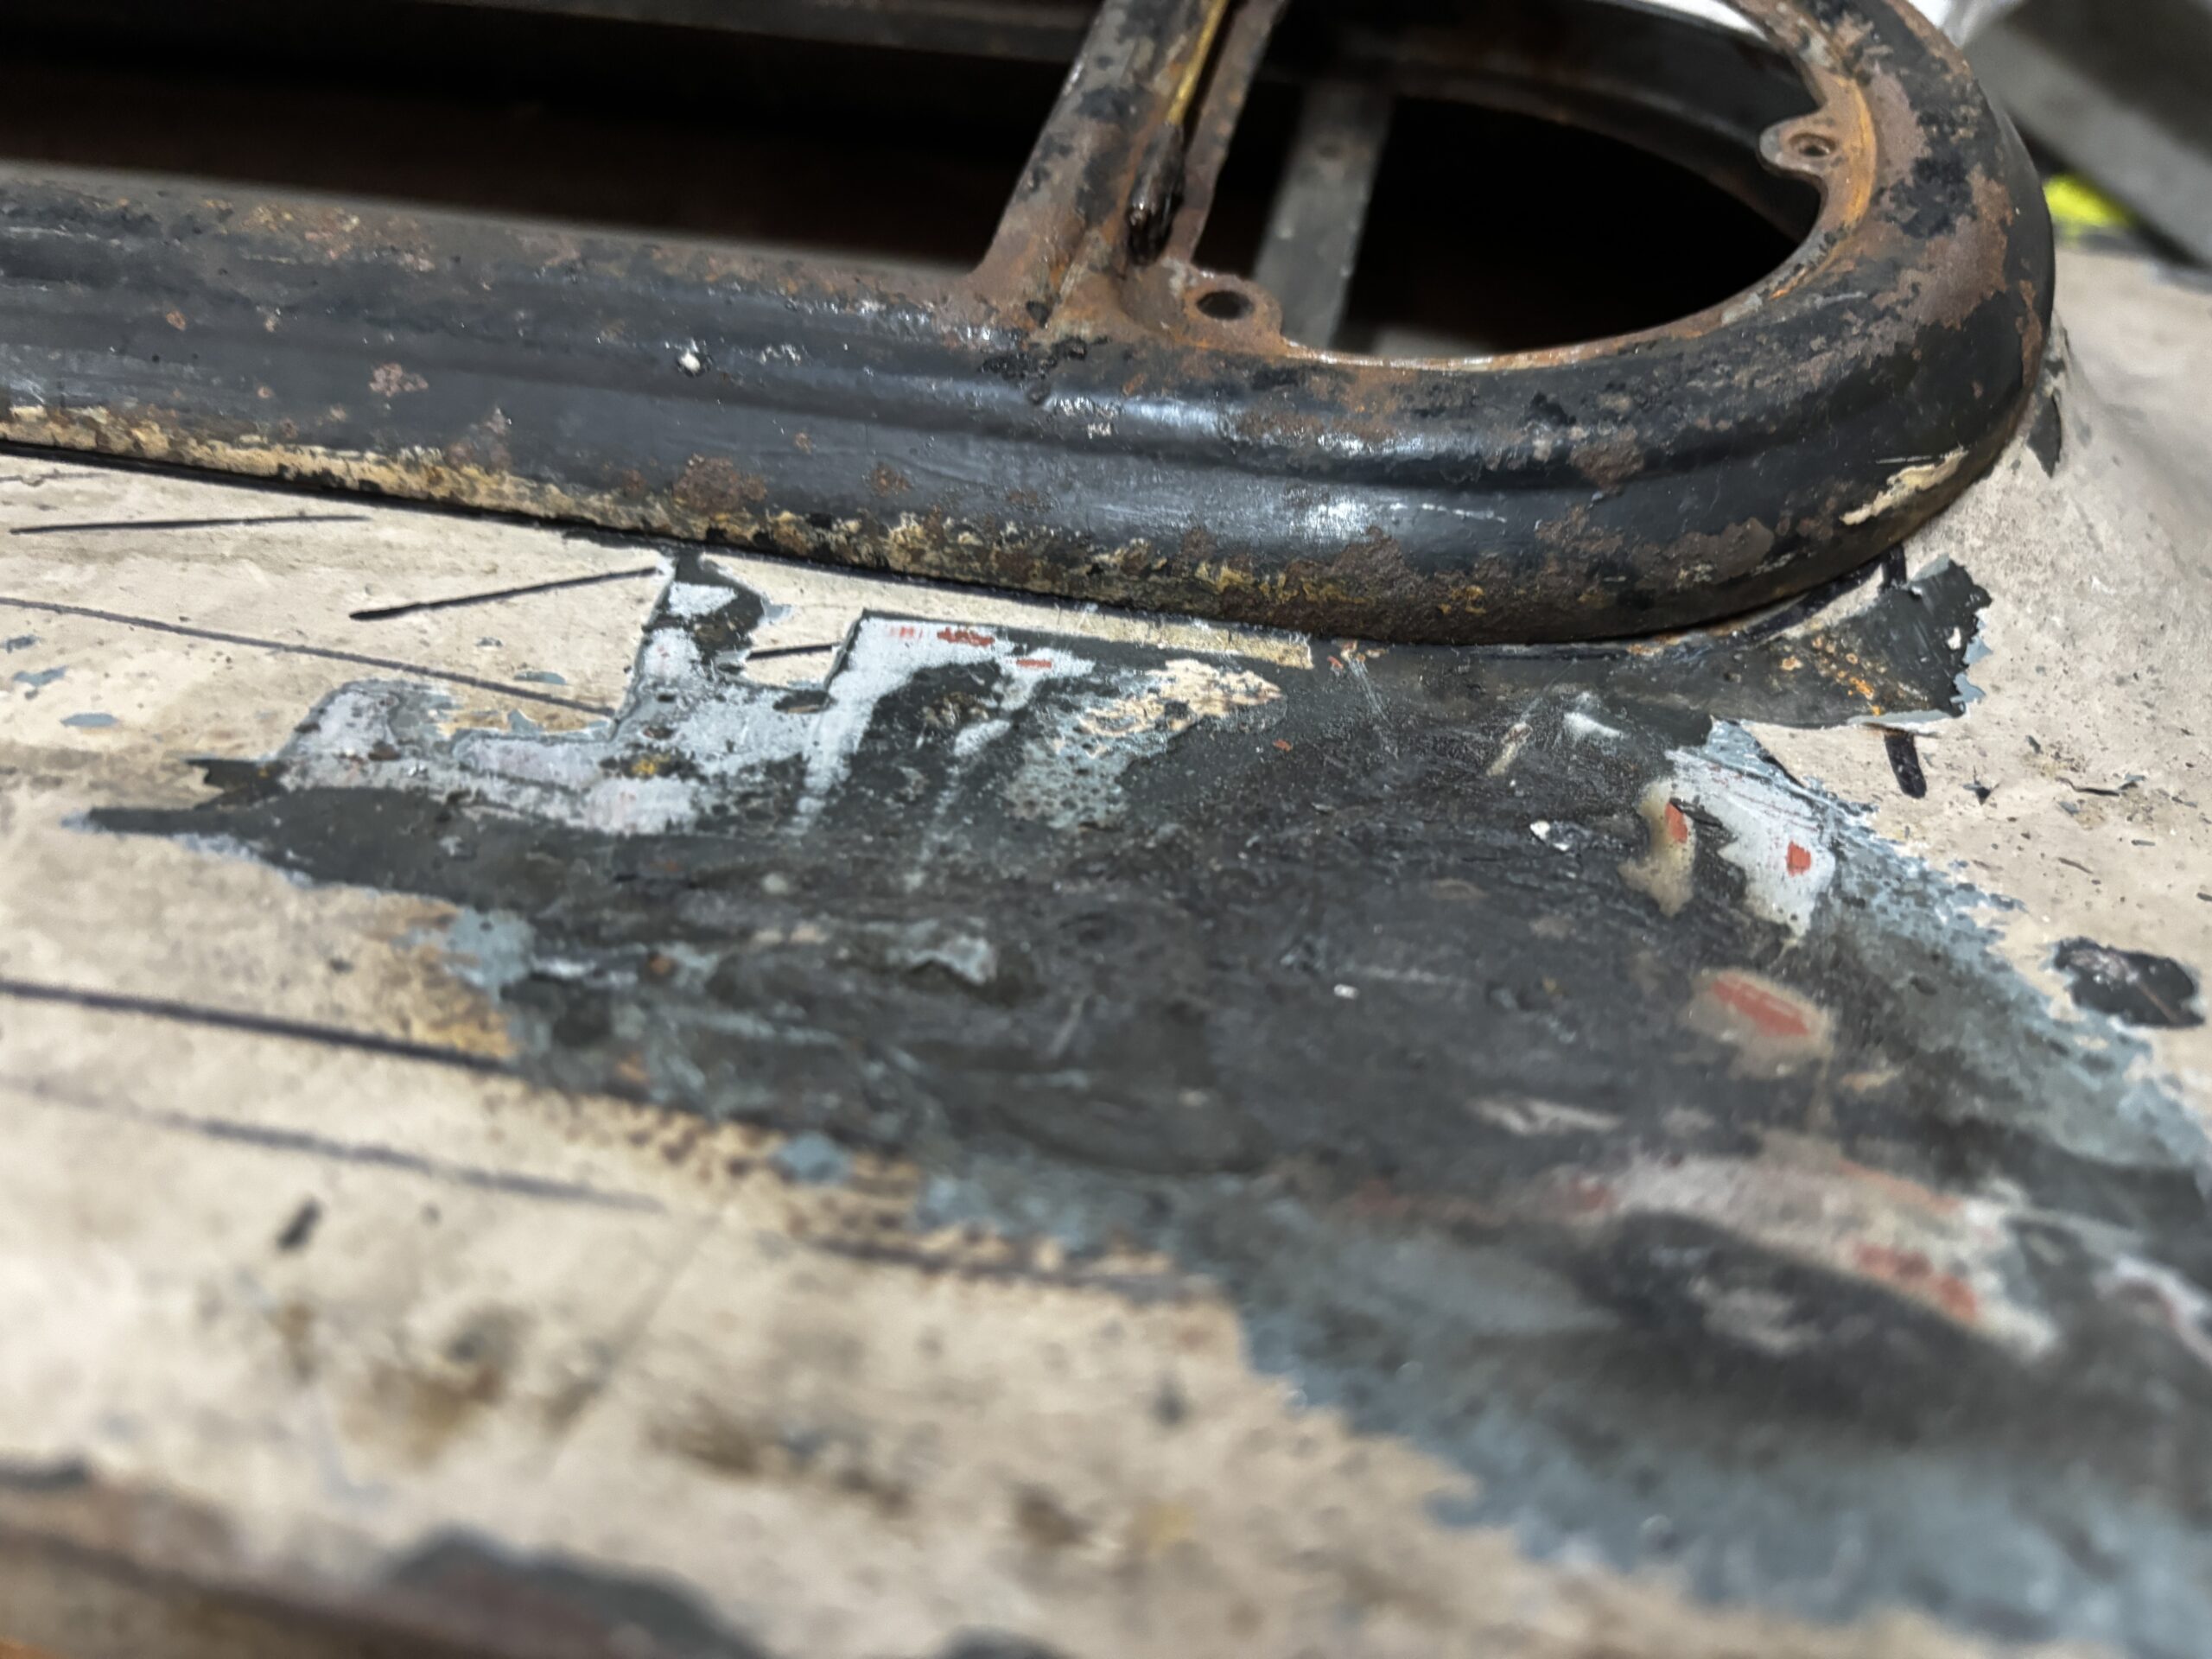
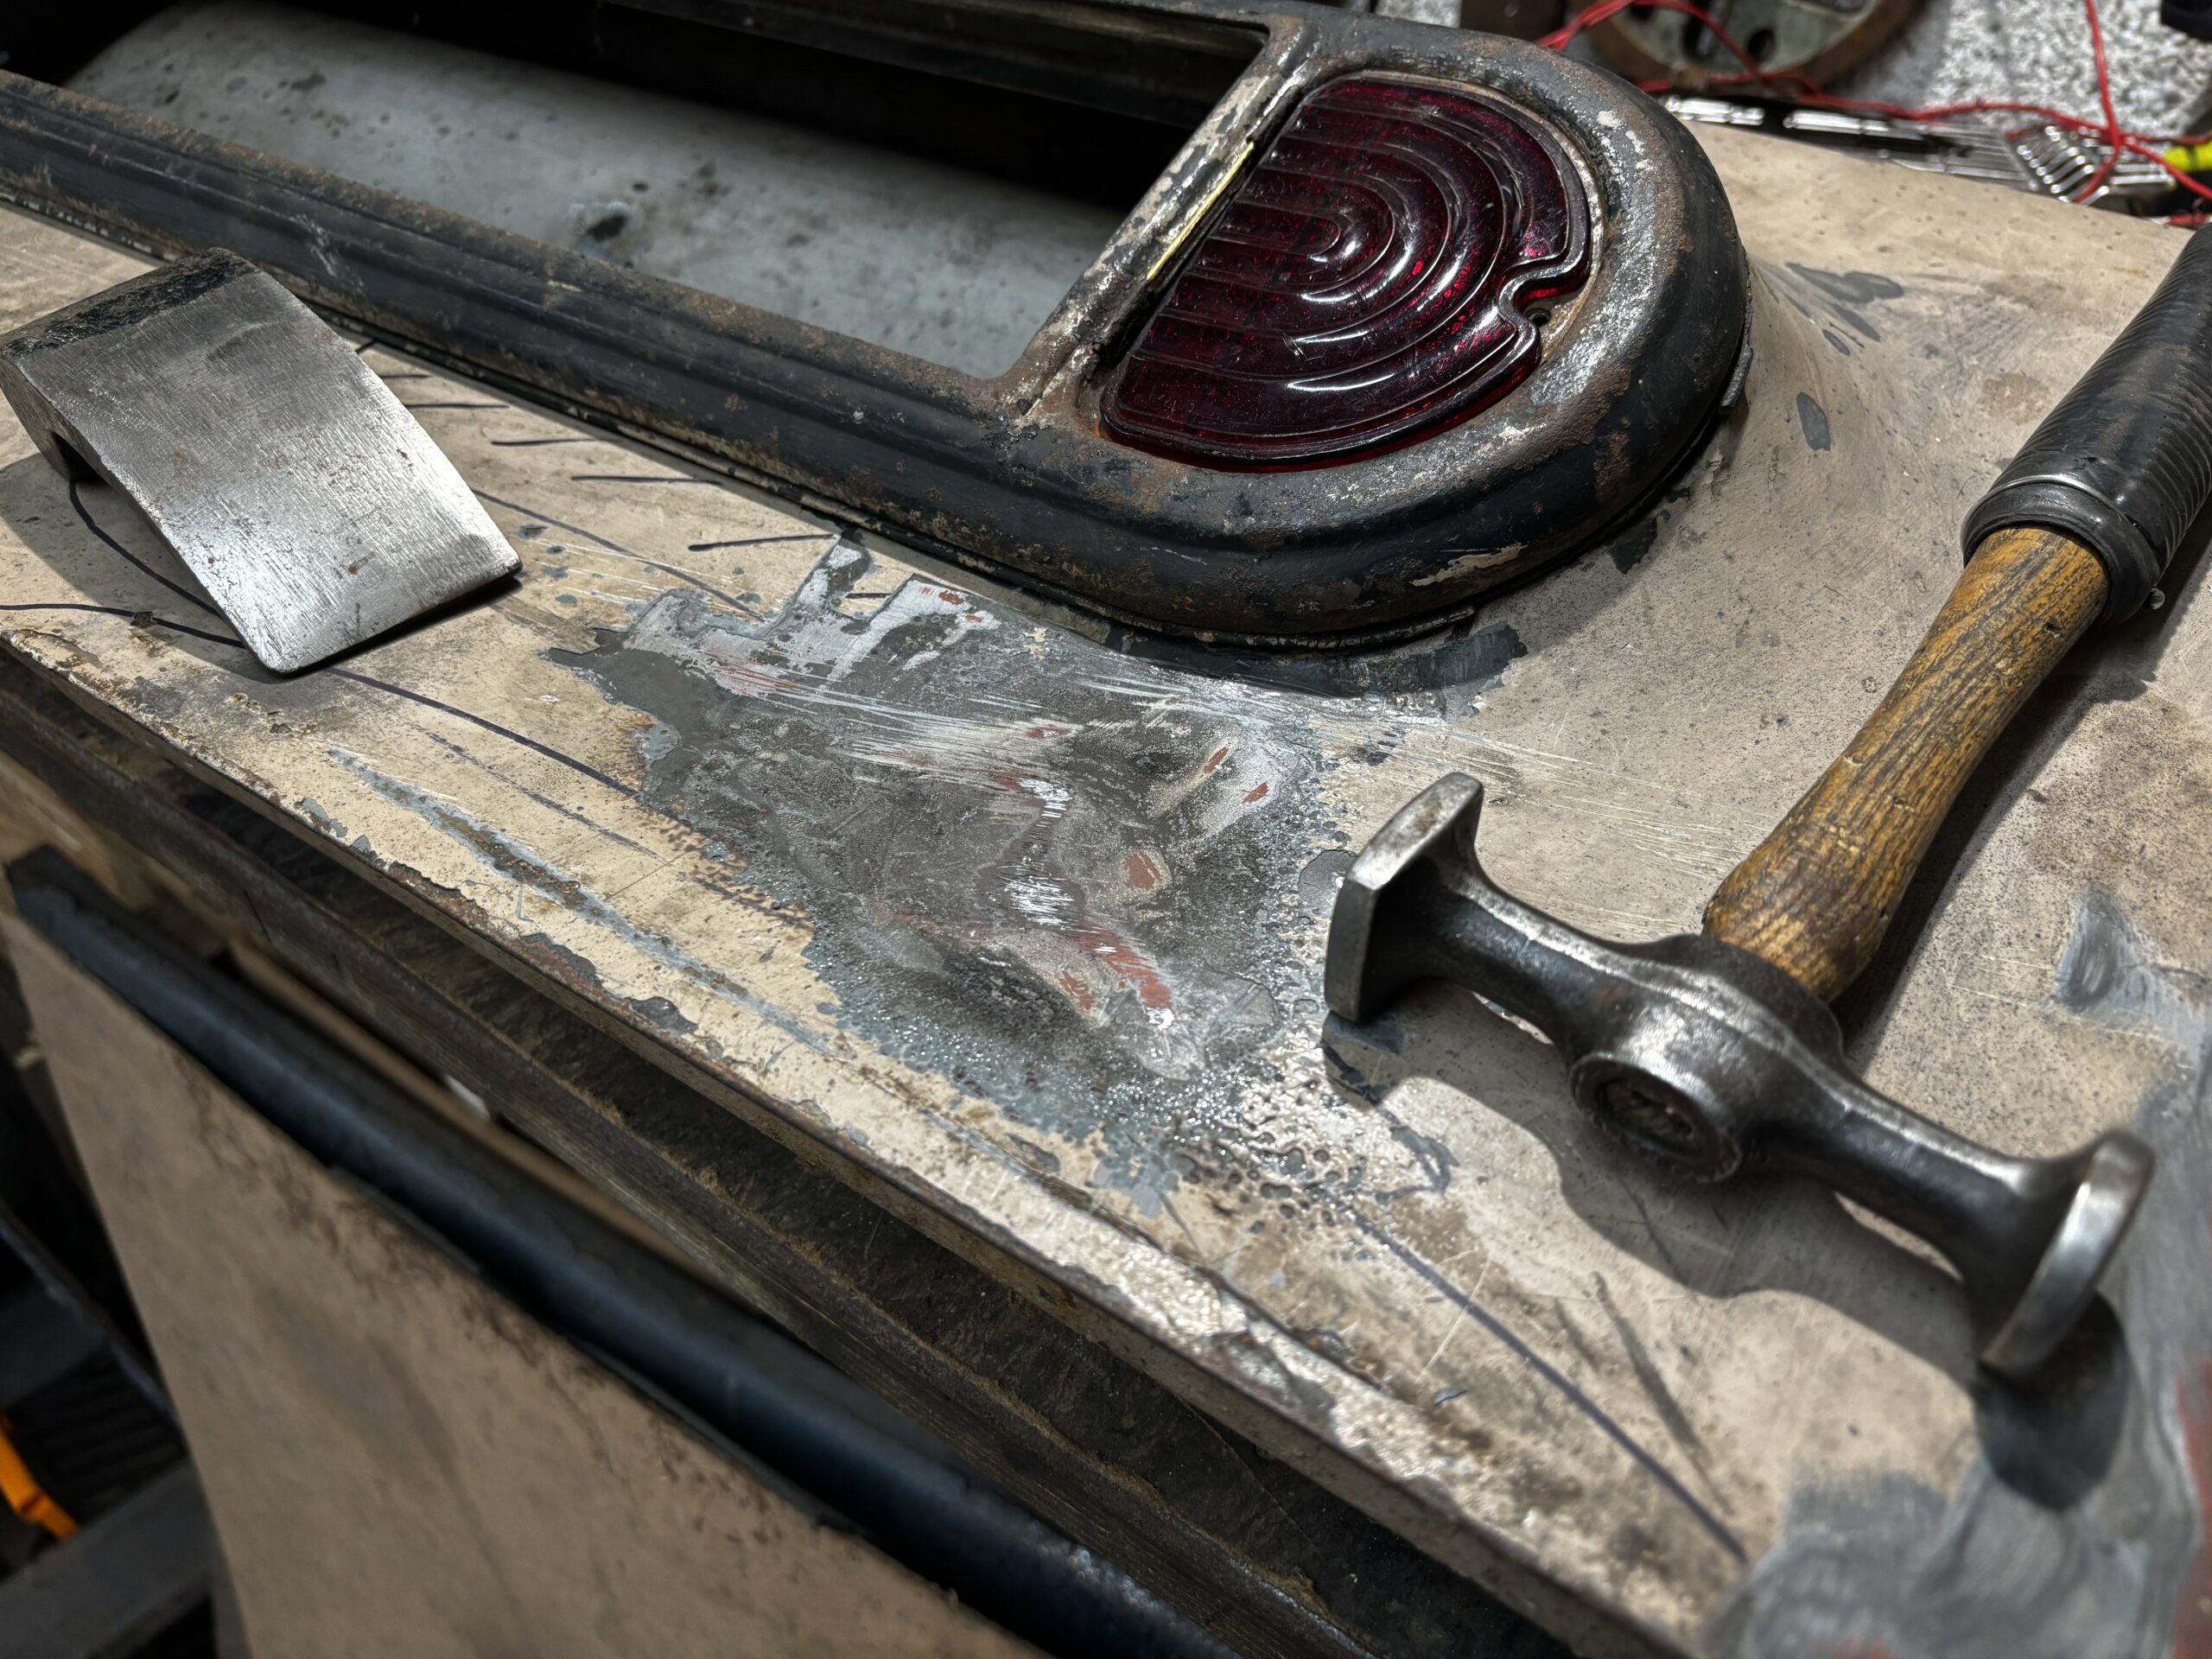
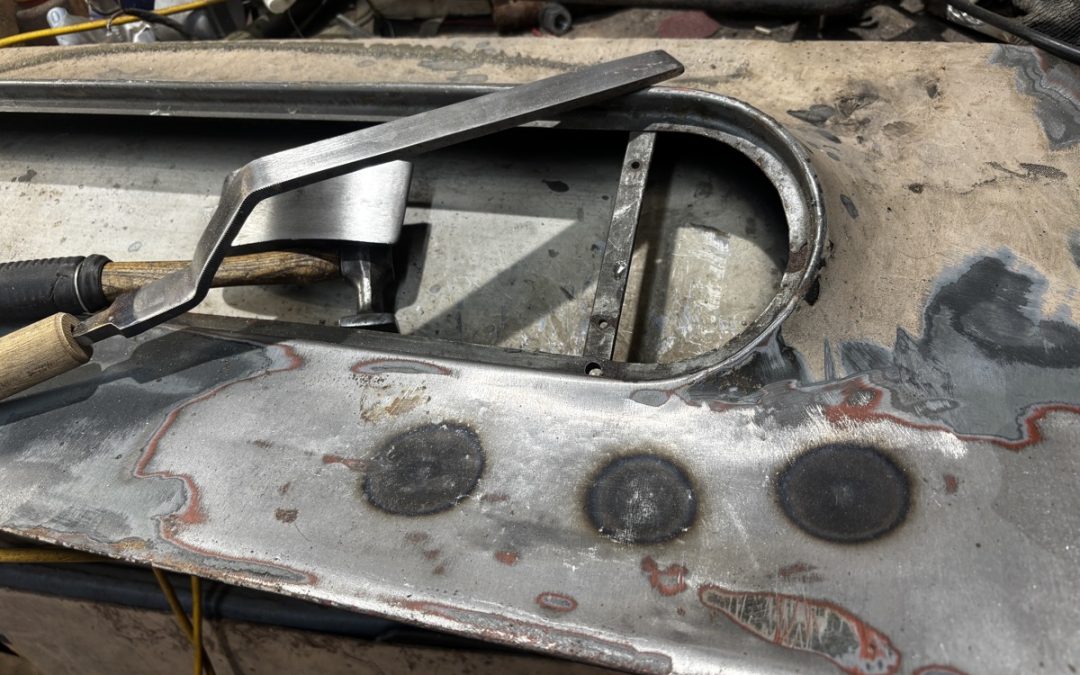
I've made a bit more headway coaxing that stubborn indentation out of the spare wheel cover. Progress is glacial, largely because it's virtually impossible to get behind the dent and give it a proper shove. Still, I'm inching forward—armed with a motley crew of paintless dent repair tools, bent metal rods, and a crowbar that’s seen better days. The panel is slowly, grudgingly returning to its original shape.

The real troublemaker is the bottom edge, where the outer skin wraps around the tyre cover frame. That section of metal has clearly decided it’s had enough of being pliable. Short of cutting it out entirely (which I’m not keen on), I suspect I’ll have to resort to a skim of lead to smooth things over.

They really did build cars differently back then—thicker metal, more resistance, and a general attitude of “good luck fixing this.” One new wrinkle in the saga: the panel now exhibits classic ‘petrol canning.’ That delightful phenomenon where you press the metal, it caves in, then pops back out like a mischievous spring. After a deep dive into YouTube tutorials, I’ve learned this means the panel is under stress and needs a bit of thermal persuasion.

Cue the oxygen-acetylene torch. Yes, I finally worked up the nerve to try it, despite having no real idea what I’m doing. Tonight was the night.

The method? Heat a small area where the metal’s stretched (without accidentally turning it into a molten puddle), then quickly cool it with a cloth soaked in cold water. The panel has stopped popping, which is promising, but it’s still not quite firm. I suspect a few strategic whacks with a dolly on the backside might help.

On the bright side, I’m picking up new skills at every turn. On the not-so-bright side, I do wish someone who actually knows what they’re doing could show me the ropes.
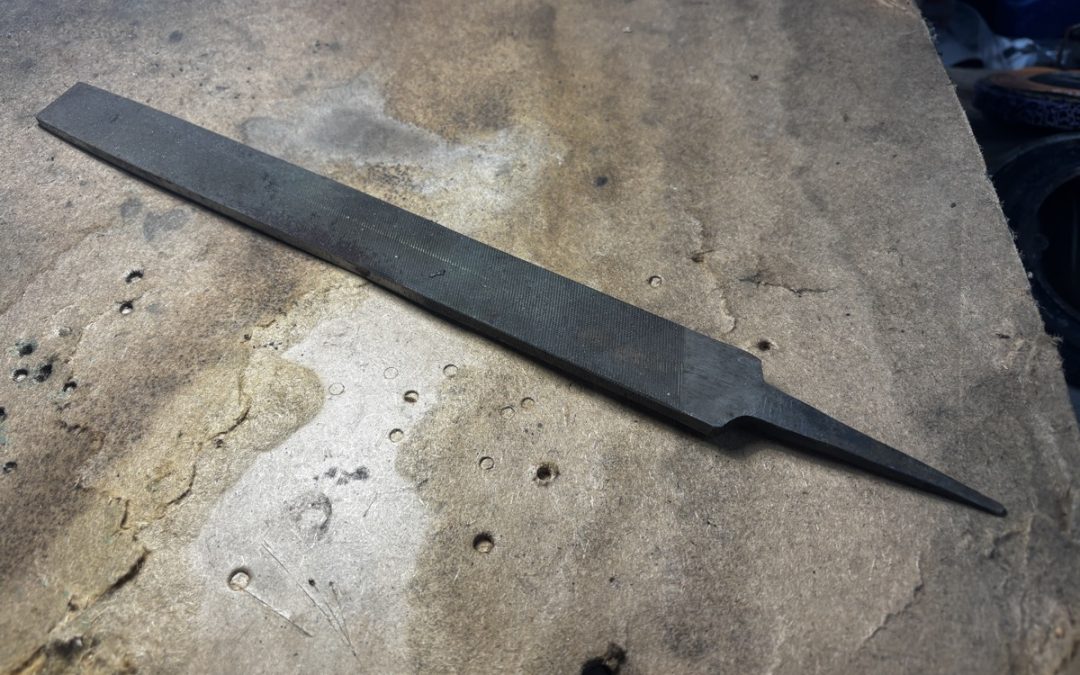
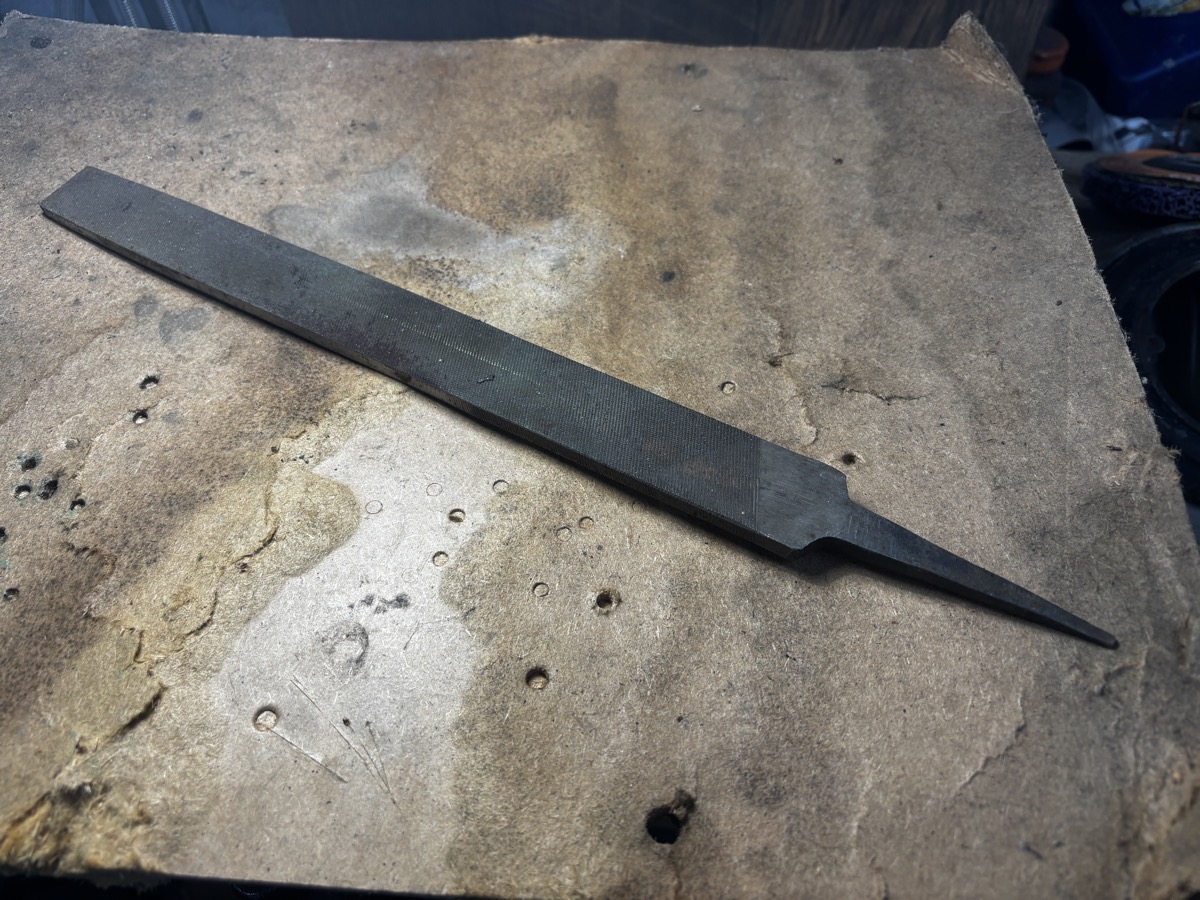
Making a slapper

Making a slapper

No giggling at the back...

A slapper is an indispensable bit of kit for panel work, the slapper is the unsung hero of the bodywork world. Unlike a hammer, which creates an impact in a concentrated area, a slapper spreads its influence across a broad, flat surface. Often with an impact surface up to 8 inches long it’s wielded much like a body hammer, but its larger footprint makes it ideal for coaxing flat areas back into line, especially when smoothing out welds or bumps. Naturally, being made of tool steel, proper slappers can be eye-wateringly expensive. Fortunately, there’s a time-honoured workaround: make your own from an old file.

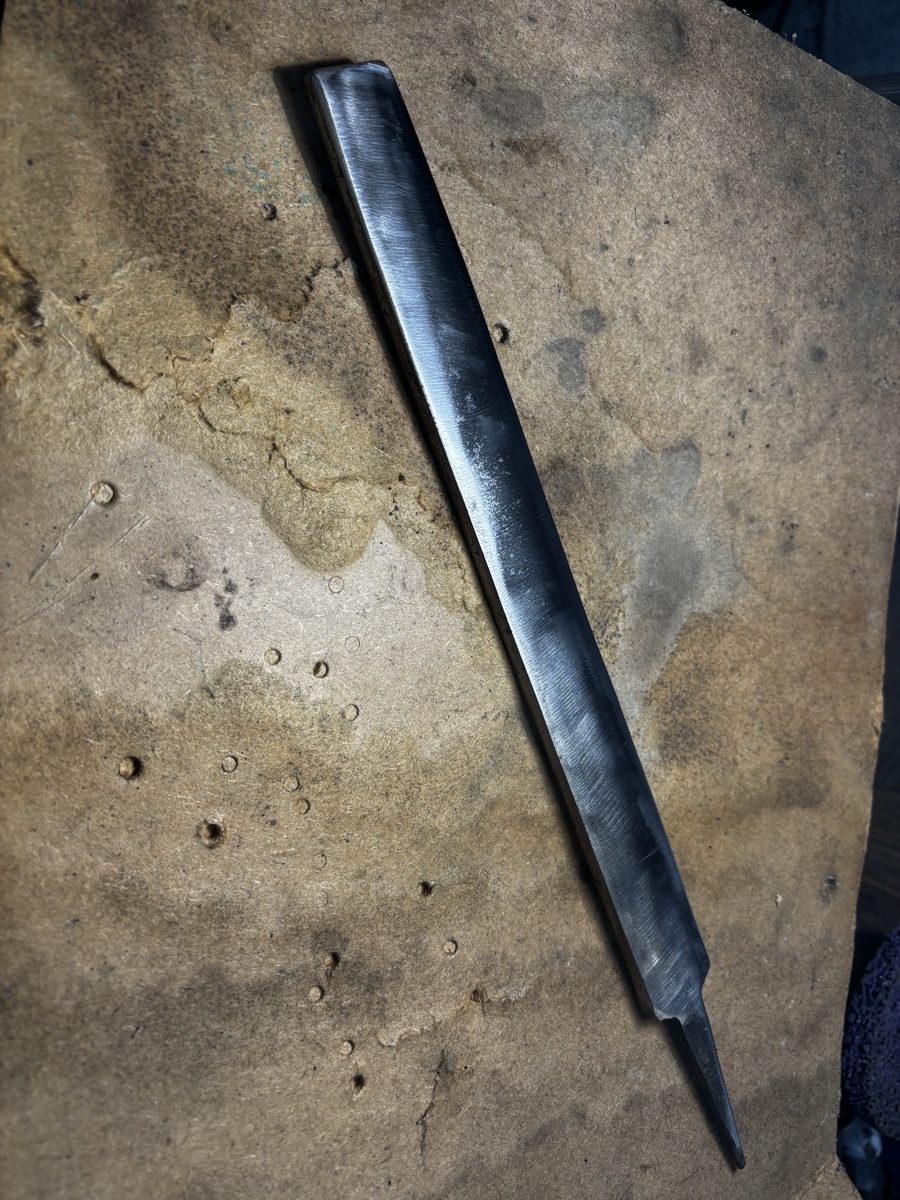
Step one: find a file that’s past its prime. Then, grind off the teeth. This is not a quick job. Files are, after all, designed to chew through metal, so their teeth (unlike my own) are strong and sharp.  So grinding them flat required an angle grinder and a heroic amount of patience. Once the surface was smooth, I rounded off the edges—I didnt fancy adding fresh creases to the panel with every slap.

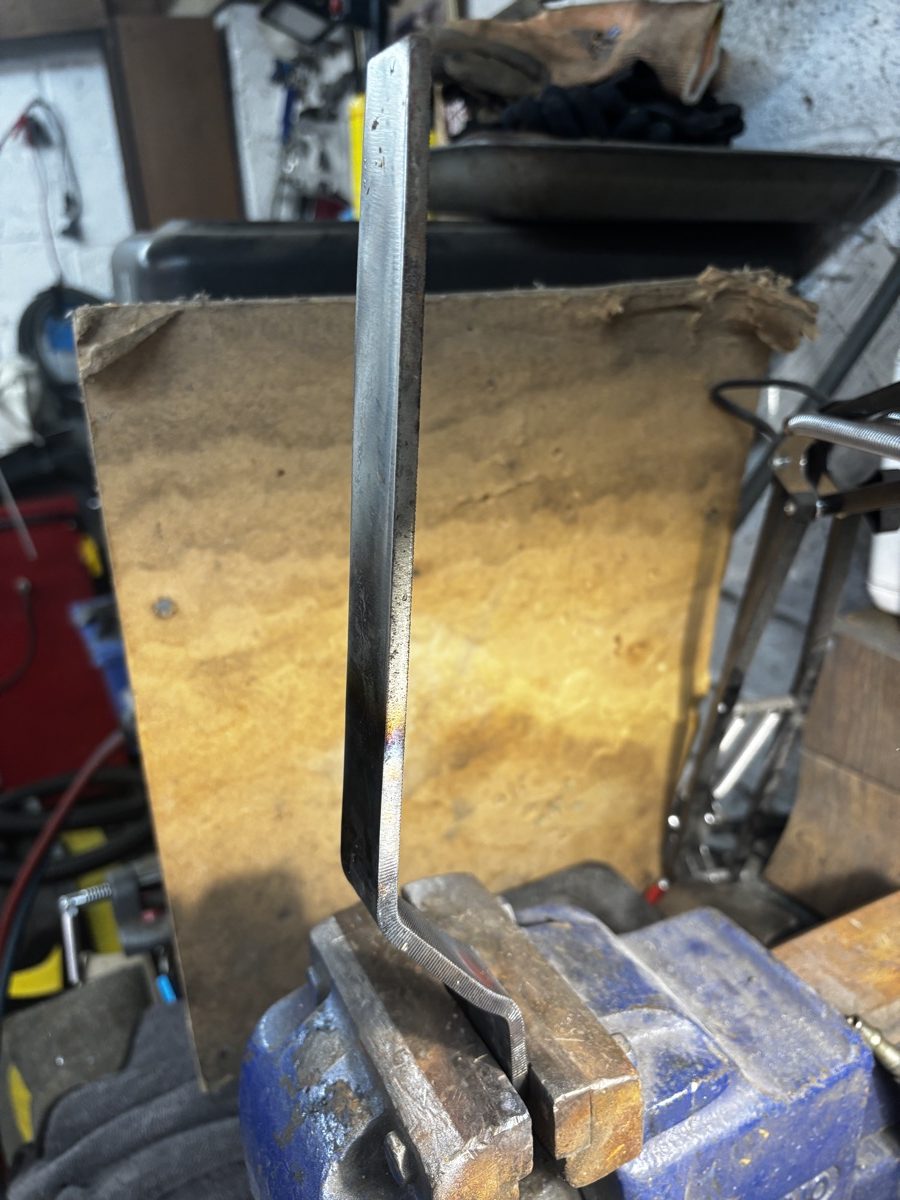
Next comes the bending. Being tool steel, the file won’t yield to mere brute force. It needs heat—lots of it. An oxy-acetylene torch does the trick nicely. You’ll see in the photos the general shape I aimed for. Admittedly, my first attempt at the handle angle was... optimistic. When I tried it out, the tool and my knuckles made simultaneous contact with the panel. That was educational. I re-bent the handle upward slightly, which left a bit of a kink—cosmetically disappointing, but functionally necessary.

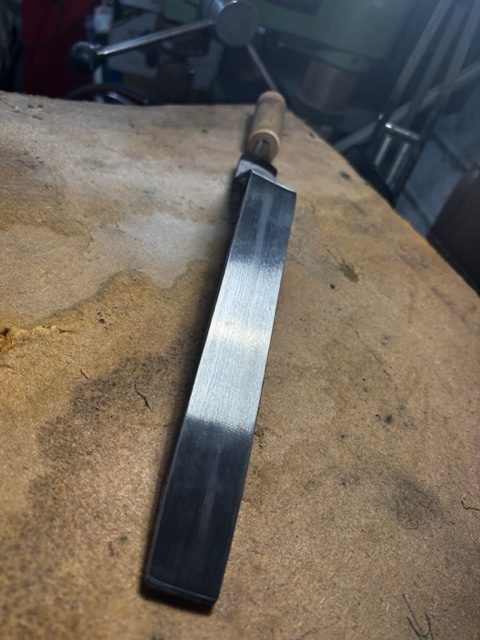
To finish, I smoothed the face with a surface sander until it was satisfyingly flat. As for the handle, I debated whether to cut off the tang and use the file itself as a grip or to keep the tang and fit a wooden handle. I went with the latter. Whether that was wise remains to be seen.

Panel Work begins

Panel Work begins

I have shifted my attention to repairing the panel that covers the spare wheel which also hosts the rear lights and the number plate (inside what is called a light box). The light box surround is that black piece of trim which I am also in the process of repairing.

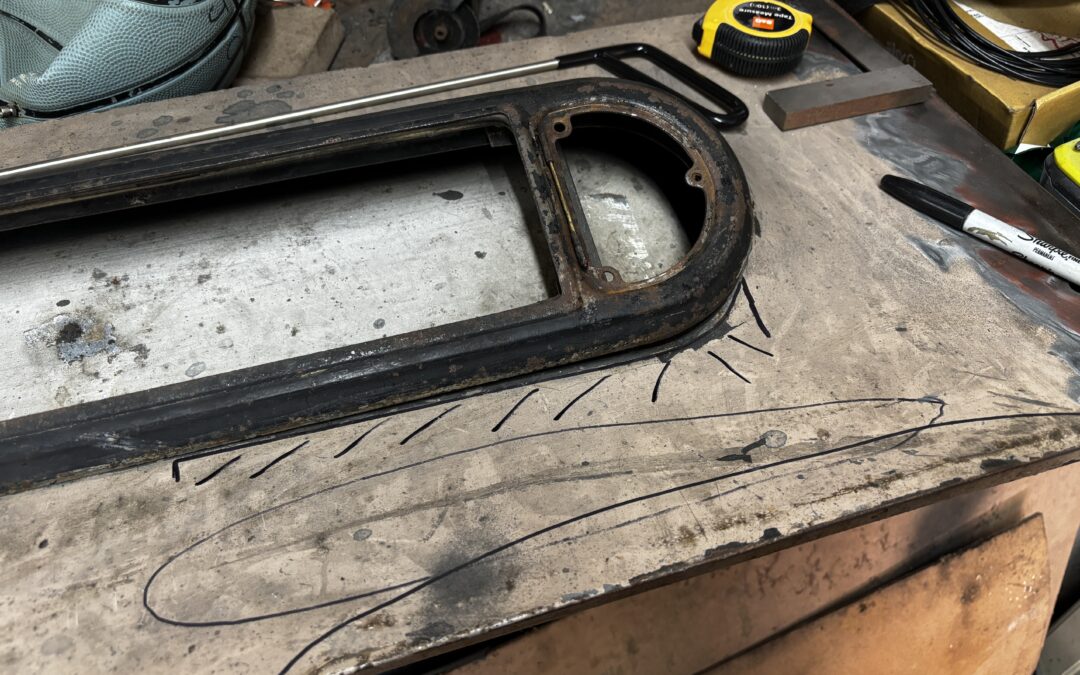
This panel has at some point also been impacted and ‘pushed in’ on the right hand side (a co-incidence?). You can see in the picture below that the light unit does not fit flush with the panel so I have been trying to pull the dent out over the last couple of weeks. The pen marks show the extent of the damage but you can see it has been pushed inwards (by 11mm)

I have been trying a mix of levers to get to the back of the damage and I am slowly getting there (learning as I go) and you can see in the picture below that I have managed to get the panel flush with the light box frame which simply (there’s that word again) leaves me with getting the rest of the damage and the dent out of the panel. 

I have yet to find a way to get a panel beating dolly into the inside of the panel where I need it - it is a shallow box section and I may have to make a limited use dolly although ultimatly I will lead load the surface to get it flat for paint.

A Coachwork Challenge

A Coachwork Challenge

Progress is slow, but all progress is good

Restoring any car when you do not know its history or if like me you have no experience of restoring a fairly rare car will always carry a few challenges.


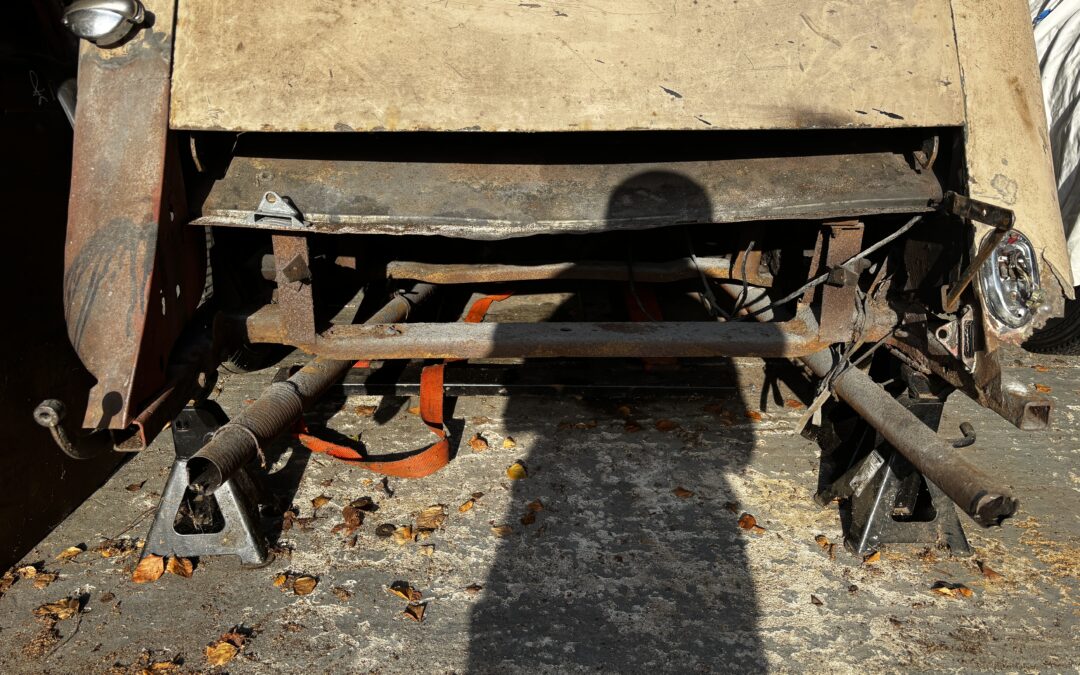
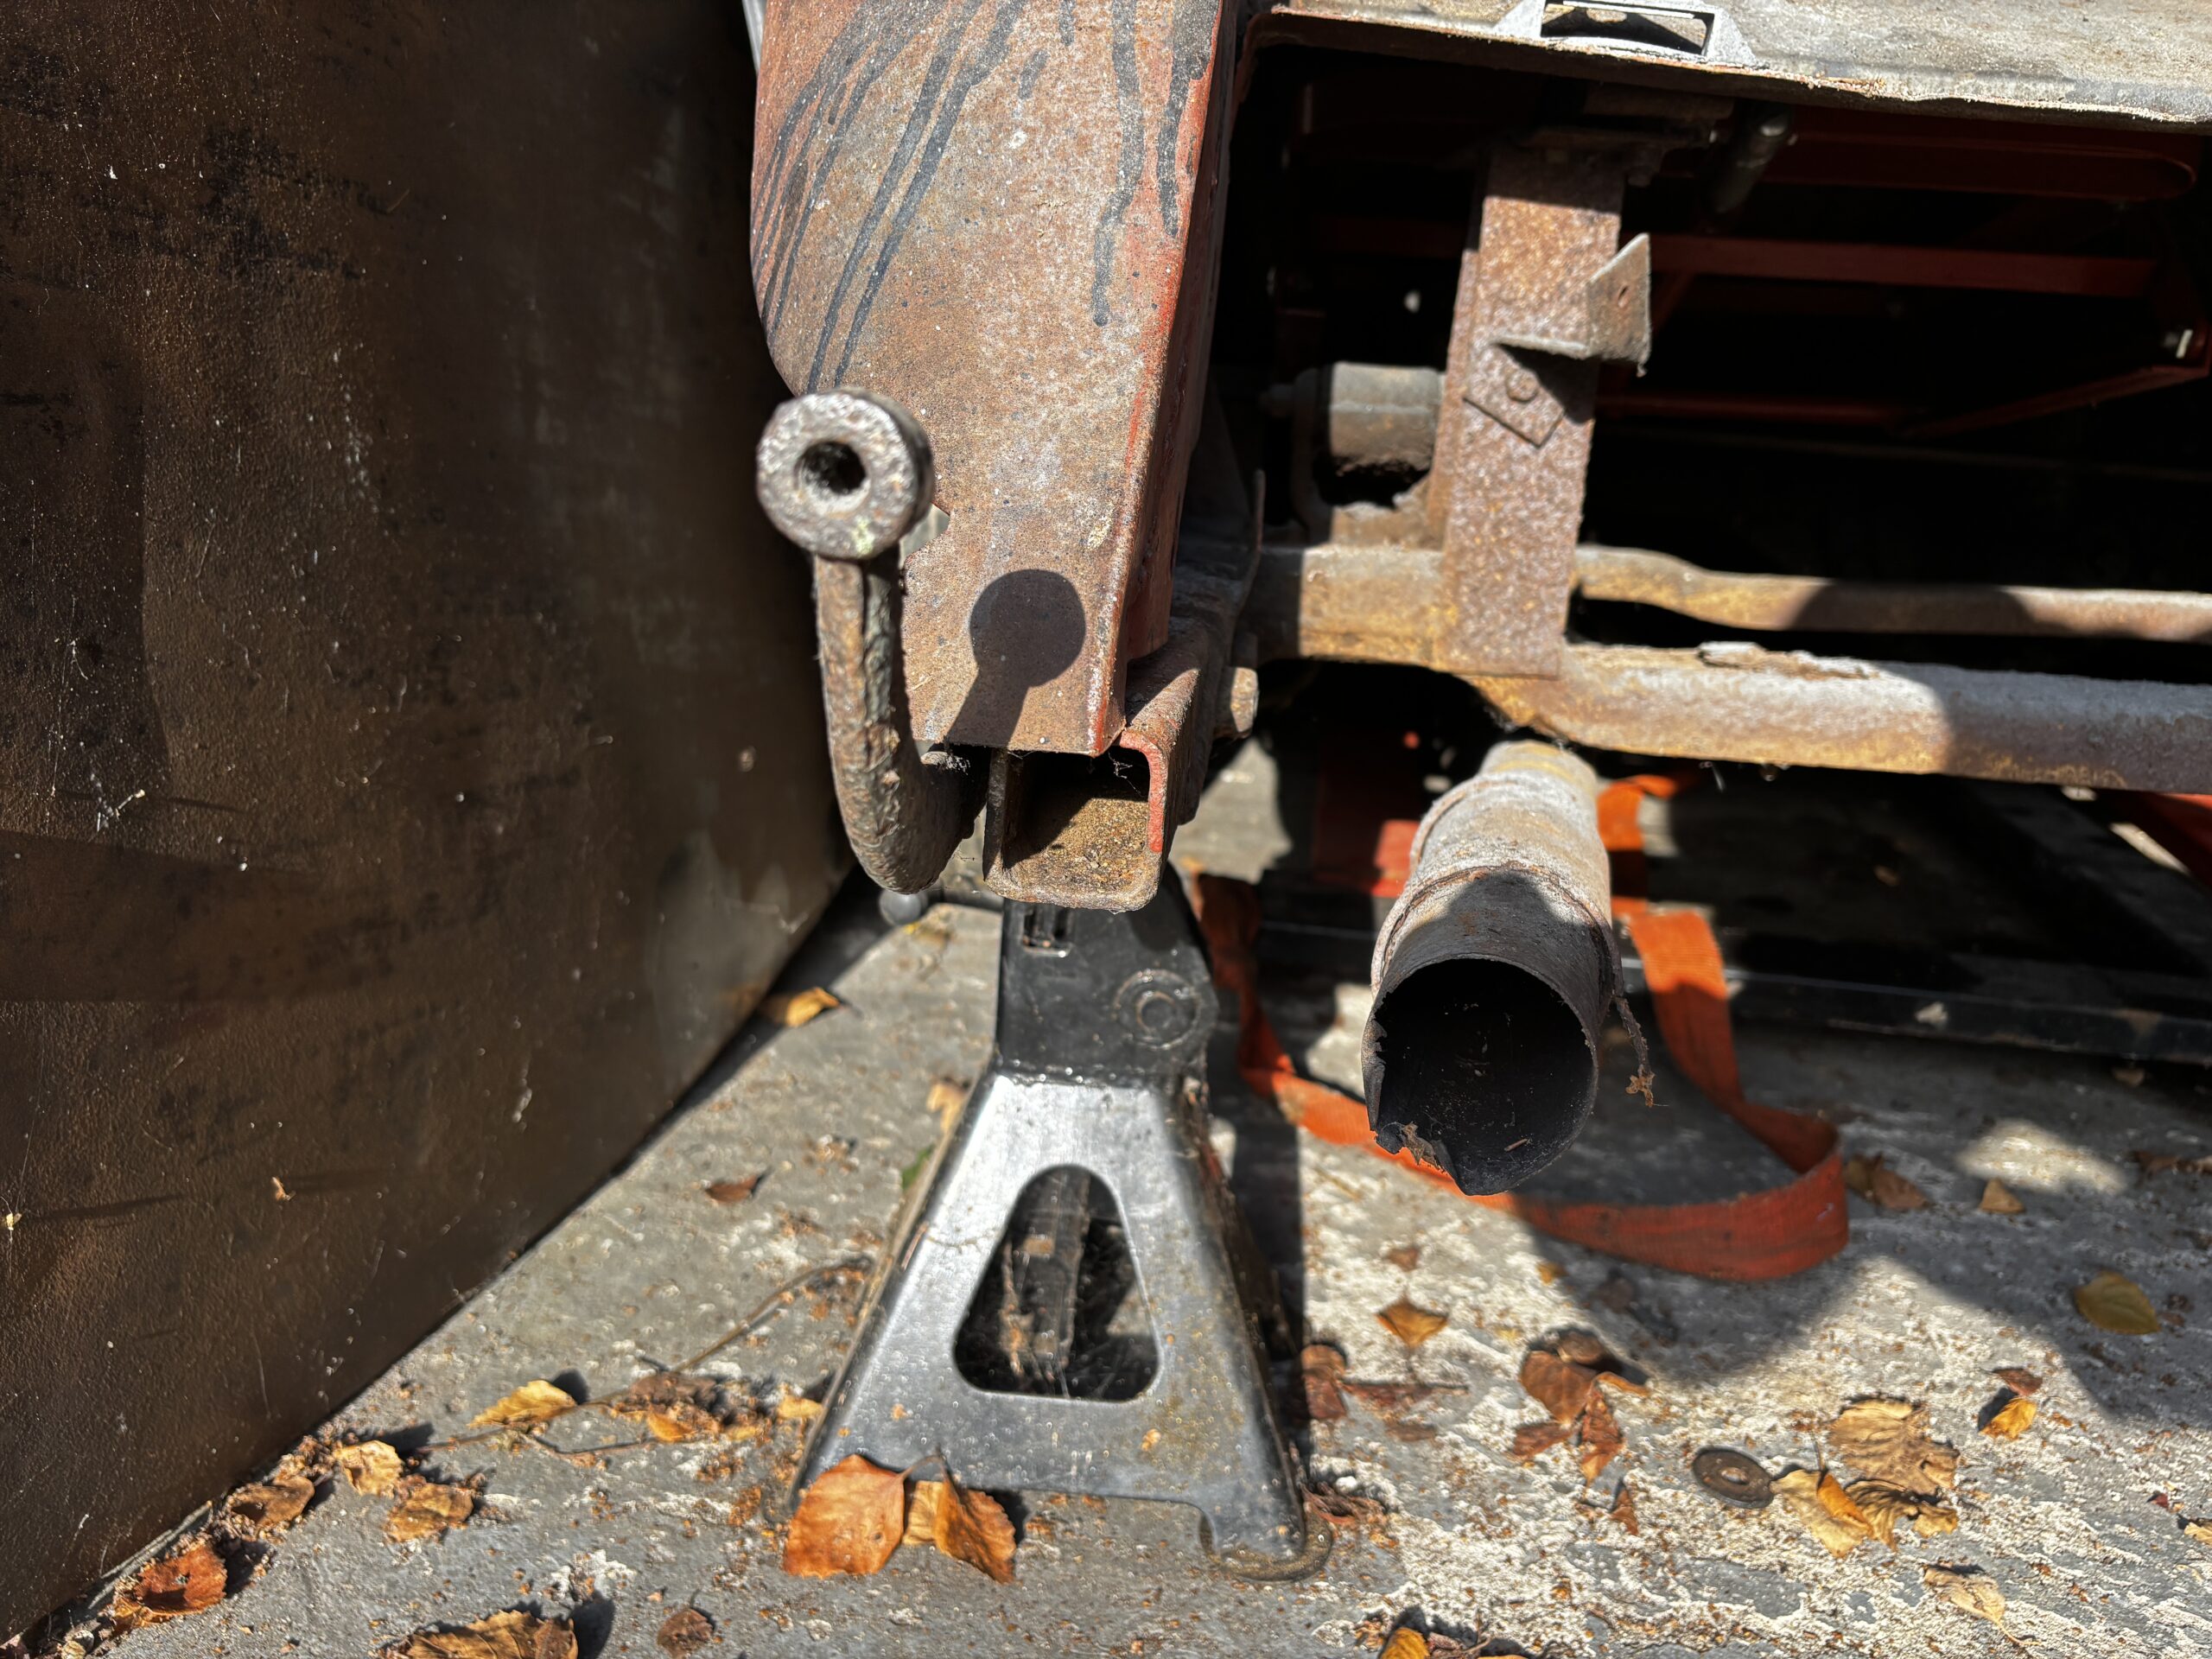
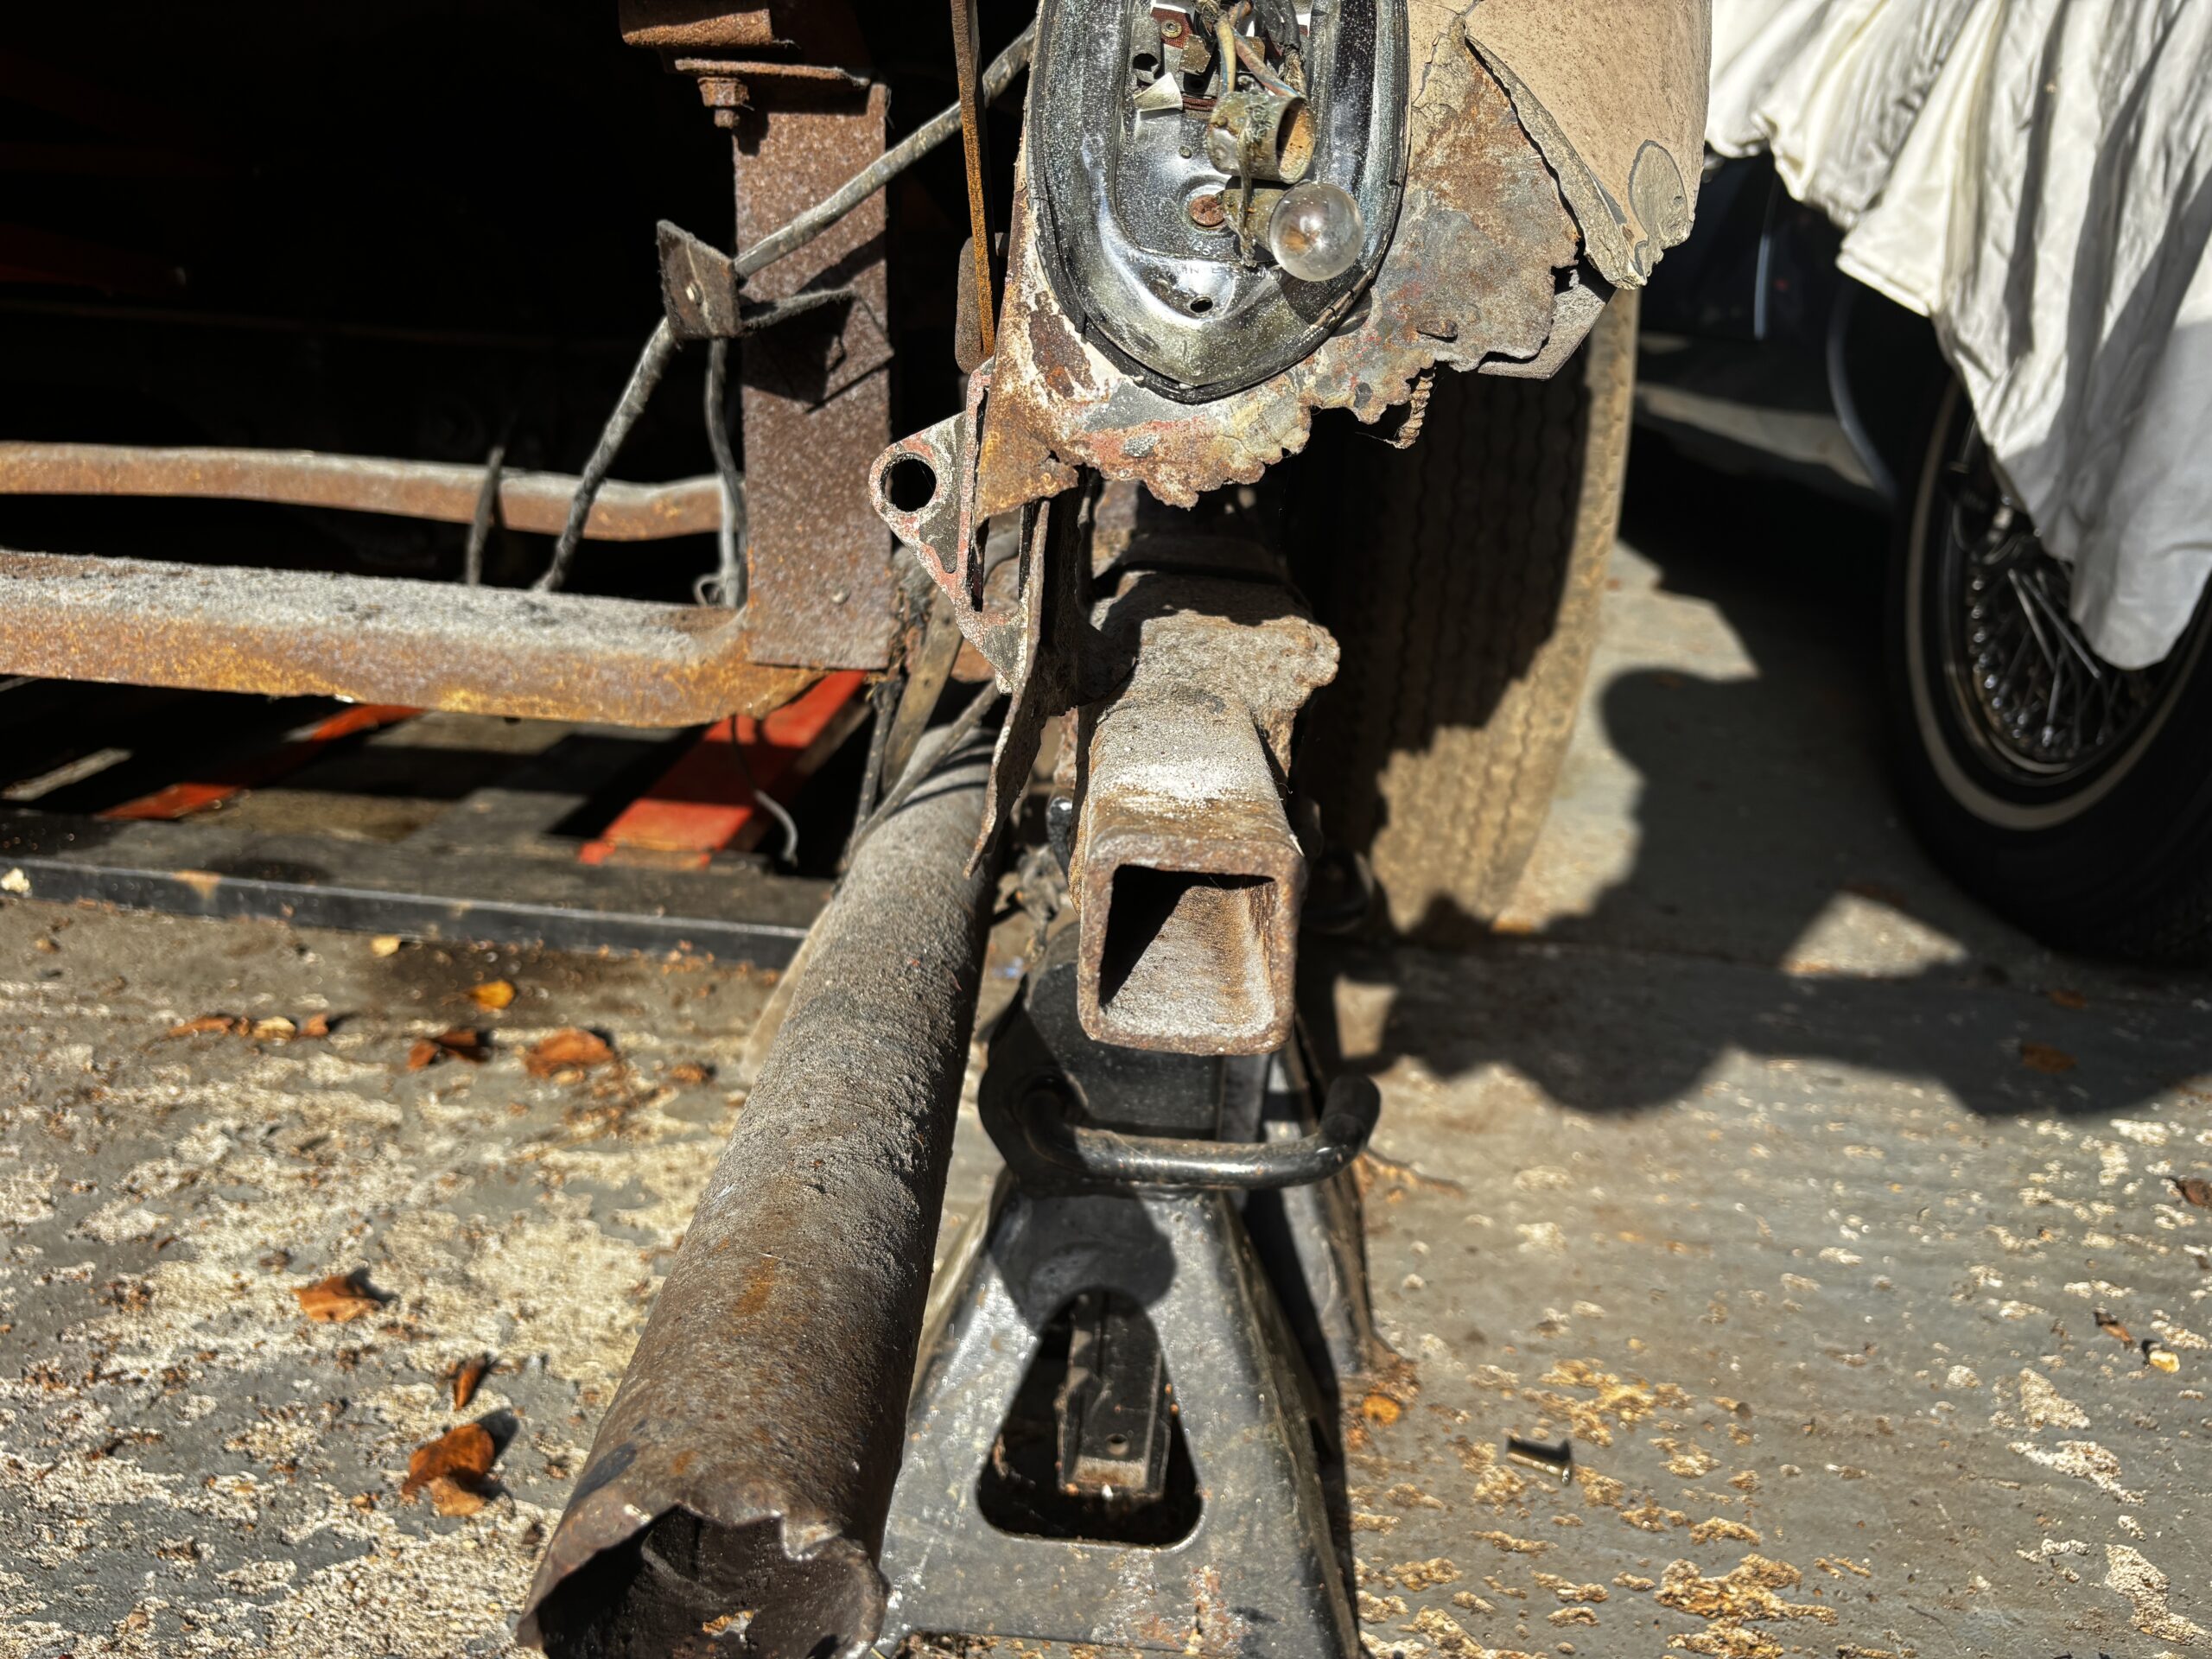
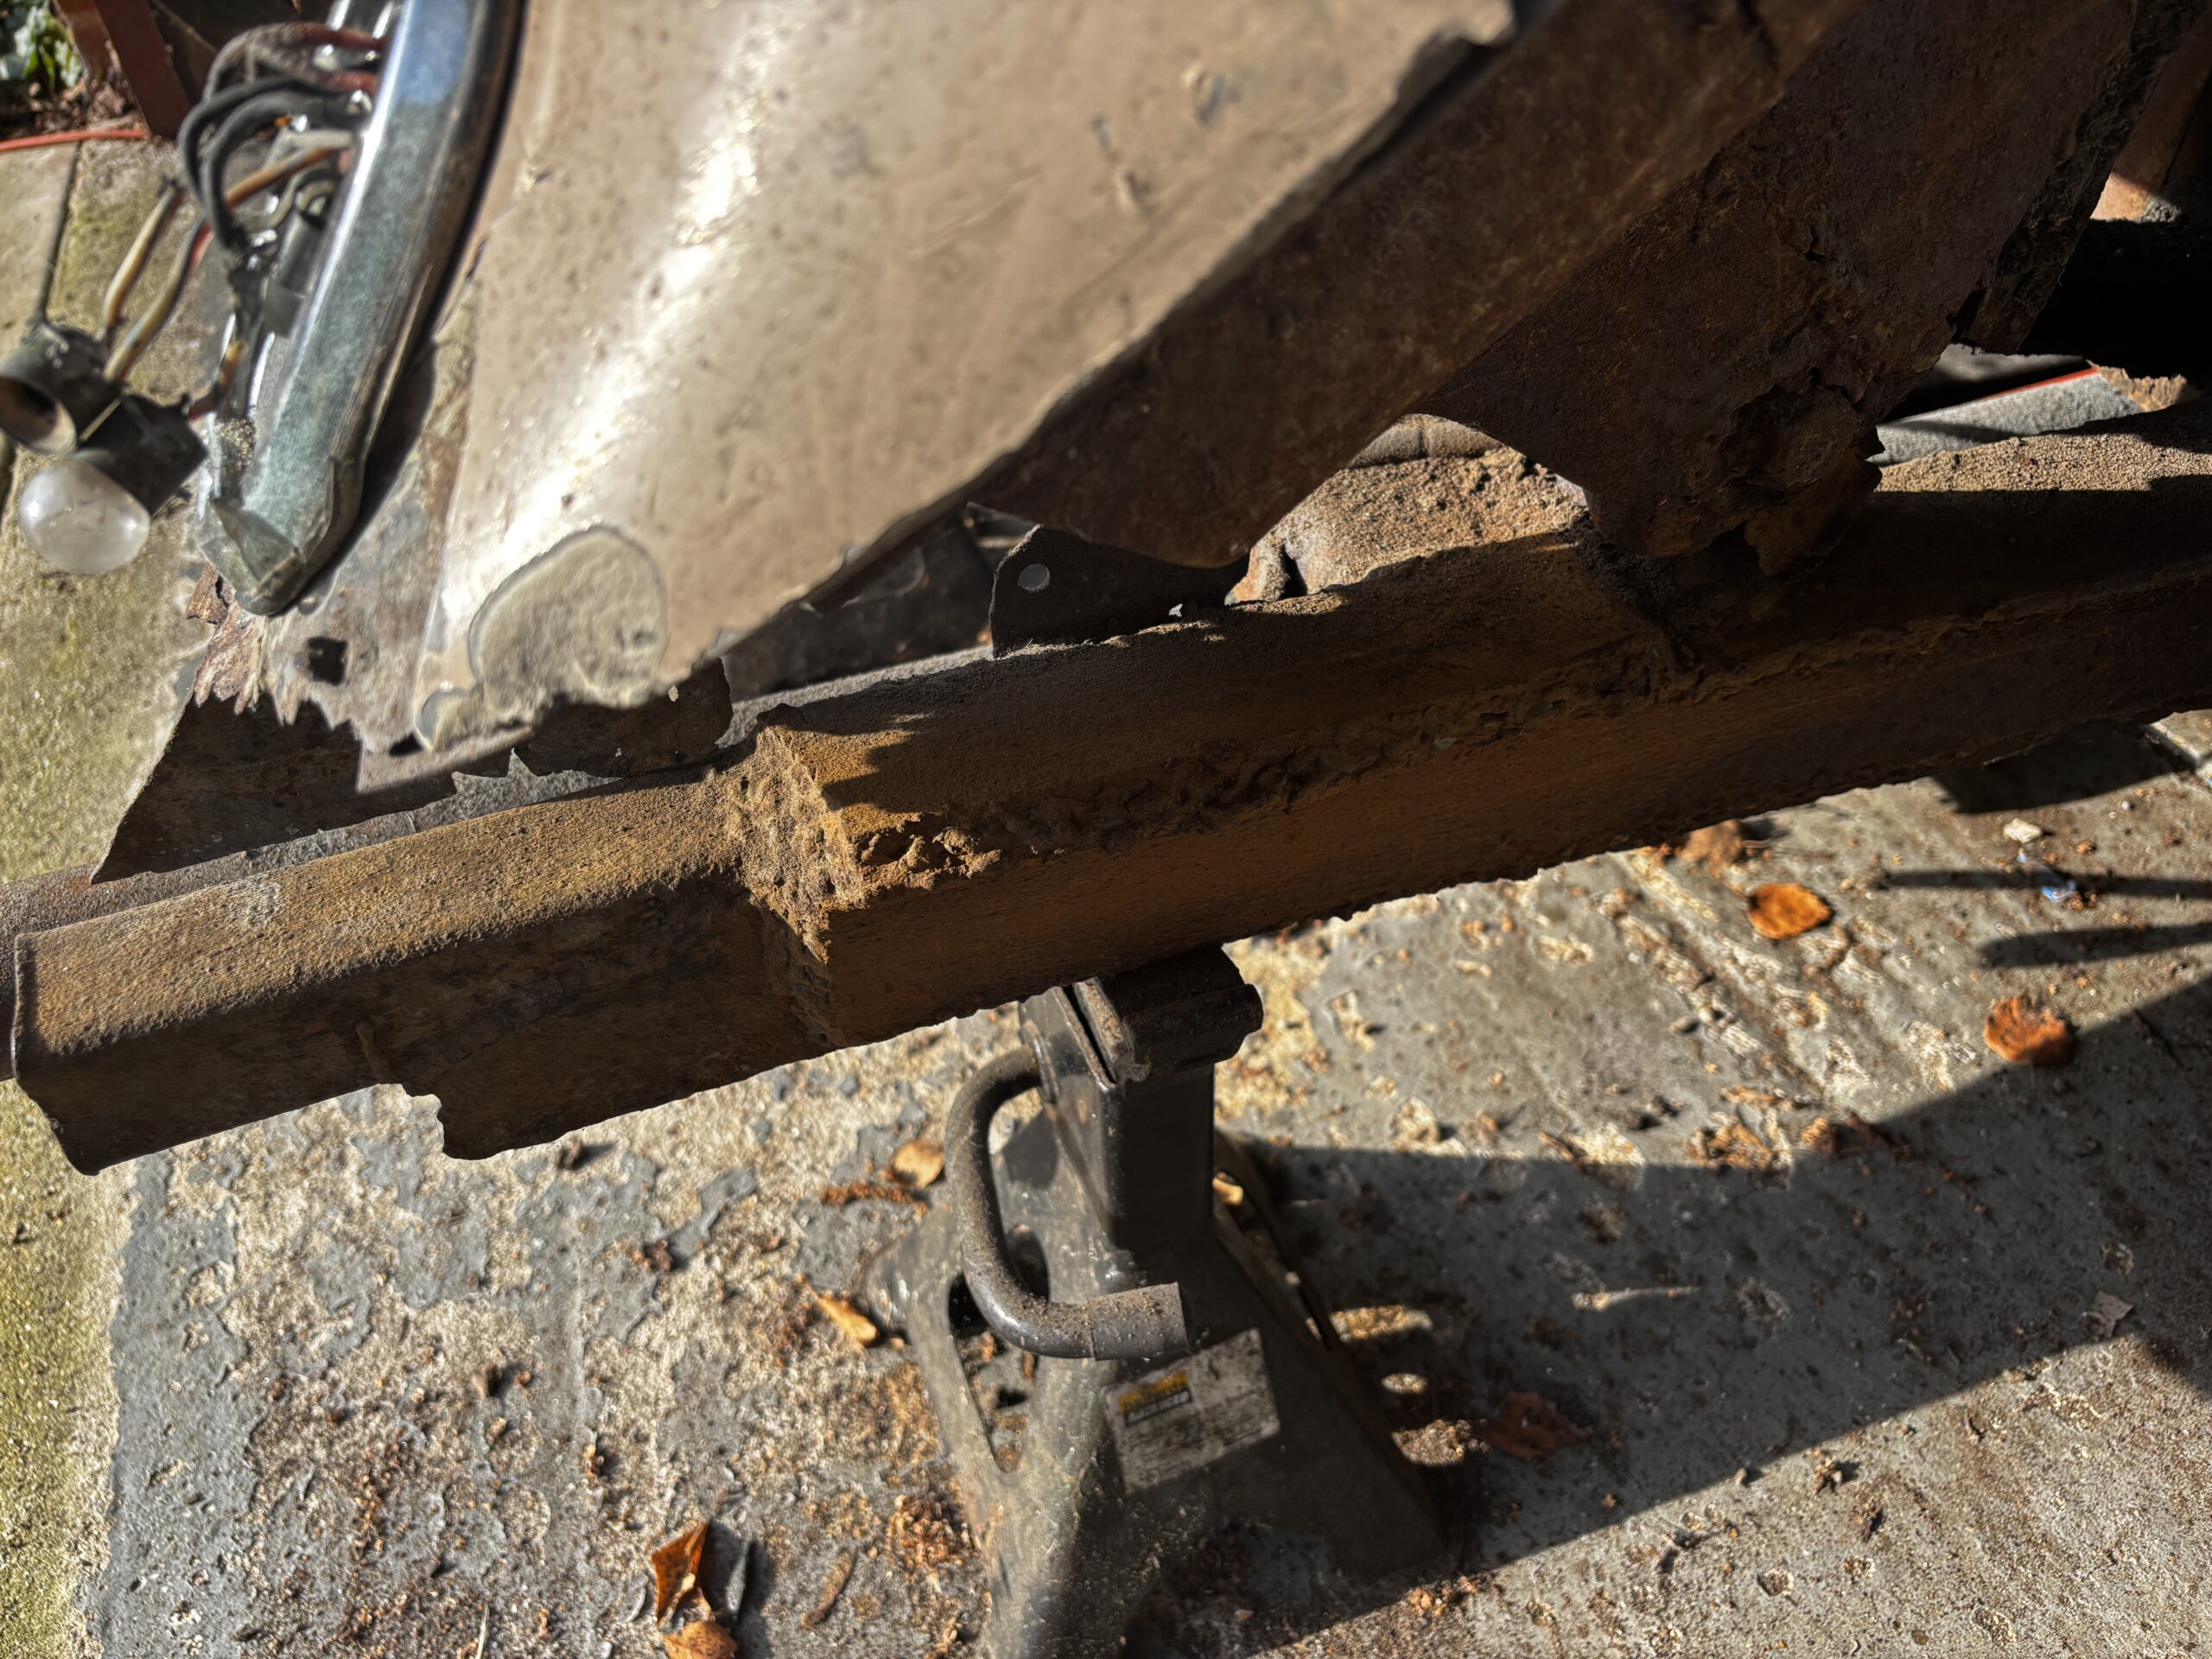
What I uncovered a little while ago has since been confirmed by other MK4 owners in that at some point in history, the right hand rear of the car has been pushed towards the passenger side by about 1”. I thought this might be the case because the panel below the boot lid that opens to reveal the spare tyre does not sit centrally between the chassis rails.
It’s not easy to see but the first picture is the overall rear of the car, the next two show you each side. 

The right hand side is clearly further to the left than the left side is (you know what I mean). 

The square tubes you can see are the jacking points and the right hand one has at some point been repaired/strengthened so I suspect that at some point the car has had an impact on that corner - which may possibly be WHY the bodywork has shifted. I simply need to work out how to re-align the bodywork. Did I say ’simply’? To be honest - I do not know how to do that yet...

Door Handle / Lock

Door Handle / Lock

One challenge that is taking a while is removing the door handle and the window frame. The door handle mechanism unbolted very easily but refused to exit the door. Much head-scratching ensued before having to give in and ask an ‘idiot question’ on the SS part of Jag-Lovers Forum who kindly advised that the door handle is fixed to the external chrome trim strip that runs the width of the door.

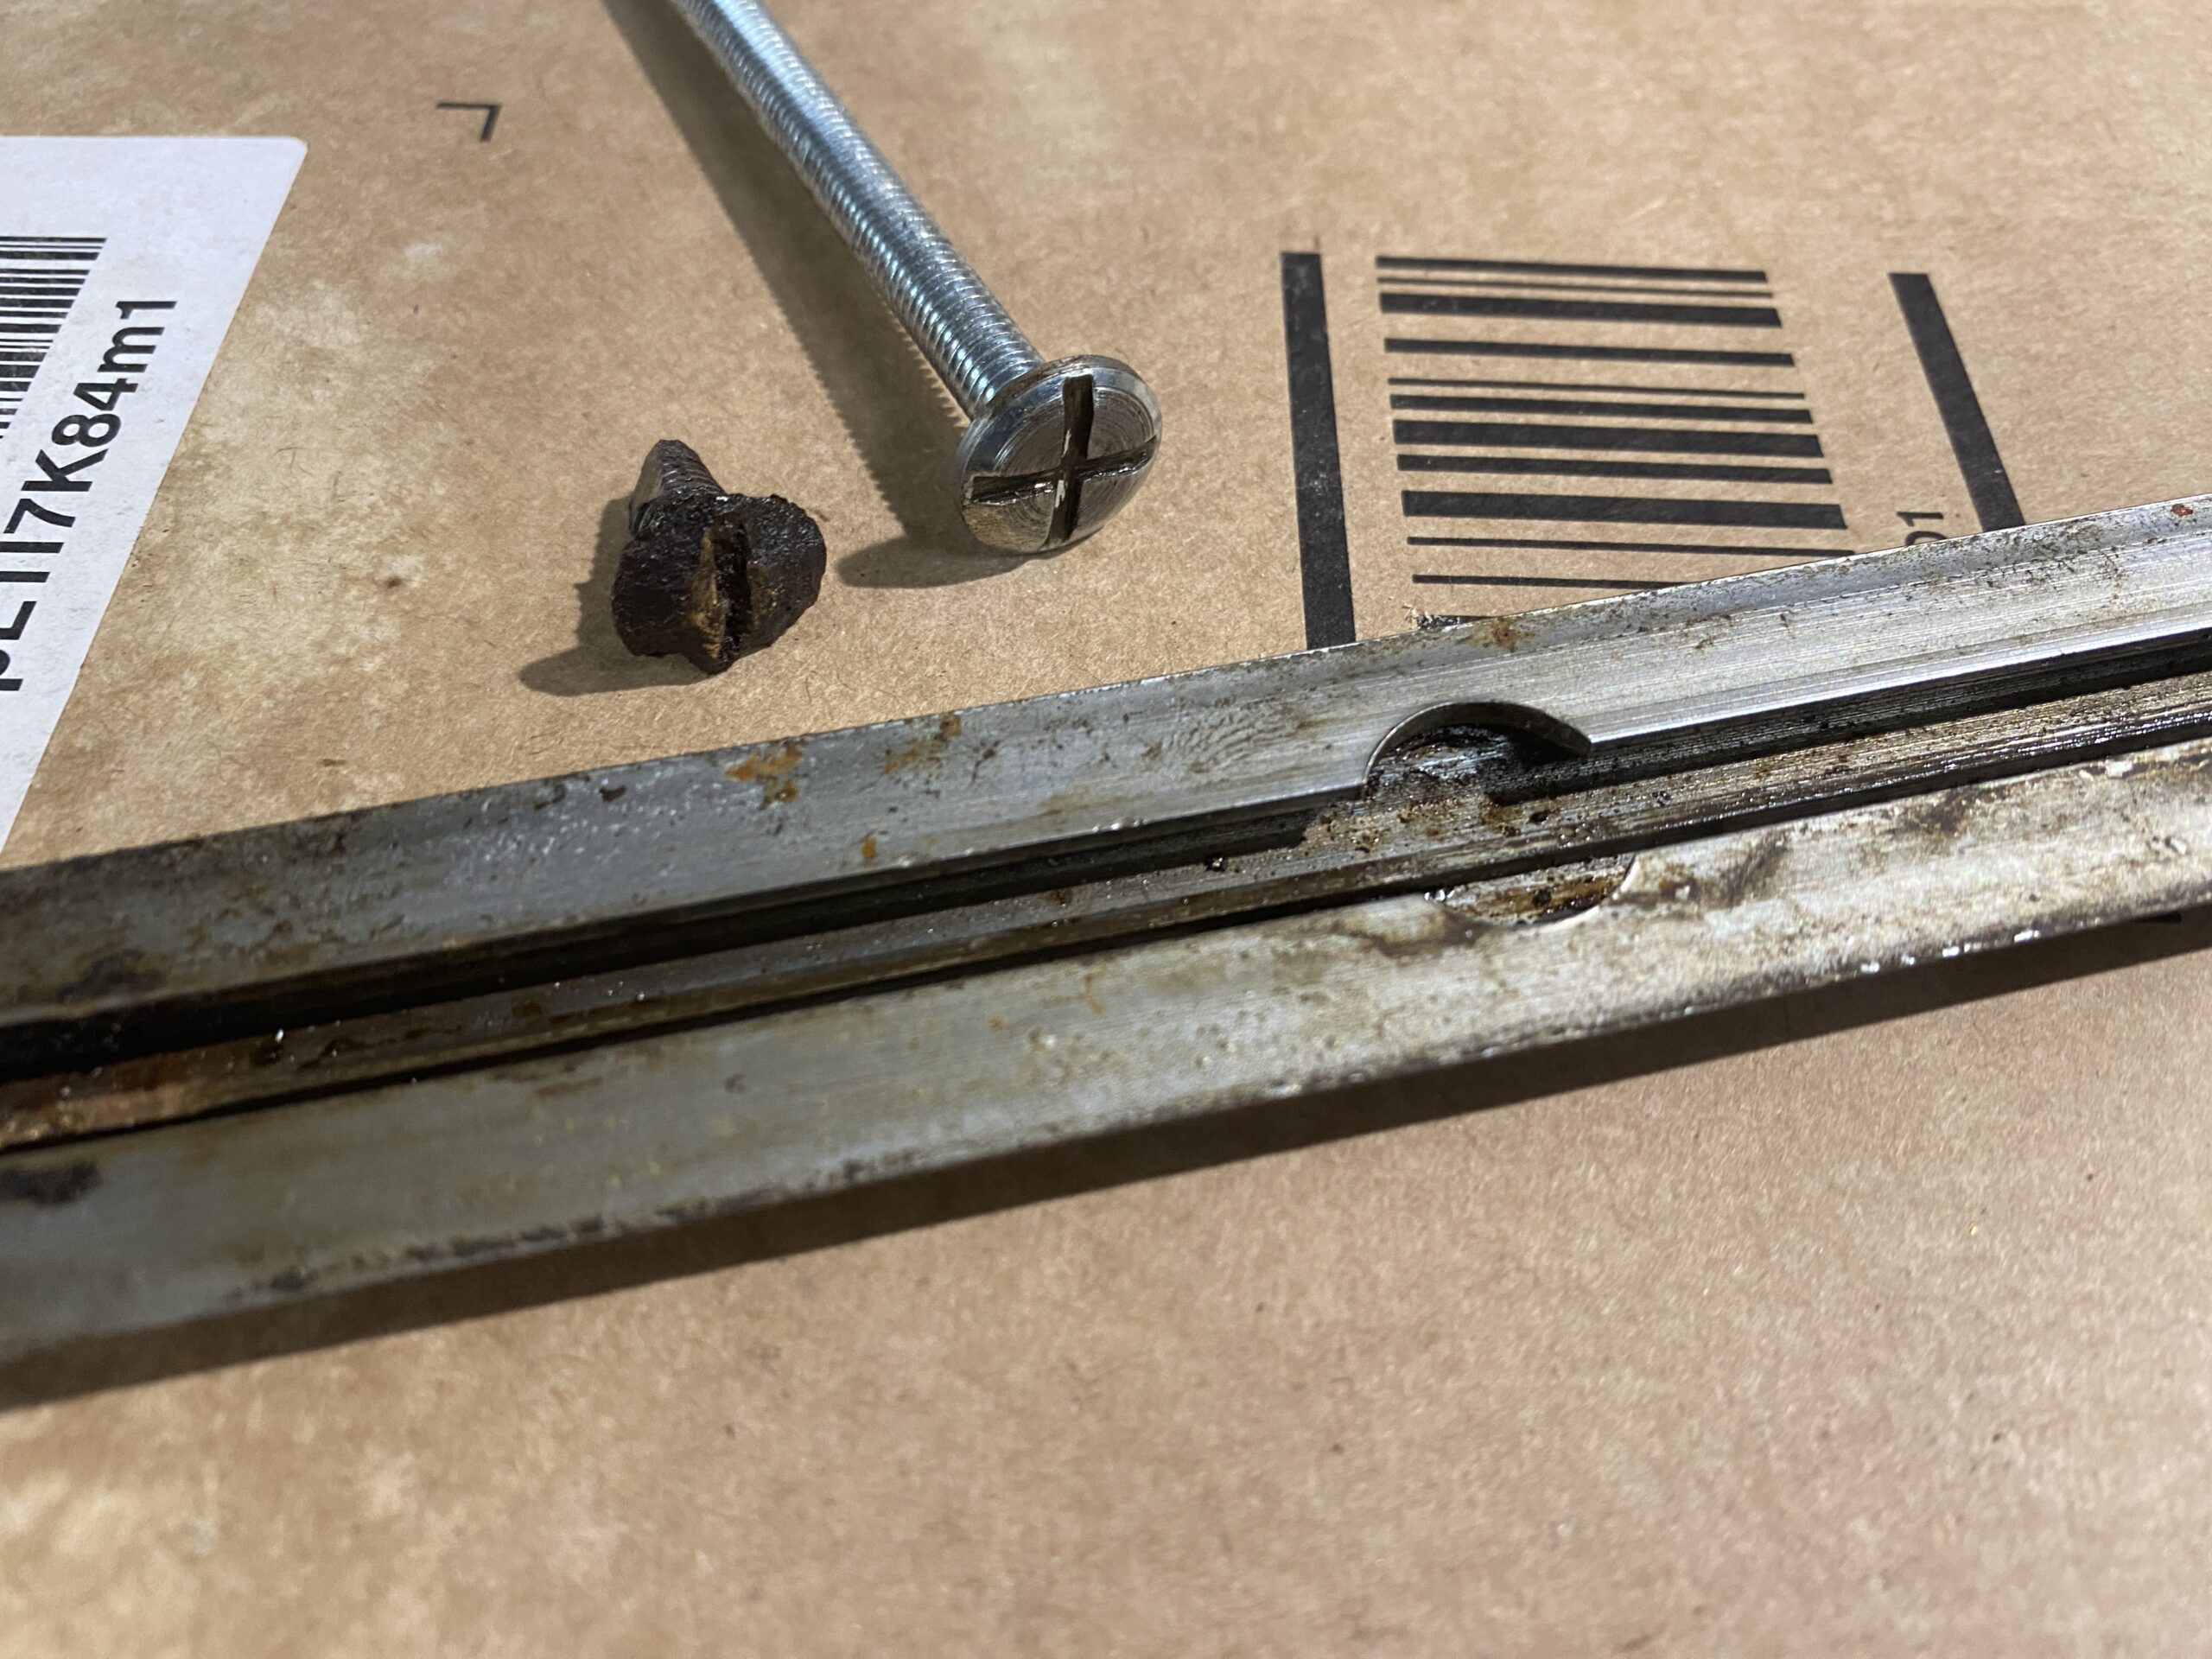
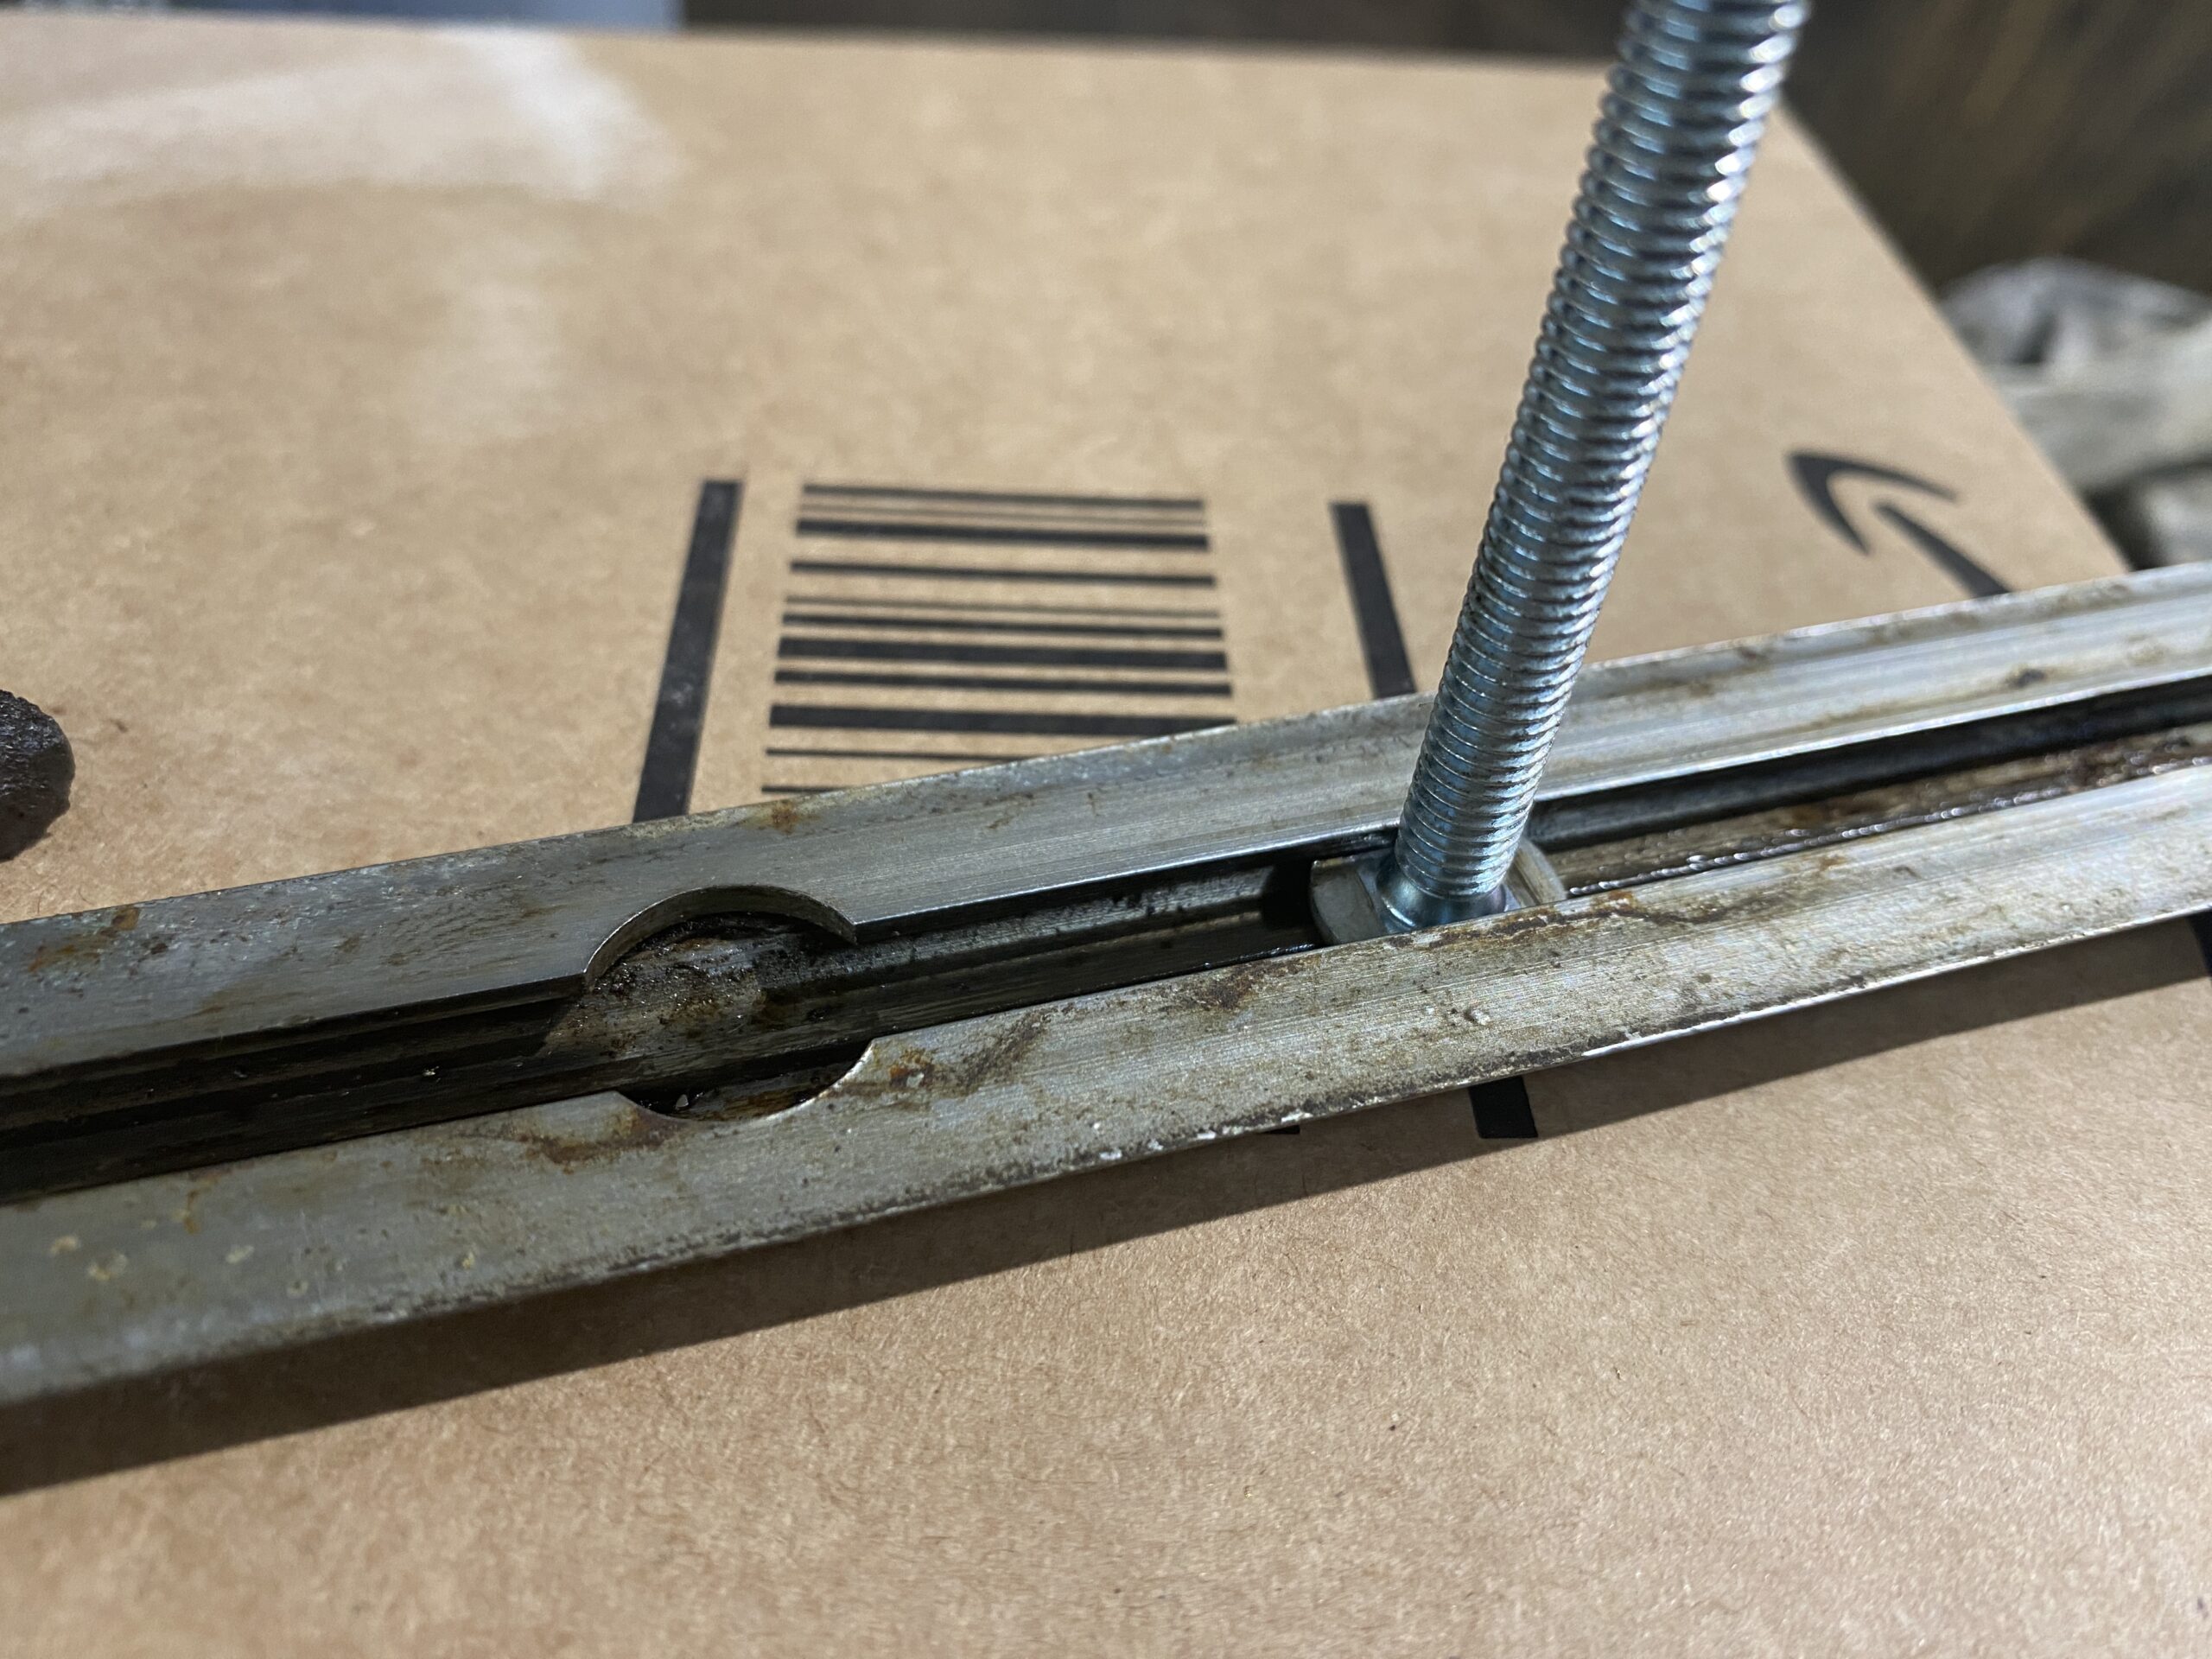
'Be careful' they advised, 'the trim strip is made of brass and the fixings are made of steel with no corrosion protection so undoing the nuts from the studs is likely to be tricky'. Well, that was an understatement, all the studs had rusted into blobs of metal and needed to be cut off. The problem is these fixings are inside the door within narrow box panels. There is very little room to wield tools let alone a cutting tool. Many hours later and using a Dremel with a small worn-down cutting disc - I had removed the 6 studs and the trim (with the door handle) came loose. I am pleased to advise that the trim strip was undamaged by this process and the handle is simple to remove.

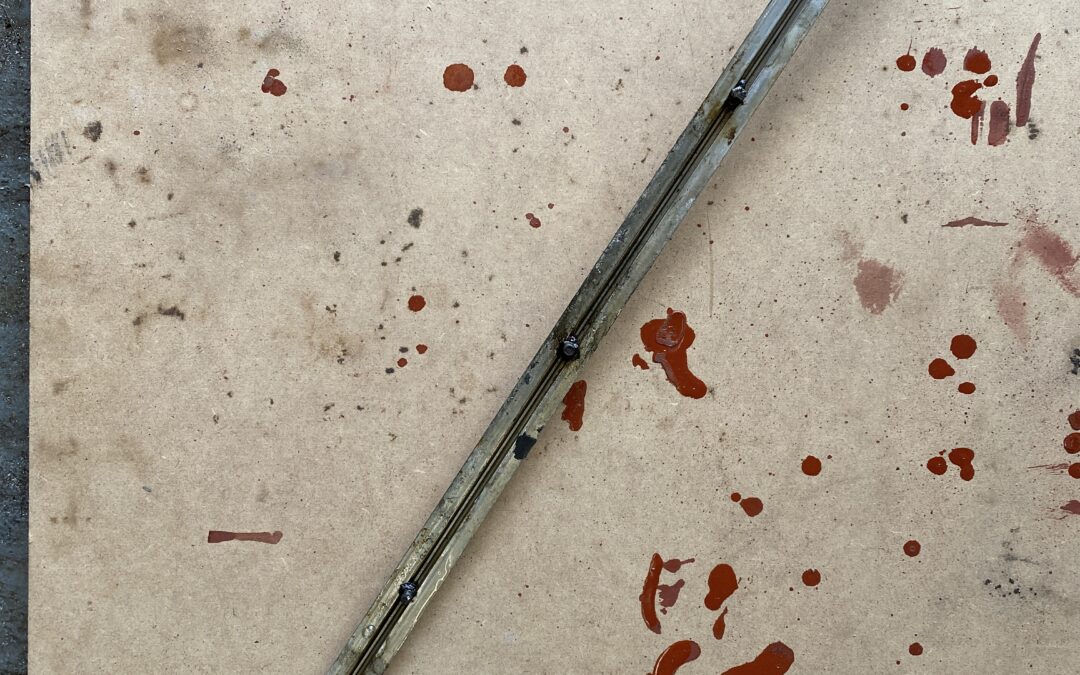
Clearly I need to remake all the fixing studs but that is fairly simple to do on the lathe. Not shown in the picture below is filing a couple of flats to the round screw end so that it can slide within the channel but not rotate.

That will work... I just need to make 6 of these for each door but that is a job for another day. The boring bit is now removing the strip from the other 3 doors...

WINDOW FRAME

The door window frame is my next challenge - again all the fixings are rusted and I suspect they will need to be drilled out - I have not made much progress on this yet but I do know that something is not well in the quarter light mechanism - I have to rotate the handle 3 times before the frame moves - i.e. there is a ton of play that is not supposed to be there. Put that on the future job list too.

I love this car; I know it is a serious challenge but it will be an interesting journey.